Saving and Uploading Your Recording
Saving and uploading your recording pertains to ad hoc (manual) recordings only. All inputs are predefined for scheduled recordings. Scheduled recording information is view only and not editable.
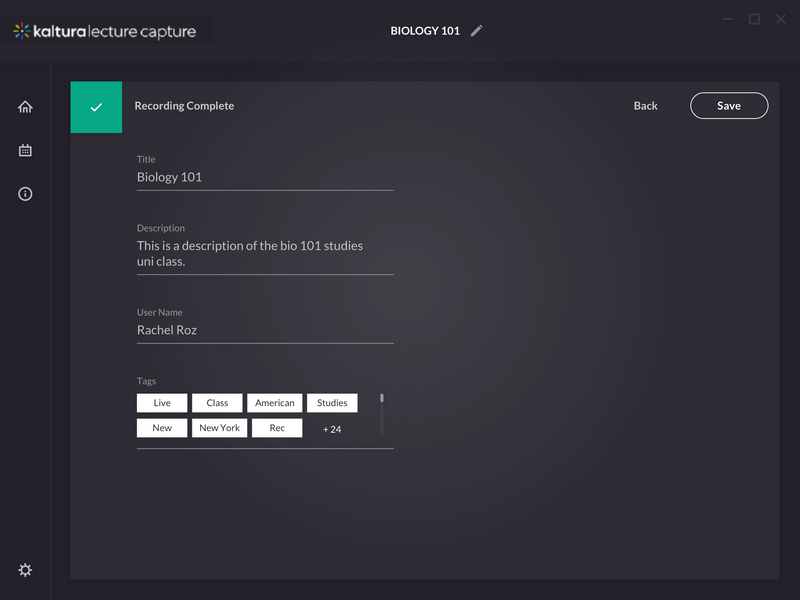
After you “Stop” recording you will be directed to the Recording Complete screen.
If you clicked stop by mistake, you can always click Cancel and you will be returned to your recording in a paused state. If you want to complete the recording and you have not entered the details yet, or you want to change them, enter the following information and click save:
- Title of the recording
- User Name - The User Name entered sets the user that will own the content and that will able to view it in My Media once uploaded. If the Authentication feature is enabled, this field is not editable
- Description
- Tags

All the recorded videos are stored locally in your Recordings directory. If you have not changed the Recordings directory during the installation, the default recording directory is C:ProgramFilesKalturaClassroomRecordings.
Your recording is automatically uploaded to your Kaltura account (to the user specified in the “User ID” field in the Recording Details screen).
The recording metadata (Title, Description and Tags) are also uploaded to Kaltura.
You may exit the application and your recording will be uploaded in the background.
The uploading should continue as long as the user is logged in to the computer, the user may lock the computer but not sign out. The uploading should interrupt when the user logs off.
All uploaded recordings will also be visible for admins in the Rich Media Content Management System (Rich Media CMS), along with the status of the recording.
Viewing the Kaltura Classroom Recording in MediaSpace and in KAF Applications
To view the Kaltura Classroom Recording
- Go to your MediaSpace or KAF instance and select My Media.
The Kaltura Classroom recorded media thumbnail is displayed.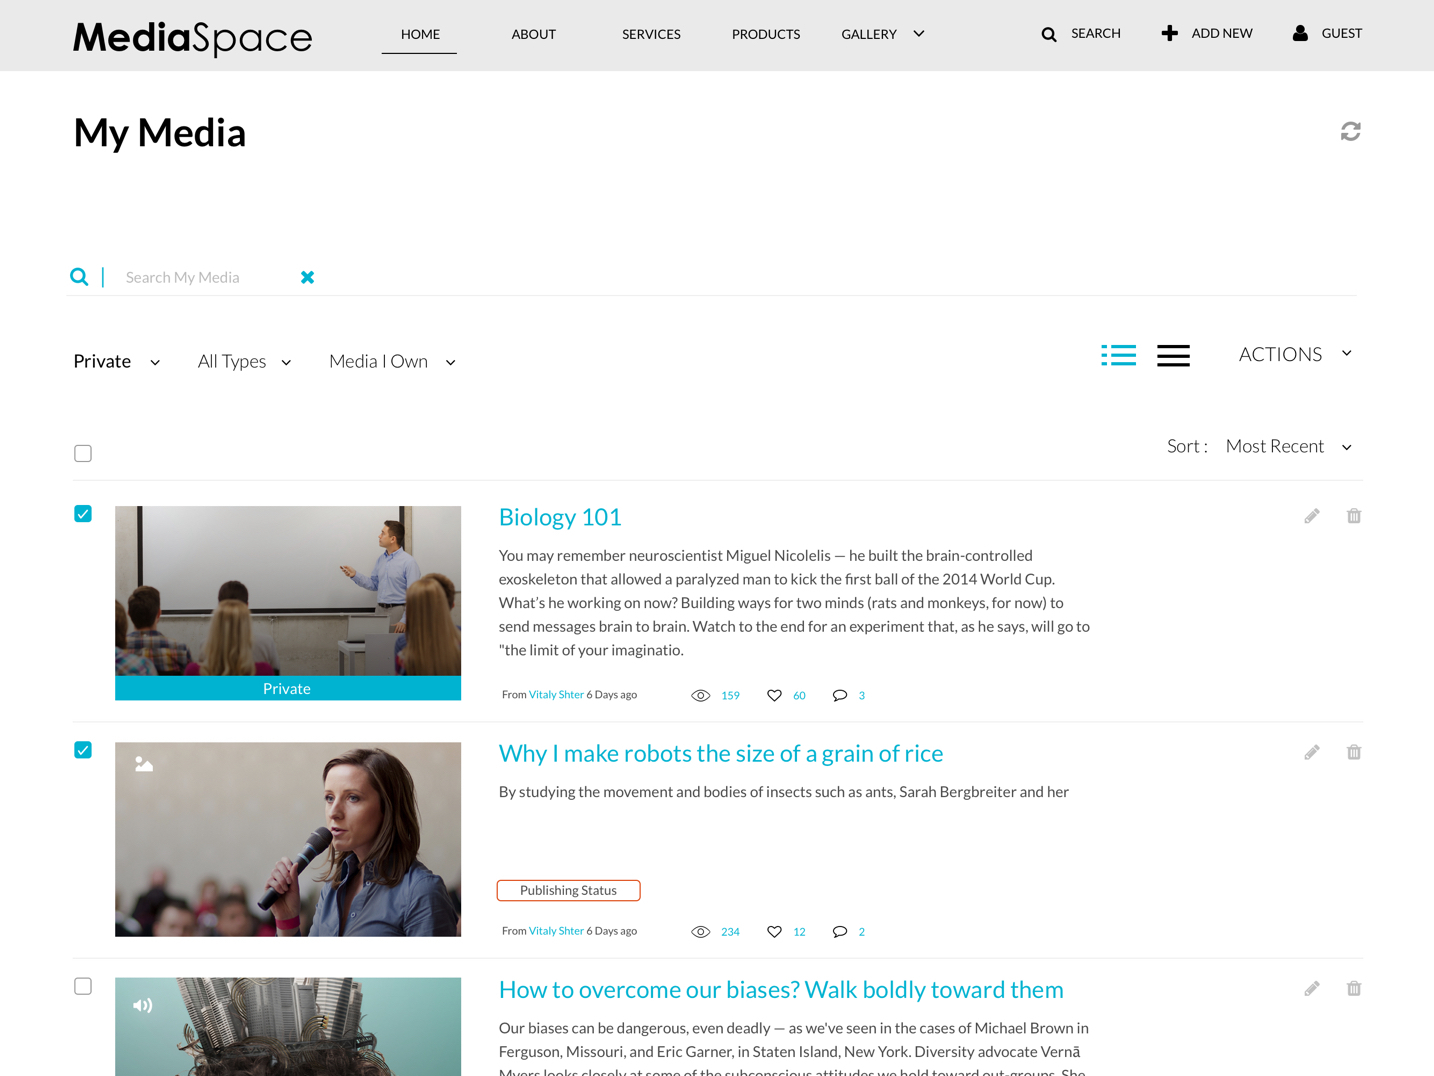
- Click on the media and then press Play.
- Use the Kaltura Player’s rich media viewing options to take full advantage of the multiple interactive viewing options for your recording. See Viewing Rich Media in the Kaltura Player for more information.


