About
With Kaltura's Zoom integration, your Zoom recordings are automatically uploaded, organized, and accessible from your Kaltura account. Recordings appear in the Rich Media Content Management System (Rich Media CMS) and under My Media in your Video Portal for the matched user.
This article explains where to find your Zoom recordings in Kaltura, how to view recording metadata, and manage entries—including deleting recordings and understanding transcoding behavior.
If the Zoom transcript option is enabled, REACH captions and transcripts will not be generated as Zoom files are ingested directly. To use REACH captions instead, disable the Zoom transcript option in your integration settings.
Find your Zoom recordings
- Under the Content menu, select Categories.
- Locate the Zoom category name that was assigned to your account.
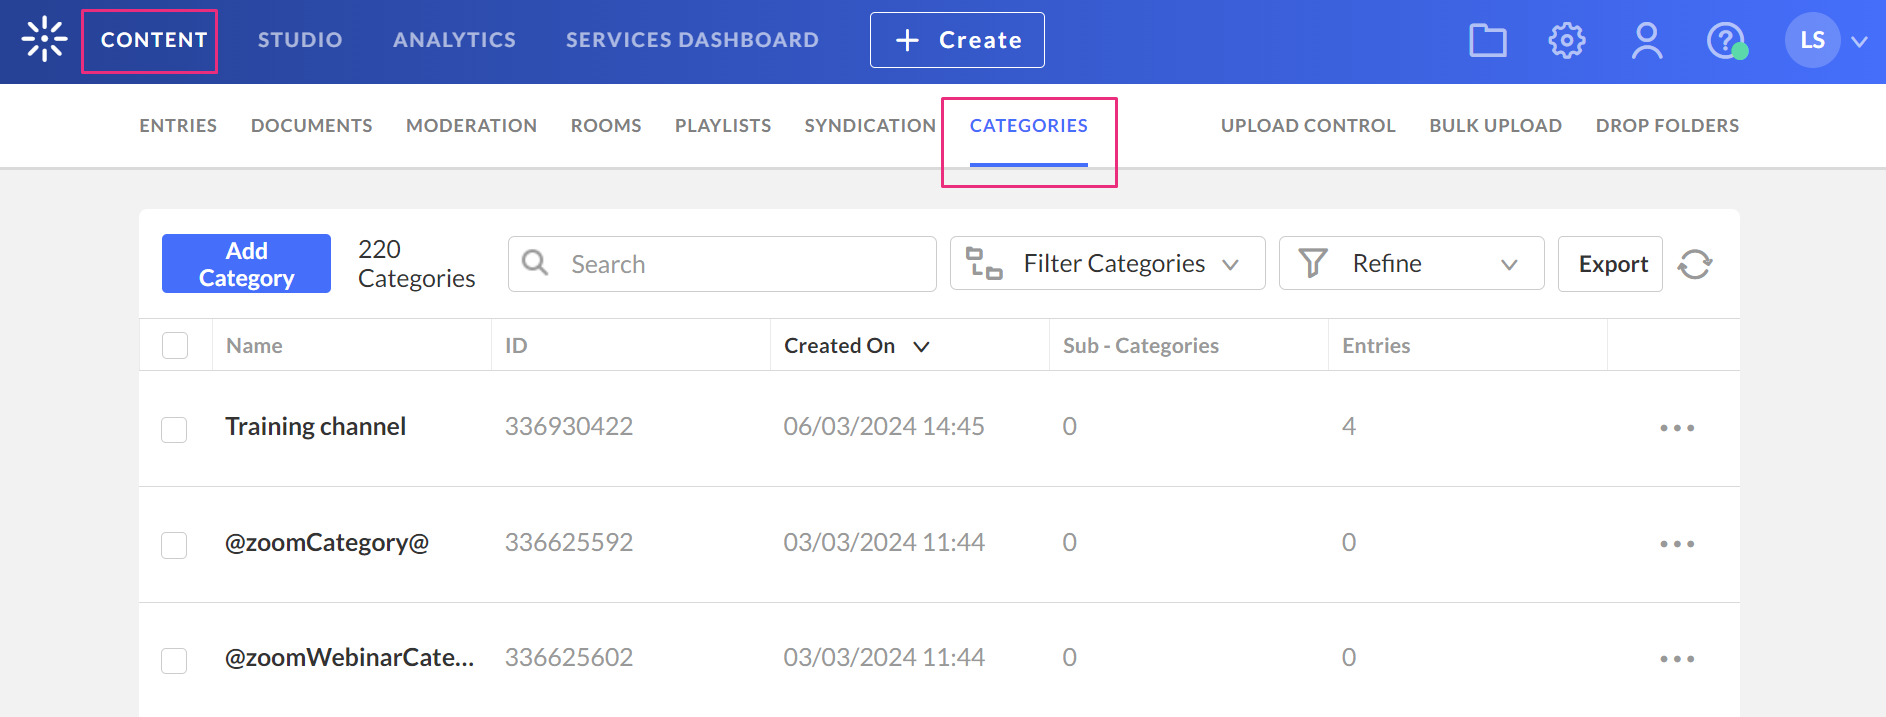
To make recordings easier to manage, you can assign all Zoom recordings to a dedicated category. This also allows you to filter and search more easily. For more information, check out our article Search and Filter Media.
View recording metadata
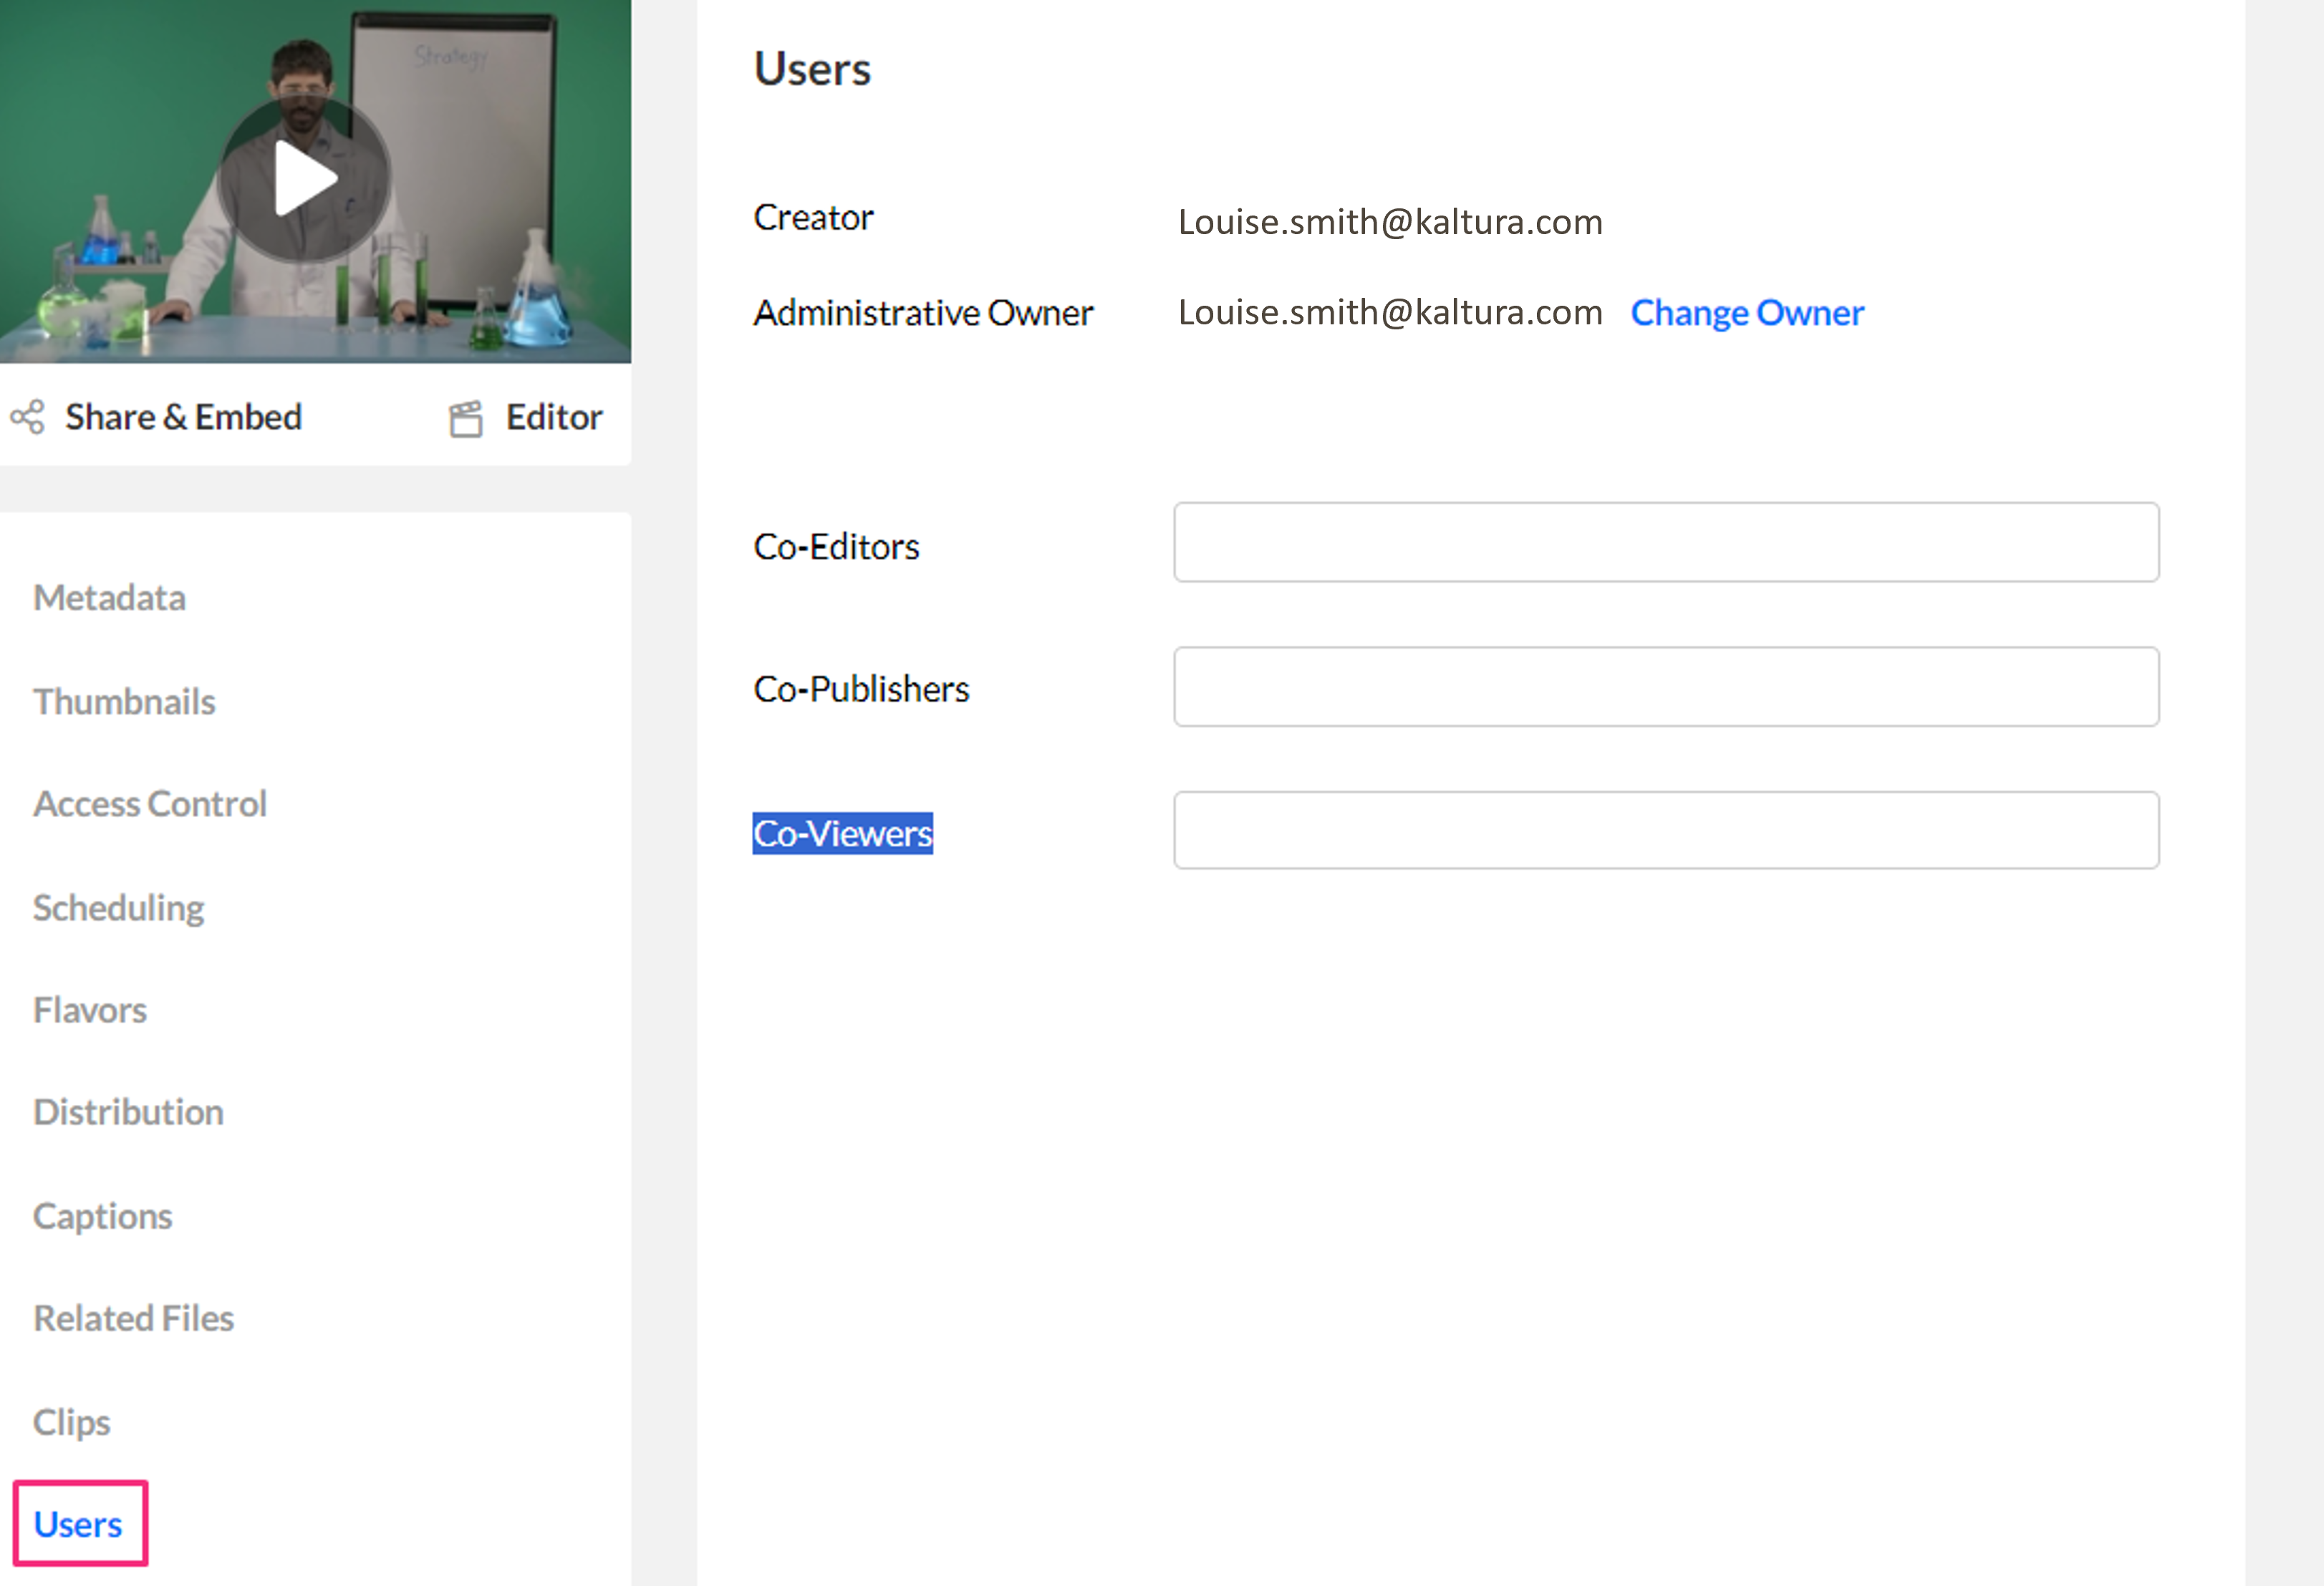
1. In the entry details page, select the Users tab. You'll see the following information:
- Creator - Zoom host or default Kaltura user ID
- Owner - Zoom host or default Kaltura user ID
- Co-editors / Co-publishers (optional) - any alternate Zoom hosts.
2. Select the Metadata tab to view the Category information:
- Category (optional) - top-level category as defined in the Zoom application
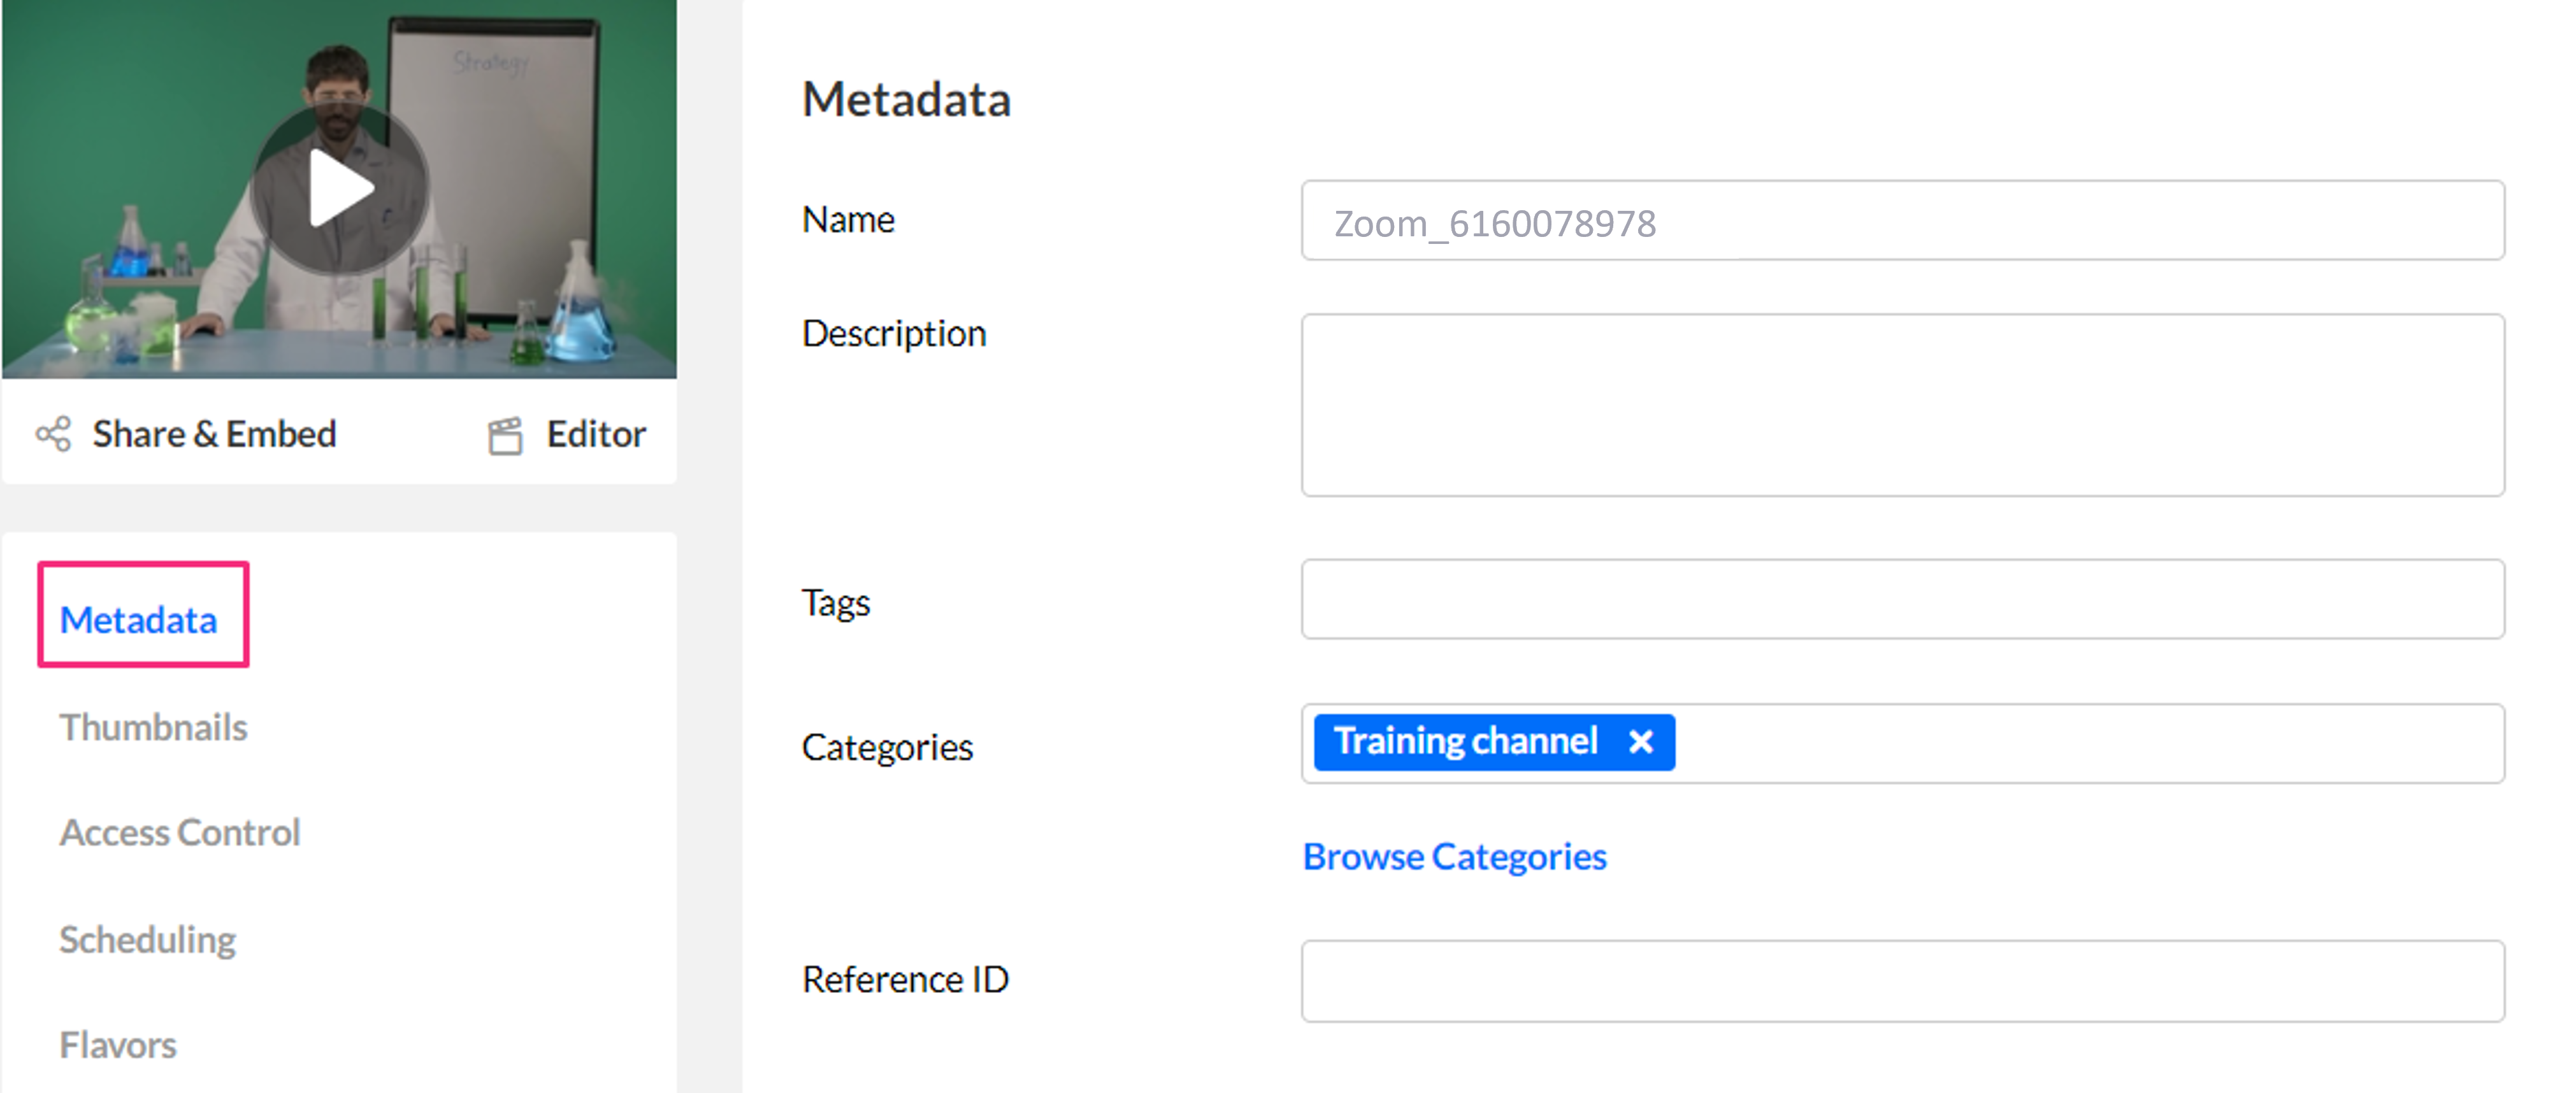
- Description - Includes the Zoom recording ID and meeting time (displayed in Zoom’s event time format, e.g., UTC/GMT with a “Z” suffix)


Delete recordings
You can delete individual or multiple Zoom recordings directly from the Zoom category.
Delete a single entry
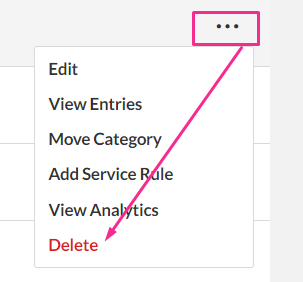
- Locate the Zoom category name that was assigned to your account.
- Find the entry you want to delete and and click the three-dot menu on the right.
- Select Delete.

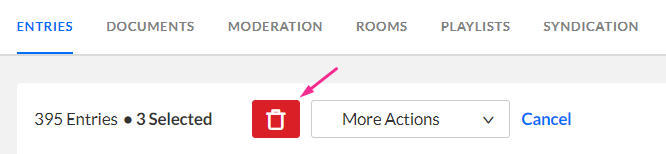
Delete multiple entries
- Select the checkboxes next to the recordings.
- Click the trash can icon at the top of the page.
Zoom transcoding
Kaltura automatically applies a transcoding profile to Zoom recordings to support playback on different devices. Here's how it works:
- Fewer than two non-source flavors are created
- The source flavor is not part of MBR (multi-bitrate) playback
- The highest bitrate flavor does not match the original source
