About
Automation Manager provides reports and email notifications to help you track rule activity and understand what actions were performed on your media.
Use notifications to stay informed during each stage of a rule run, and use reports to review results, audit activity, or share data with other teams.
How notifications and reports work
- Notifications are sent automatically based on rule settings.
- Reports are generated each time Automation Manager scans media or performs actions.
- Notifications and reports are configured per rule.
- Reports can be downloaded as CSV files.
Configure notifications
Access the notifications tab
- Log into your Rich Media Content Management System.
- In the top navigation menu, click the settings (gear) icon at the far right.

The Account settings page opens.
- Click the Automation Manager tab at the far right.
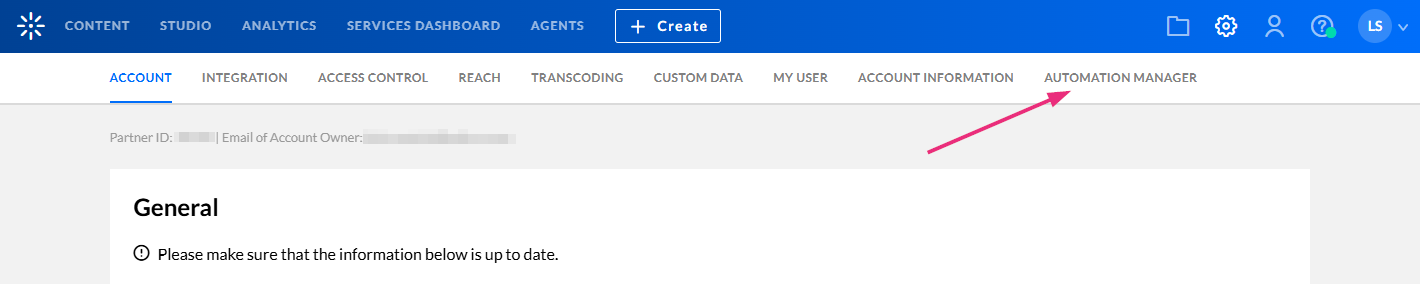
If you don't see the automation manager tab in your Rich Media CMS, you need to enable it on your account. In addition, only users with certain roles can access the automation manager.
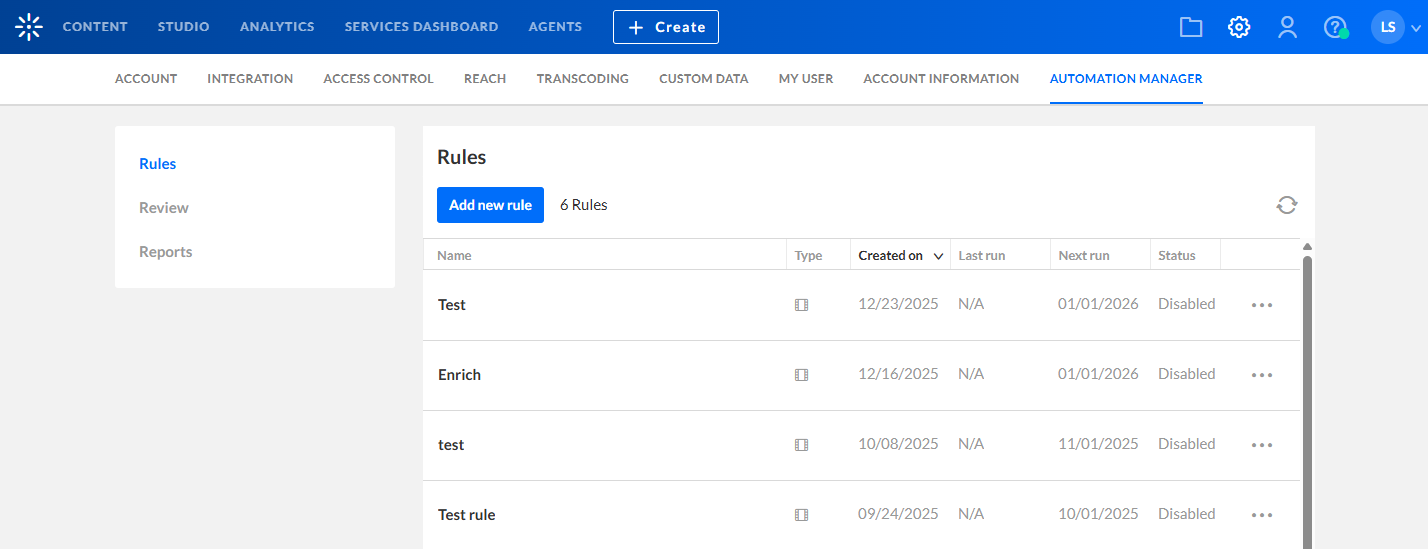
The Rules page displays. Here you can view any rules that have already been set up on your account.
-
On the Rules page, click the three dots at the end of the row of an existing rule and select Edit.

- In the left navigation panel, click Notifications.


The rule configuration screen opens with the General tab selected by default.

The 'Notifications' page opens.

Notification types
You can enable one or more notification types for each rule:
- Post-entries scan notification -Sent after Automation Manager scans media and identifies items that meet the rule’s criteria. Use this notification to confirm how many media items were selected.
- Pre-action notification - Sent before actions are performed. Use this notification as a reminder that the review period is ending and actions are about to run.
- Post-action notification - Sent after actions have been performed. Use this notification to review what actions were applied and confirm completion.
Configure notification settings
1. Click Edit next to the notification you want to edit.

The 'Edit email notifications' window opens.
 Post-entries scan notification
2. Edit your notification as desired. Each notification has the following configurable settings:
- Email scheduling - Number of days before actions are performed (relevant to pre-action notification only).
- Send to - Check the box next to your preferred recipient:
- Rule owner - Enabled by default for every new rule
- Entry owner - Available for Post-entries scan and Pre-action notifications
- Custom list - Start typing a username, and suggestions of existing users on the account will be automatically provided.
- Email subject - Customize the subject line of the email that will be sent out.
- Email body - Customize the body line of the email that will be sent out.
3. Click Save.
Email templates can be customized for each rule and specific email. All emails support the following tokens: {user.firstName}, {scanDate}, {profileName}, {actualExecutionDate}, {plannedExecutionDate}
View and download reports
The Reports tab displays and allows you to download reports generated by the automation manager for your account. It shows only reports that are in 'Ready' status.
Access the reports tab
- Log into your Management Console.
- In the top navigation menu, click the settings icon at the far right.
The settings navigation menu displays.
- Click the Automation Manager tab at the far right.
If you don't see the automation manager tab in your Rich Media CMS, you need to enable it on your account. In addition, only users with certain roles can access the automation manager.
The Rules page displays. Here you can view any rules that have already been set up on your account.
- In the left navigation panel, click Reports.

The 'Reports' page opens.

Reports page overview
The Reports page shows Automation Manager reports for your account. Reports are generated after a rule scan, test, or action runs.
When reports are available, the table includes the following columns:
- Rule - the name of the rule associated with the report
- Date - date the report was created
- Number of items - number of records in the report
- Type - there are three types:
- Scan - this report is generated every time entries are scanned
- Test - this report is generated every time a test run was performed
- Action - this report is generated every time actions were performed
The columns are sortable by date, number of items, and type. You can use the filter at the top right to filter the reports.

The reports can be filtered by the following:
- Date - enter the desired date in the date picker
- Rule - filter by rule
- Type - filter by type (scan / test / action)
Download report - Click Download Report at the end of the row to download the report of that entry.
