If you're setting up a new event, we recommend using Live Studio, our modernized live event experience. See Introduction to Live Studio for more information. If your organization is still using the legacy webcasting product, this article still applies.
Webcasting administrators can add a Webcasting events through the Webcasting Calendar. To access the Webcasting Calendar View, select My Calendar from the user drop down menu in Kaltura MediaSpace.
Only administrators/users who were configured in the Kwebcast Module can create Webcast events using the Webcasting Calendar. All other users should add Webcast events as described in Creating a Webcasting Event.
Admins that create Webcasting Events through the Add New menu should note that the additional fields Projected Audience and Resources will be displayed only to admins that were configured in the Kwebcast Module and not to other users.
- Select My Calendar from the user drop down menu.
- On the Webcasting Calendar page, click Add Webcast Event.
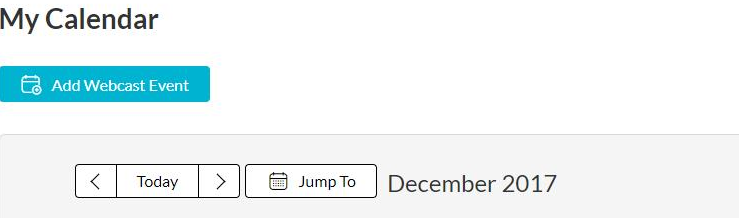
The Schedule a Webcast Event screen is displayed.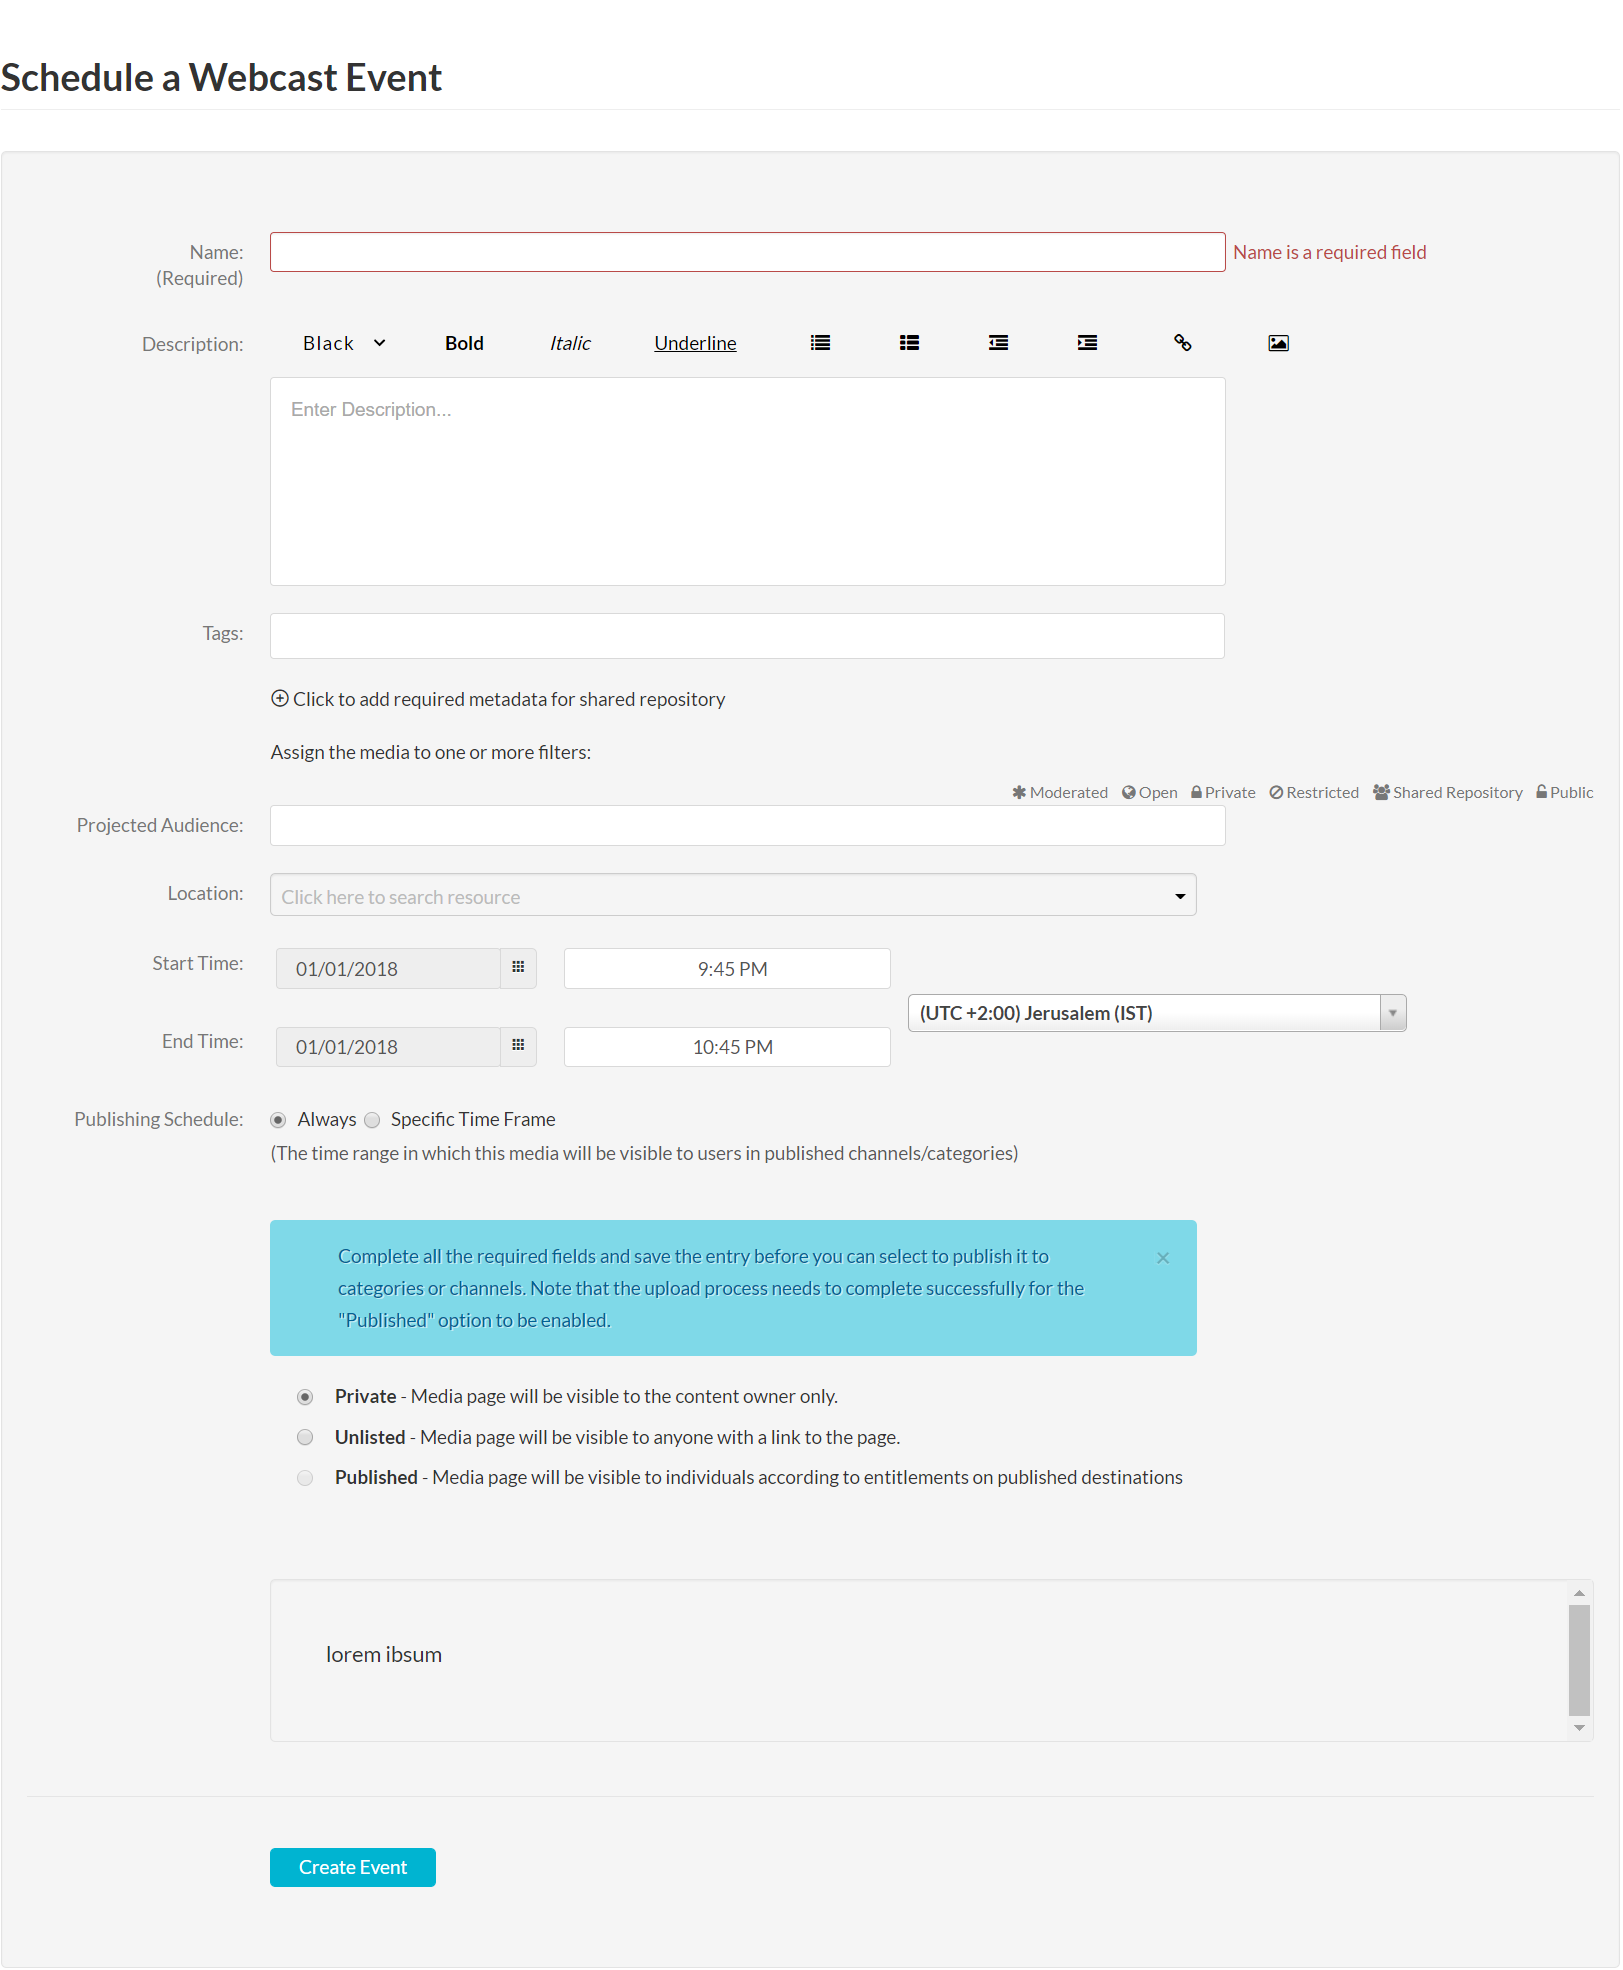
- Enter values for the following fields to describe the event.
- Name - Used and displayed in the event page Webcasting created for each event
- Description - Used and displayed in the event page Webcasting created for each event.
You can use the editing tools in the description area to apply basic formatting to the text and include hyperlinks and images. - Tags - Add event tags to describe the event and make it easier to find when browsing or searching. Tags are a non-hierarchical keyword or term assigned to an entry to help describe the entry and allow it to be found again through a search.
- Projected Audience - Enter a number for the anticipated amount of viewers. This field is helpful for admins to look across the week and see when there are concurrent events for a lot of viewers. When this field is configured, it will display on the My Calendar page.
- Location - Enter text for one of the pre-defined resources, autocomplete is available, or, click on the drop down menu to display the list of pre-defined resources that can be selected. You can select multiple resources.
- Select the Time Zone from the drop down menu.
- Select the Start Time and End Time - make sure to include enough buffer in case the event continues beyond the allotted time.
The default Start Time uses the current date and the current time is rounded up to closest full hour. The default End Time uses the current date, start time + 1 hour. The minimum recording time is 15 minutes.
- Click Create Event.
You will be prompted to define the event's privacy level. You can change the privacy level of the event at a later time. - Select the publishing option for the Webcasting event.
It is recommended that you first create a private event and only publish the event after you're done editing it.- Private - Media page will be visible to the content owner only.
- Unlisted - Media page will be visible to anyone with a link to the page.
- Published - Media page will be visible to individuals according to entitlements on published destinations; it will also appear in the MediaSpace Events page. Selecting this option adds the Categories and Channels selection tabs.
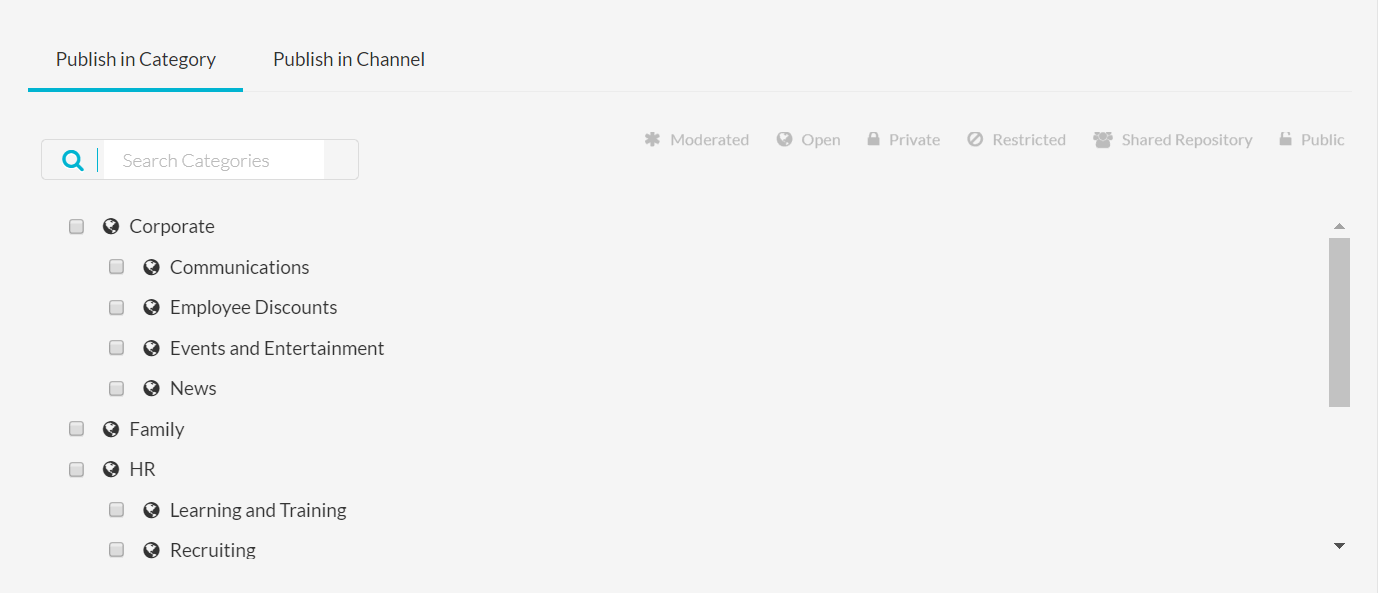
- If you are not sure about the categories and channels you want to publish to, you can save the event as Private or Unlisted and return to these options at a later time using the Publish button.
- Click Save to save changes or click Edit Webcast to complete the webcast event definition and functionality.
- Click Go to Media to view the Event page.
- To continue editing the event, see Editing a Webcasting Event.


Be certain that you have configured the admins in the Kwebcast Module, that you export the Live Stream Details to the encoder, and that all other relevant parameters are set.
