About
Adding your organization's logo helps users recognize your site as yours as soon as they open it. The logo appears in your site's header, and also in the footer and on the login page.
In Content Hubs and the legacy Video Portal, you add your logo in the Header module, where you also choose what happens when users click it.
Logo image requirements
For the best results, your logo image should match these guidelines:
- File type: Use a JPG, PNG, GIF, or WebP image.
- Background: A PNG with a transparent background works best, because it looks good with both light and dark headers.
- Size: In the site header, footer, and login page, the logo displays at a maximum of 140 px wide and 36 px high. On registration pages that use the Header module logo, it displays at a maximum of 343 px wide and 48 px high. Larger images are scaled down to fit, without changing their proportions.
Add your logo
- Go to your Configuration Management console, locate the Header module in the left panel, then select it. You can also navigate directly using a link:
https://{your_site_url}/admin/config/tab/header - Configure the following:
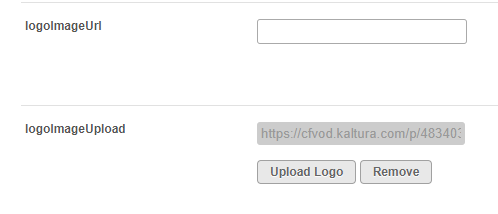
- logoImageUrl - Enter the URL of your logo image. If you also upload an image in logoImageUpload, the image at this URL is used.
- logoImageUpload - Click Upload logo, and select your logo image. To remove it, click Remove.
- logoAltText - Enter alt text for the logo. Screen readers read this text, and it appears if the image can't load.
- logoLink - Enter what happens when users click the logo:
false- The logo isn't clickable.home- The logo opens your homepage.- A full URL, starting with
http://orhttps://- The logo opens that page in a new tab.

- Click Save.
The Header page displays.

Go to your site to see your logo in the header. You might need to refresh the page.

