About
This article walks you through how to add users to a gallery in your Video Portal and assign them the appropriate permission levels.
These instructions are for Theming users. If you want to learn more about Theming, check out our article Video Portal Theming tour.
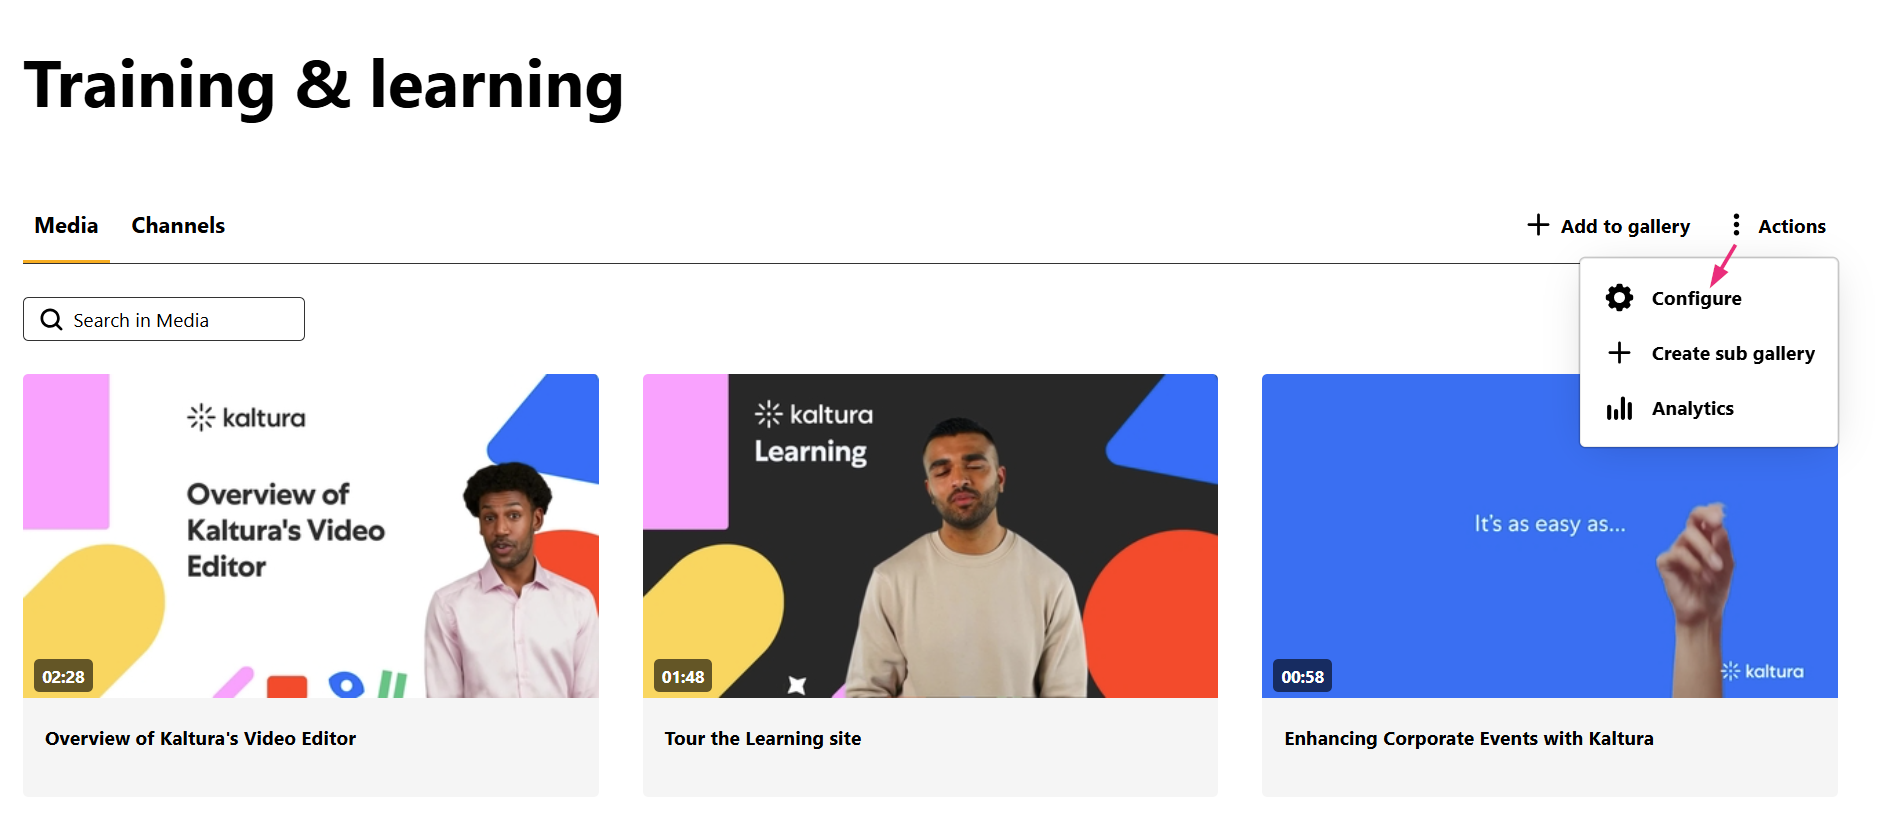
Access the gallery configuration
- In your Video Portal, select the desired gallery from the navigation bar.
- On the gallery page, click the Actions menu at the far right and select Configure.
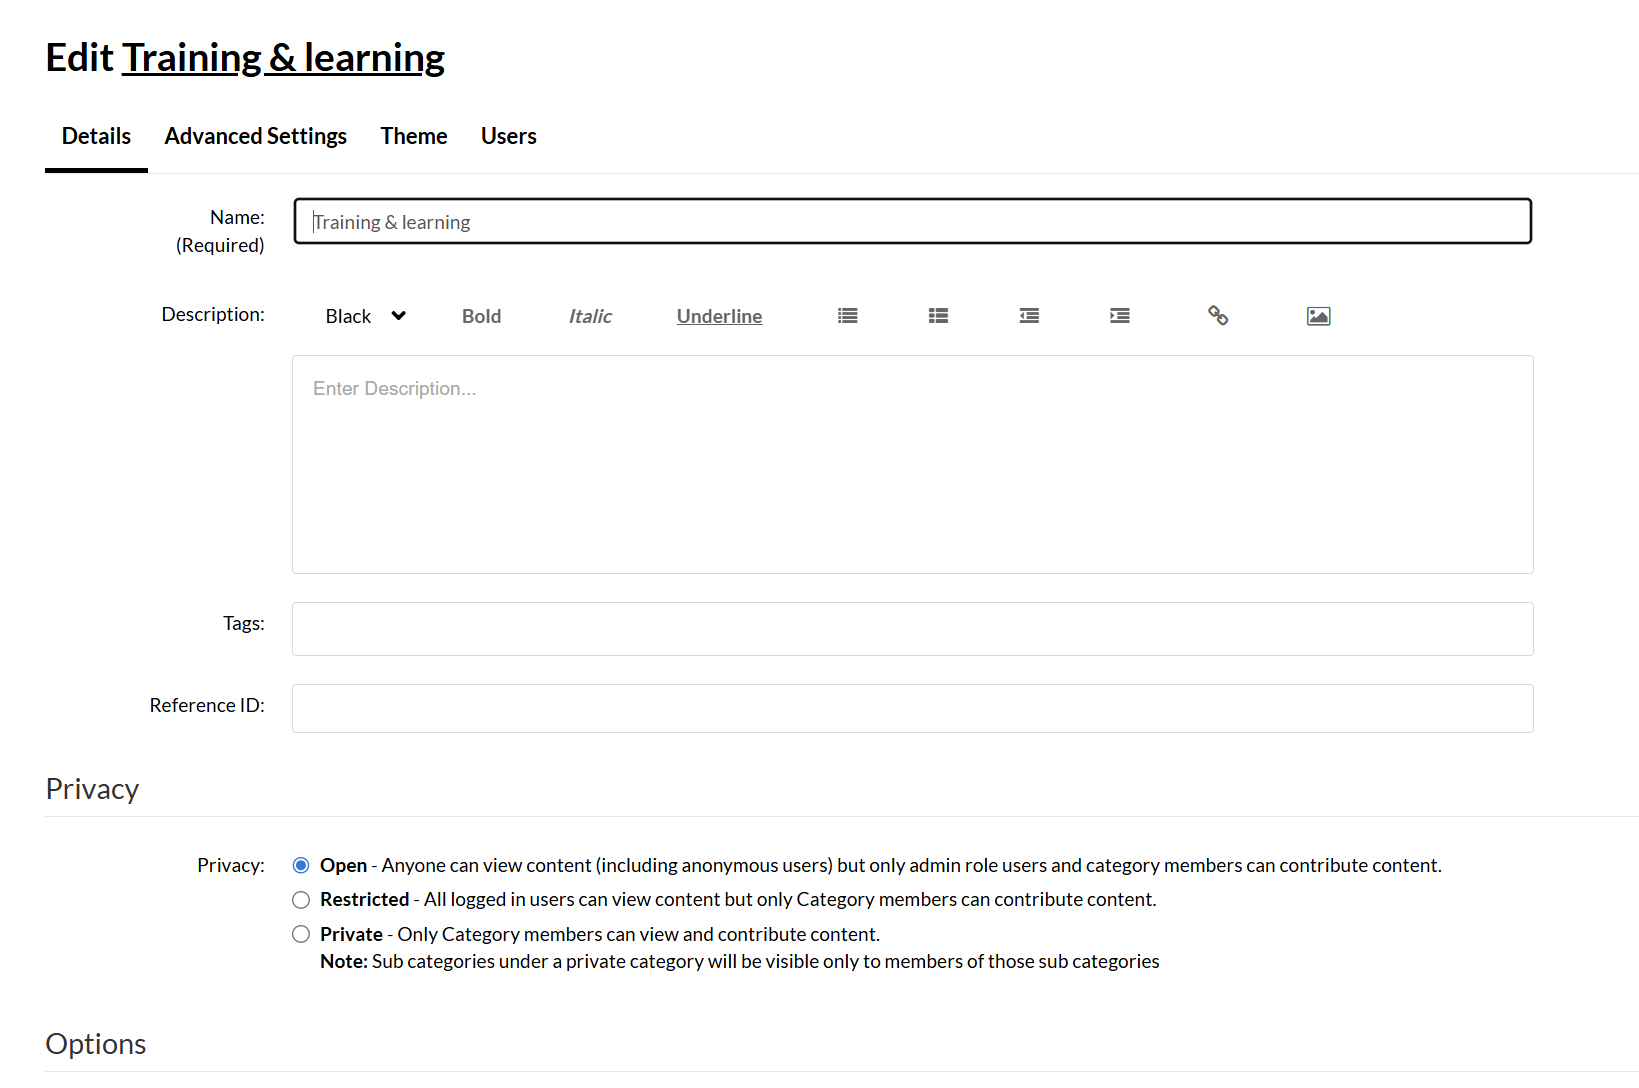
The edit page displays.

The gallery page displays.


Add users
- On the edit page, click the Users tab.
- On the Users page, click Add Users at the far right.
- Begin typing a user or group name, then select the correct entry from the dropdown list.
- Choose the user's permission level:


- Member – Can view gallery content.
- Contributor – Can view and upload content.
- Moderator – Can upload and moderate content.
- Manager – Can manage content, update settings, invite users, and delete the gallery.
5. Click Add to save the new user.
The new user appears in the list.

If you are in a sub-gallery, you can click the arrow icon to quickly copy users from the parent gallery.

Edit a user's role
- To change a user’s role, click the pencil icon in the Actions column.
- A drop-down menu displays in the Permission column. Select a new role from the dropdown.
- Click the save icon to save your changes.


Remove a user
In the Actions column, click the X icon to remove a user from the gallery.

A confirmation box displays. Click Yes to continue.

Transfer ownership
If you're the current owner, you can click the key icon in the Actions column to assign ownership to that user.

A gallery can only have one owner at a time.

