About
This article explains how to add the Kaltura Media Gallery to a Blackboard Ultra course. Faculty and administrators can make the Media Gallery available either as a course tool (from the Books & Tools menu) or as a course content item (from the Content Market).
The Media Gallery provides a shared course-level space where instructors and students can upload, publish, and view media related to a specific course.
Option 1: Add the Media Gallery from Books & Tools
- In your course, click on the Books & Tools menu.
- Locate the Kaltura Media Gallery (the name may vary depending on your institution.)
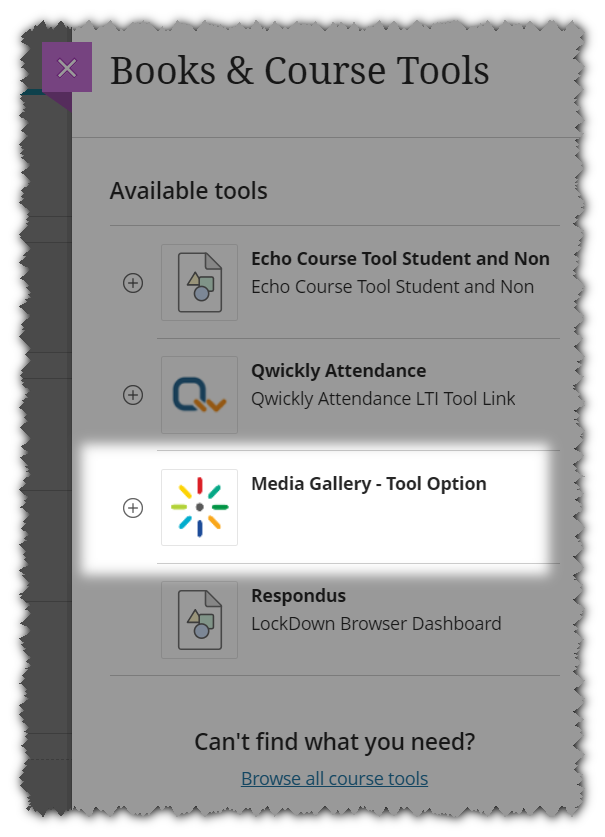
- Click on the logo or the entire placement to launch the Media Gallery tool directly from here.
- If a + (plus) icon appears next to the Media Gallery:


- Click the + to add it directly to your course content page, or let your students know they can access the Media Gallery from the Books & Tools menu.
Option 2: Add the Media Gallery from the Content Market
- In your course, click on a “+” (plus) in the Course Content area.
- Click on the Content Market.
- In the Institution Tools, locate the Kaltura Media Gallery (name may vary).
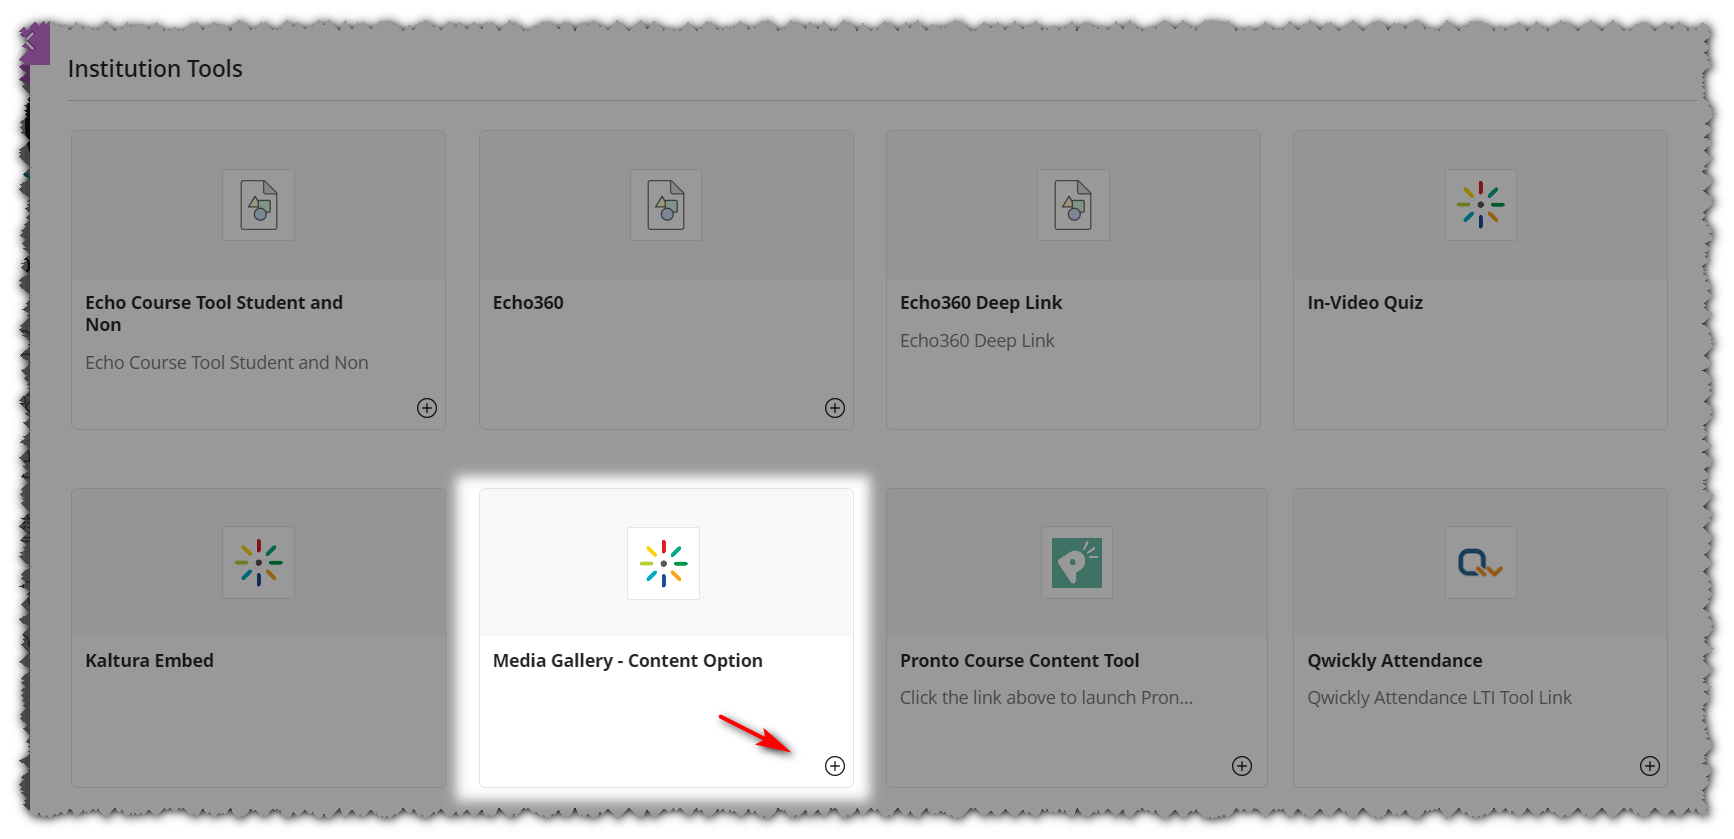
- Click the + (plus) icon to add it to the course, or launch the tool directly from here.


The Media Gallery will now appear as part of your course navigation or content flow, depending on where you added it. Students and instructors can use it to upload, view, and manage course media.
