About
Kaltura supports several publication restrictions to control content access based on business needs. These restrictions can be applied individually or set automatically for groups of items during upload via a bulk upload CSV file or using Kaltura’s APIs. See Kaltura API documentation.
An Access Control Profile lets you define where your content can be displayed or viewed, including specific domains, countries, and IP addresses. Use the Access Control tab to view or create profiles.
Controlled access provides authentication and authorization using a Partner ID and one of two “secrets” to generate a Kaltura Session token (KS) for API calls.
You can also segregate content for different user groups and audiences, creating channels for specific users while making other content public. Access profiles help manage groups and users based on your identity management system.
View profiles
- Log into your Rich Media CMS.
- Click the settings icon.

- Click the Access Control tab.
The access control profiles page displays.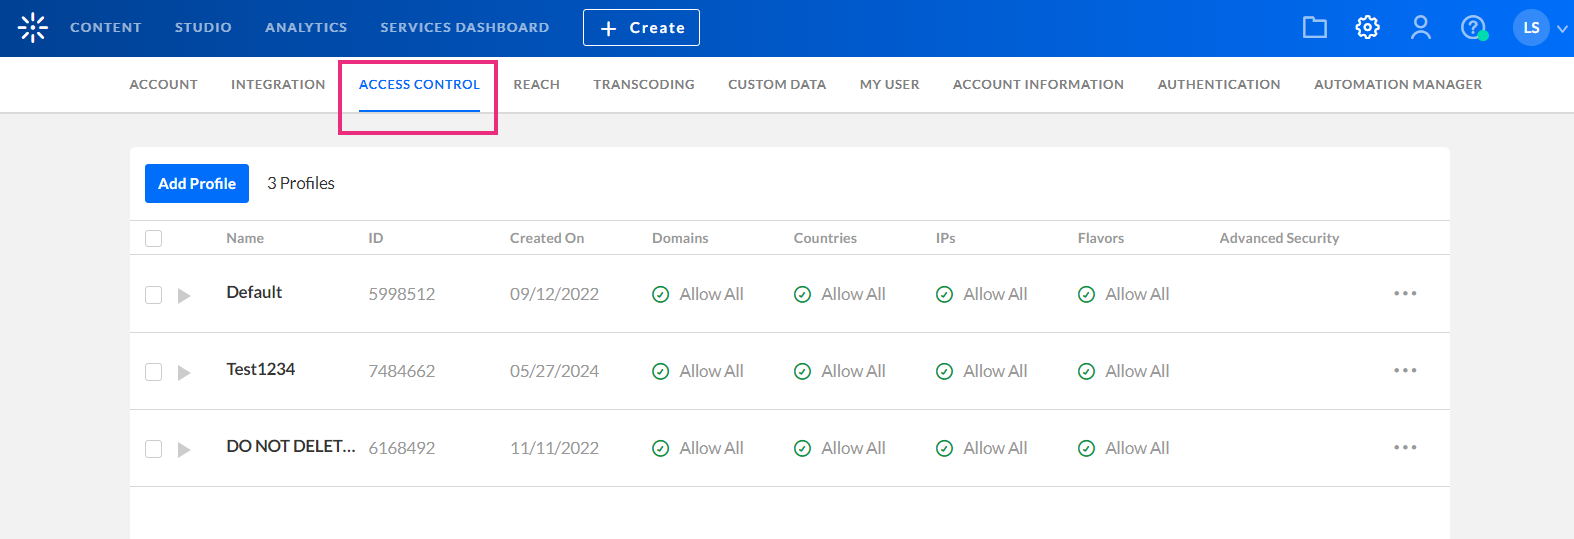


A default profile permitting access to all is automatically set up for you.
The access control profiles page displays a table with the following information:
- Profile name
- Profile ID
- Created On date
- Domains, countries, IPs, and flavors allowed or blocked for that profile
- Advanced security

Click the arrow to the left of a profile to display information about that profile.

Create a profile
- On the access control profiles page, click Add Profile.
The Add Access Control Profile window displays.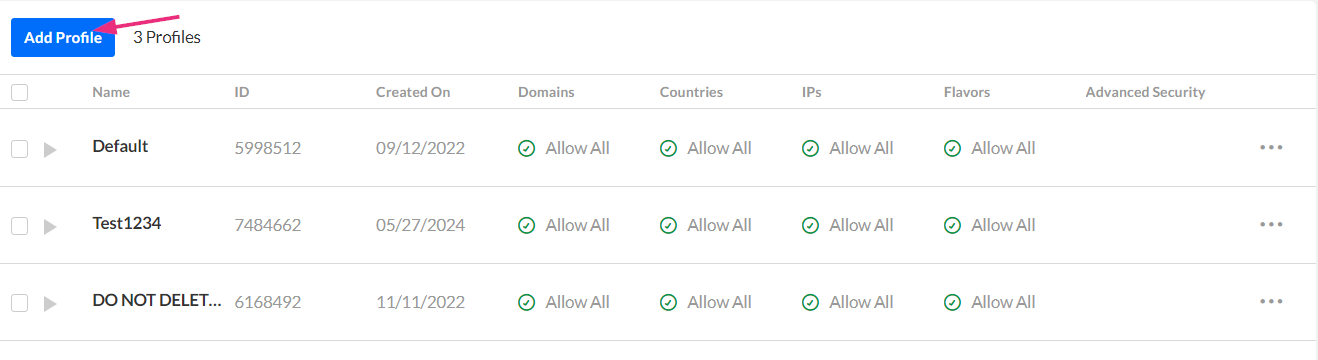
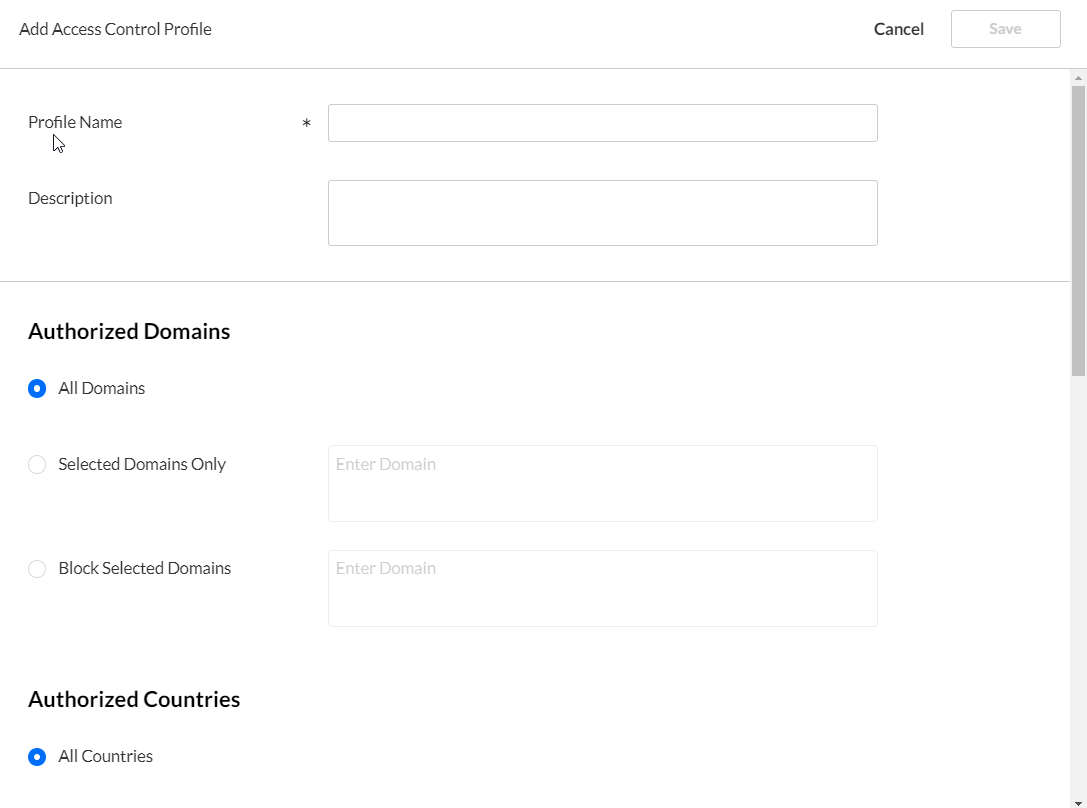
- Enter an informative Profile Name and Description for the profile.
- Configure the rest of the settings as explained below:


Authorized Domains
Restricting content playback to specific domains helps prevent unauthorized sharing or scraping of your content. You can create a "white list" of approved domains where your content can be played, and a "black list" of domains where playback is denied. You can also use a combination of both to control where your content is accessible.
Select one of the following options:
- All Domains – Content will display in all domains.
- Selected Domains Only - Enter the sites where you want Kaltura content to be displayed. Press Enter after each domain you add to continue.
- Block Selected Domains - Enter the sites or list of domains that are not allowed to display Kaltura content. Press Enter after each domain you add to continue.
If you're using Access Control Profiles and embedding a V7 player, remember that domain restriction isn't supported with Iframe embeds. This is because the referrer is always taken from the parent domain, and Iframes don't have access to parent domains.
Authorized Countries
You can set geographic restrictions by creating a "white list" or a "black list" of specific locations. This limits or enables playback attempts of content for users in these areas. For instance, if you set geo-restrictions for a Kaltura Player entry with Spain on the white list, it'll only be playable by viewers in Spain, regardless of the domain it's on.
Select one of the following options:
- All Countries – Content will be displayed in all countries.
- Selected Countries Only - Select one or more approved countries that will be allowed to display content. You can also use the search field to find a country.
- Block Selected Countries - Select one or more countries that will not be allowed to display content. You can also use the search field to find a country.
Click any of the selected boxes again to undo the selection.
Authorized IPs
Restrict content viewing by specifying IP addresses or ranges. Decide which IP ranges can access the content.
Select one of the following options:
- All IPs – Content will be displayed for all IP addresses.
- Selected IPs Only - Enter the approved IPs. Press Enter after each addition.
- Block Selected IPs - Enter IPs that should be excluded from content viewing. Press Enter after each addition.
Authorized Flavors
You can control content view by flavors, deciding which ones are allowed for playback, download, and DRM licensing. This adds an extra layer of security enforced by the Kaltura server, enhancing player tag-based flavor controls.
Select one of the following options:
- All Flavors – content will not be restricted by access control for any flavors
- Selected Flavors Only - Select the flavors that will display content.
- Block Selected Flavors - Select the flavors that should be excluded from content viewing.
Click any of the selected boxes again to undo the selection.

Advanced Security and Pay-per-view
This provides a higher level of security , relevant for pay-per-view models and premium content.
Restricting a Kaltura Session
When user authentication is handled externally to Kaltura, an Advanced Kaltura Session (KS) based Access Control mechanism is recommended. Here's how it works:
An external entitlement mechanism determines user entitlements and generates a valid Kaltura Session when necessary. This process is used in scenarios such as paid content with non-Kaltura payment gateways or single-sign-on systems using LDAP or other authentication mechanisms.
For enhanced security, a Kaltura Player marked with tokenized access requires a “session token” for each playback. This token can only be created by a developer with valid credentials and expires after a limited time. Thus, even if an attempt to grab the item’s direct URL is successful, the playback session will soon expire, and without valid credentials, regeneration of a new token will not be possible.
Tokenized access effectively prevents unauthorized content access and sharing, safeguarding against scraping of content from your website or re-sharing on unauthorized sites.
Pay-per-view
You can enable paid programming with a video preview, and easy, on-the-fly payment options for full video access.
Secure this video with server side secret - switch toggle to 'Yes' to enable
Allow Free Preview of - check the box to enable
Followed by a prompt to pay for continued viewing - Enter the amount of time in seconds for the free preview display

When you have finished configuring your new access control profile, click Save.
Edit a profile
- On the Access Control Profiles page, click the three dots to the right of the desired profile and select Edit.
The Edit Access Control Profile window displays.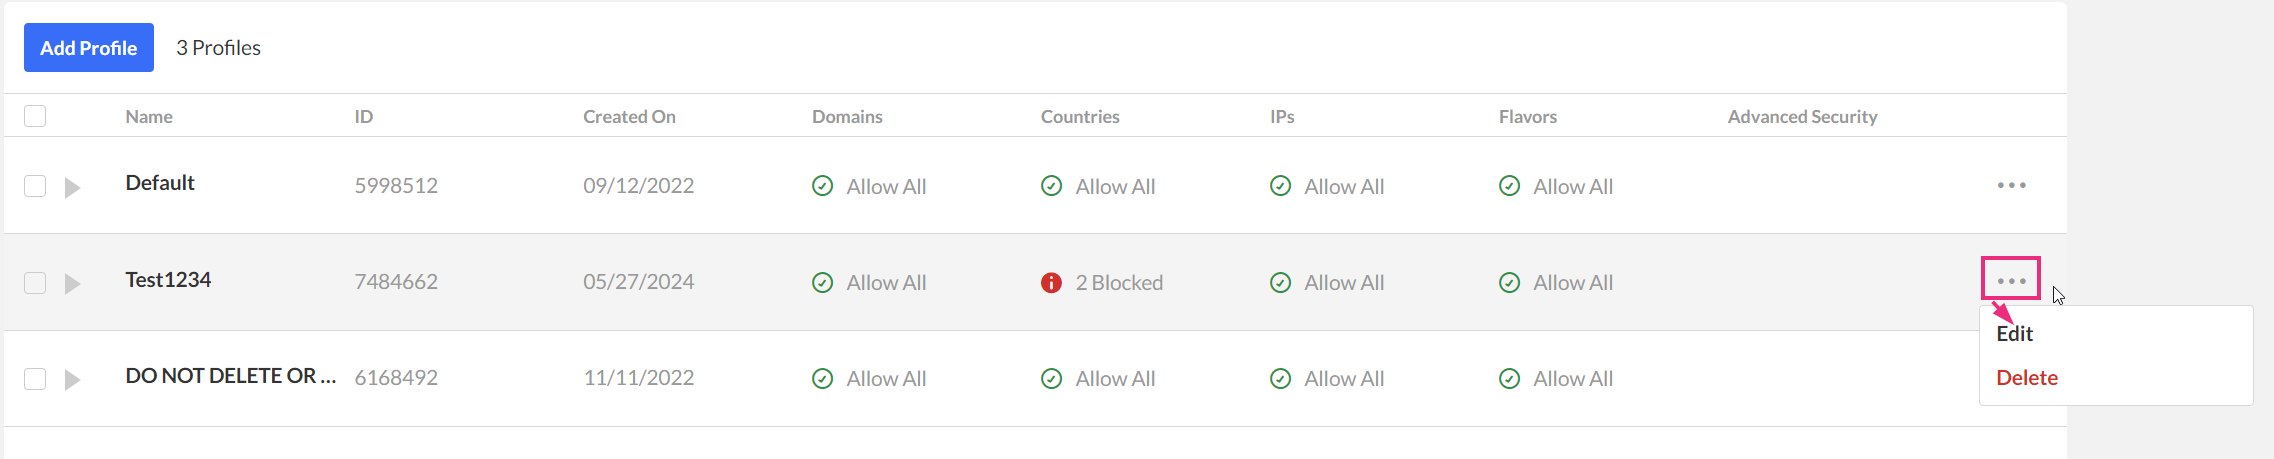
- Modify the profile according to the sections described in Create a profile.

Delete a profile
- On the Access Control Profiles page, click the three dots to the right of the desired profile and select Delete.
A confirmation message displays: After deleting an Access Control Profile, all entries that were associated with the profile will revert to the default profile. Are you sure you want to delete the following Access Control Profile(s):Test1234?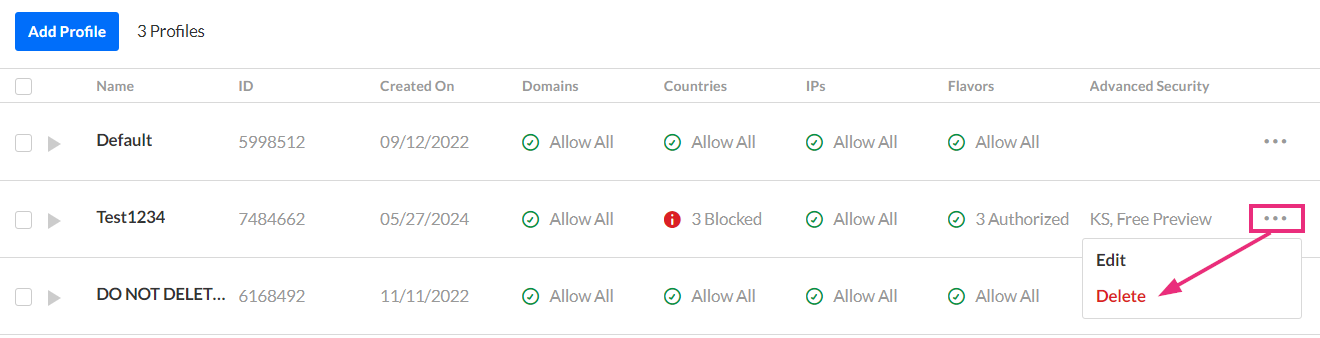
- Click Yes to delete.
The profile is immediately deleted.

For more information see The Kaltura Media Access Control Model.
Learn how to apply an existing access control profile to individual media entries in our article Assign an access control profile to an entry.
