About
Site navigation is the way visitors move through your site's pages and content. The navigation bar generally displays the pages and sections on your site that your visitors can click on and be redirected to.
Applies exclusively to the Video Portal.
This guide demonstrates the Video Portal Theming module. To select your preferred navigation bar when Theming module is enabled, visit navbar settings in the template pages.
Configure
1. Go to your Video Portal Configuration Management console, and navigate to the Navigation module. Your link should look like this: https://{your_KMS_URL}/admin/config/tab/navigation.
The Navigation module displays. 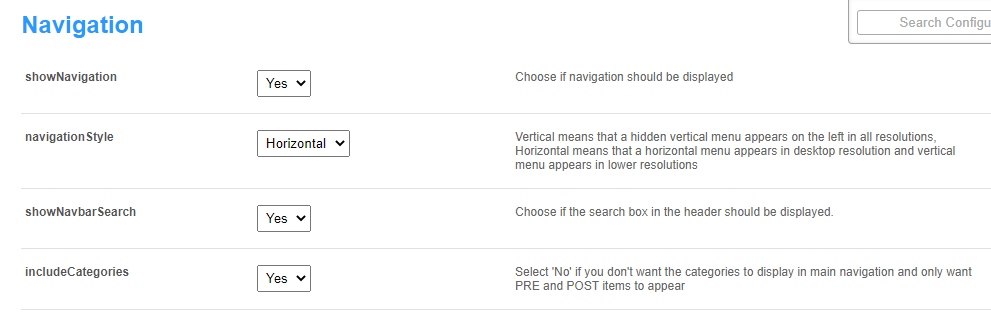
2. Configure the desired navigation style.
showNavigation - The default is 'Yes'.
navigationStyle - Choose whether you want a horizontal or vertical header. Vertical displays a hidden menu on the left side for all screen sizes, while horizontal shows a top menu on desktops and switches to vertical on smaller screens.
showNavbarSearch - The default is 'Yes'. Set to 'No' if you don't want a search box in the header.
includeCategories - The default is 'Yes'. Set to 'No' if you prefer only 'pre' and 'post' items to appear in the main navigation, excluding categories.
For more information about adding a category, read our article Categories.
'Pre' menu
3. Next is the Pre section. This is where you'll add menu items to the beginning of the navigation bar, before the galleries (also known as 'categories'). Your Video Portal displays the items in the order you define here.

Type - Select one of the options:
- Playlist - Enter a playlist ID. This will redirect users to that playlist's page.
- My Media - This will redirect users to the My Media page, and will only show for permitted roles.
- My Playlists - This will redirect users to the My Playlists page.
- Link - Enter any link to redirect users to.
- Category - Choose a gallery from a drop-down list. This will redirect users to the gallery page.
- Entry ID - Enter an entry ID. Will redirect users to that entry's media page.
- Channels page - This will redirect users to the All Channels page.
- My Channels - This will redirect users to the My Channels page.
- Channel - Choose a channel from the drop-down list. This will redirect users to that channel's main page.
- Label - Only input text for a label. You can use this to organize content beneath the label in a hierarchy.
- Partner KMS URL - Enter a link to another Video Portal in the same partner. This enables logged-in users to access that Video Portal without needing to log in again.
- My Content analytics - This will redirect users to the My Content analytics page.
- Custom page - Choose a custom page from the drop-down menu (added from the Custompages module). This will redirect users to the custom page, and will only show if the page is enabled.

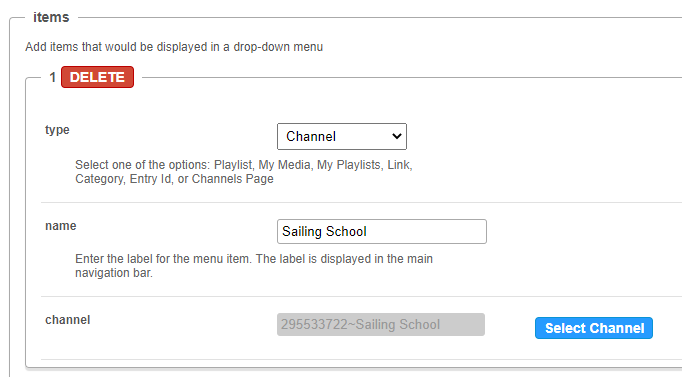
If you choose an item which has a drop-down menu, you can add items to the menu by clicking +Add items.

The items section expands.
type - Select one of the options from the drop-down list.
name - Enter the name of the menu item. The name is displayed in the main navigation bar.
Depending on what you choose from the drop-down list, other options will display:
- value - Enter the menu item's playlist ID or URL.
- sameWindow (displays if you selected 'Link') - The default is 'No'. Select 'Yes' if you want the page to open in the same window.
- category (displays of you selected Category) - Click the blue Select Gallery button and enter the gallery name or ID.
- entryID - Enter an entry ID to redirect users to that entry's media page.
- channel (displays of you selected Channel) - Click the blue Select Channel button and enter the channel name or ID.
- url - (displays if you selected Partner KMS Url) - Enter a link to another Video Portal in the same partner. This enables logged-in users to access that Video Portal without needing to log in again.
- page - Select a custom page from the drop-down list. Custom page in status disabled will not be shown on the menu.
allowedGroups - Choose the group that should see this item. A user who's not in that group won't see this page in their navigation menu.
To create the next pre element, click +Add "pre" and repeat the steps.
If you would like your first item on the header to be a homepage, you can follow the steps in Setup a Homepage.
To learn more about setting up pages for your site, you can read Create and use a template page.
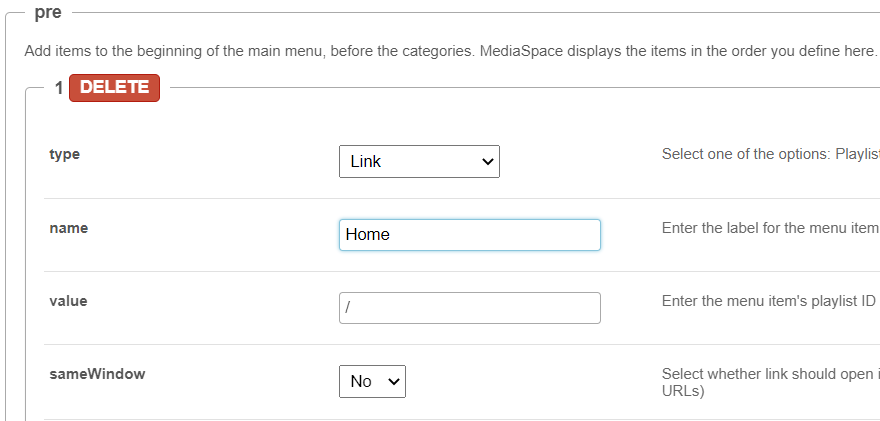
Below is an example with 'Home' positioned as the first item in the navigation bar:
If you'd like to learn more about adding a channel to your navigation menu, you can follow the steps in Create a channel.
'Post' menu
4. Next is the Post section. This is where you'll add items that come after the galleries (also known as 'categories'). Your Video Portal displays the items in the order you define here.
- Click +Add "post".

- Follow the steps in the Pre menu section above.

To create the next post element, click +Add "post" again and repeat the steps.
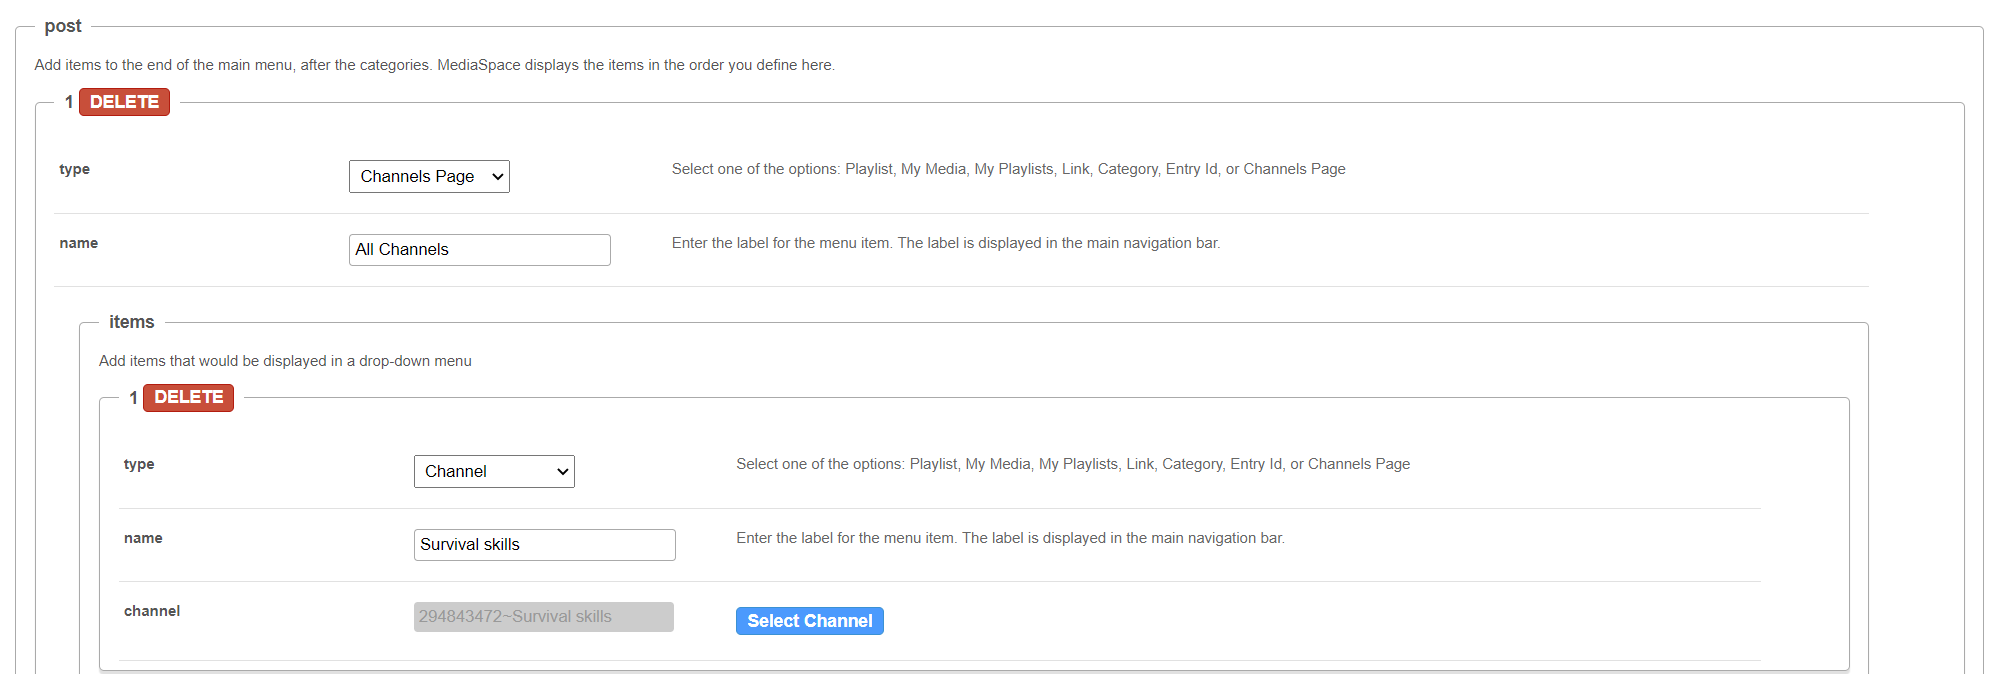
Below is an example of the Channels page as the main link, and the "Survival skills" channel as the first item in the drop-down menu.
5. Finally, when you have finished your configuration, scroll down and click Save.
User experience
 Example of vertical navigation
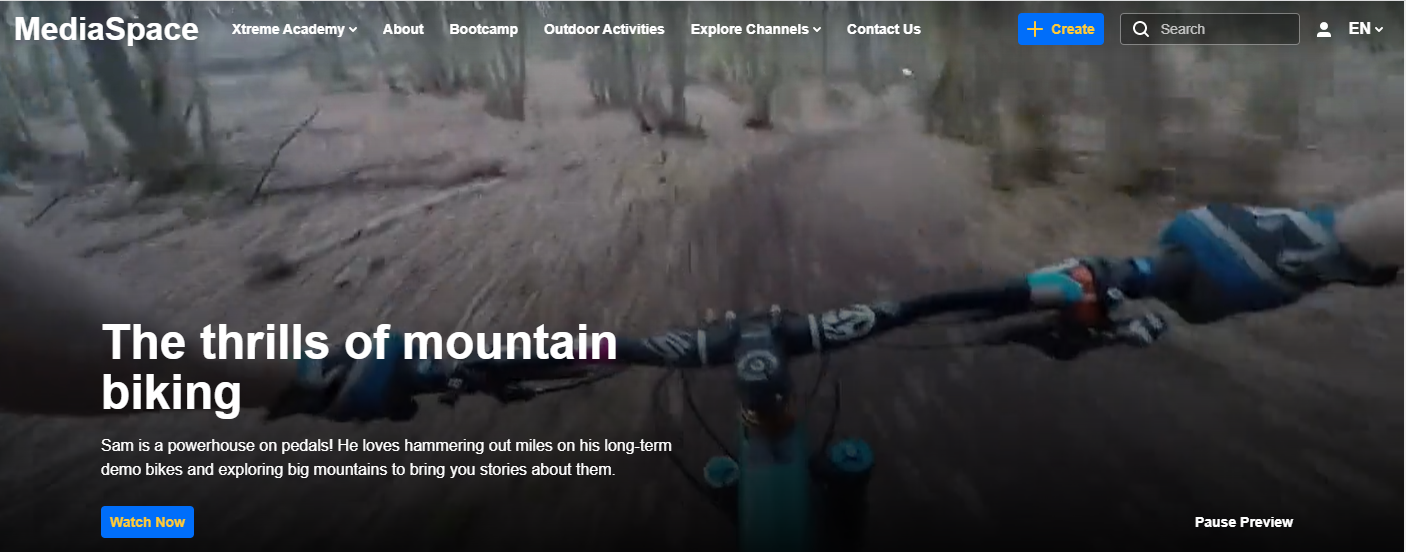 Example of horizontal navigation

