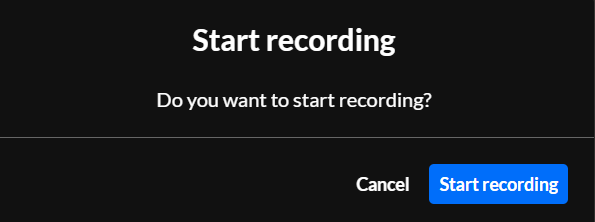
Start recording
- Click Start recording or click the three dots button and choose Record.
 You are asked to confirm your action.
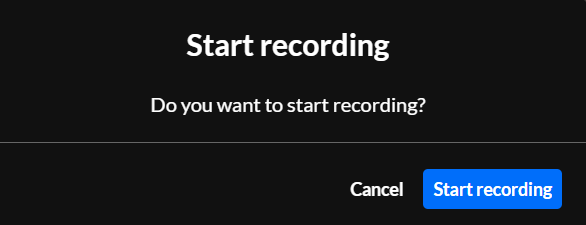
- Click Start recording.
Note the red "record" light in the lower left corner of the screen that indicates you are currently recording.
 You are asked to confirm your action.


Stop recording
- Click the Stop Recording (square icon) button or click on the three dots button and choose Stop Recording.
 You are asked to confirm your action.
- Click Stop recording.
 You are asked to confirm your action.

Automatic recording publishing after webinar ends
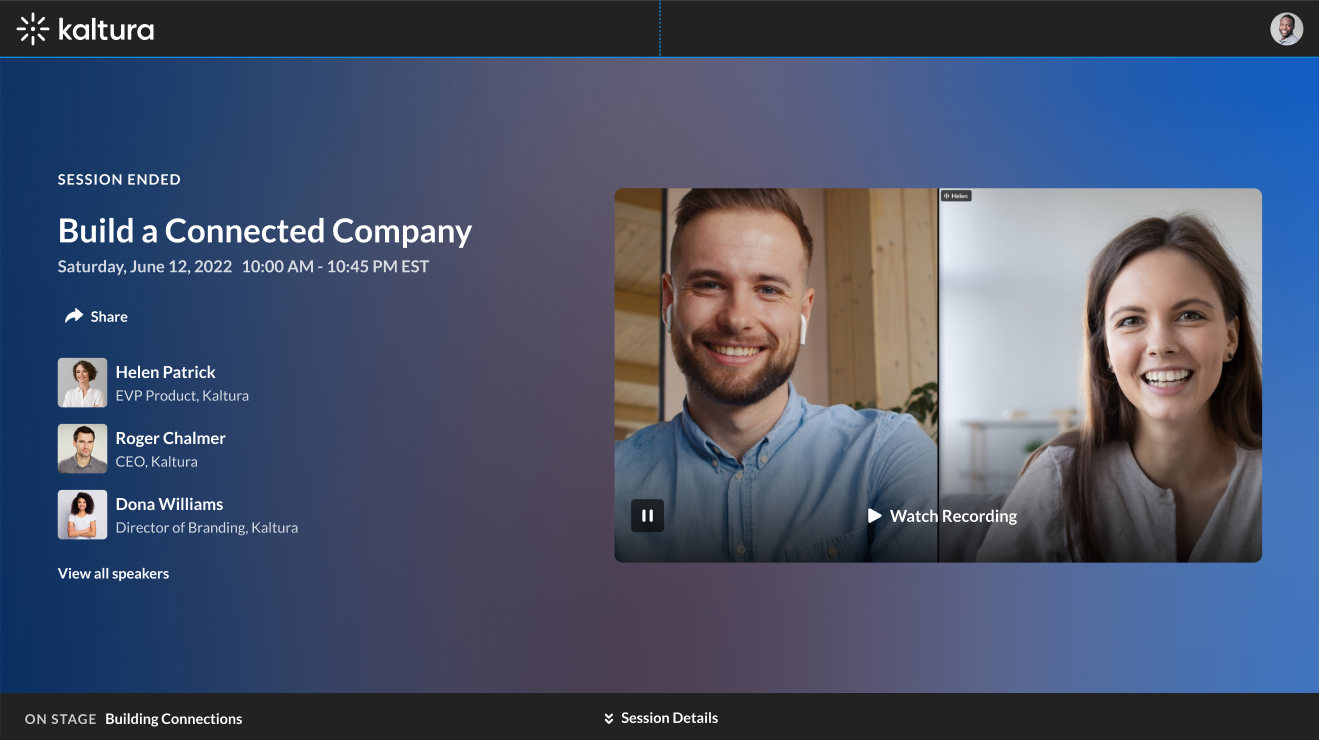
Once you stop recording, a toast message displays asking you to wait for the recording to be uploaded. Another toast message displays informing you once it has been uploaded successfully. The webinar recording is now published.
On the site, the recording has now replaced the live session. Simply click on the player to watch the recording.
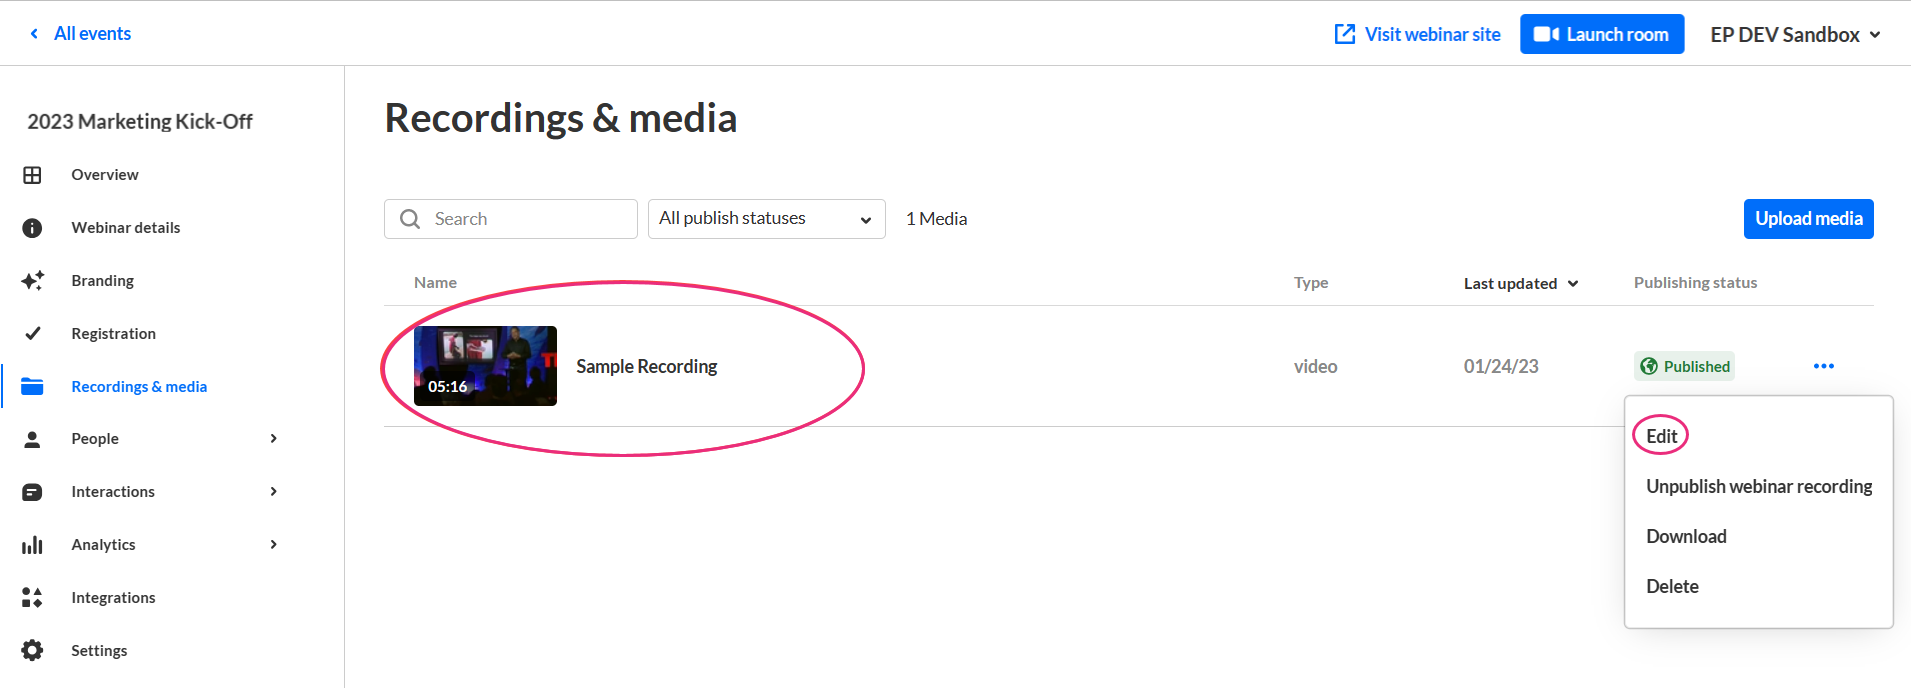
On the management platform, you can find the file on the Recordings & media tab. See the following section for additional functionality.
Additional functionality on the Recordings & Media tab
Edit recording
- On the Recordings & media tab, click on the recording, or click the blue dots button and select Edit.
 The Editing screen displays.
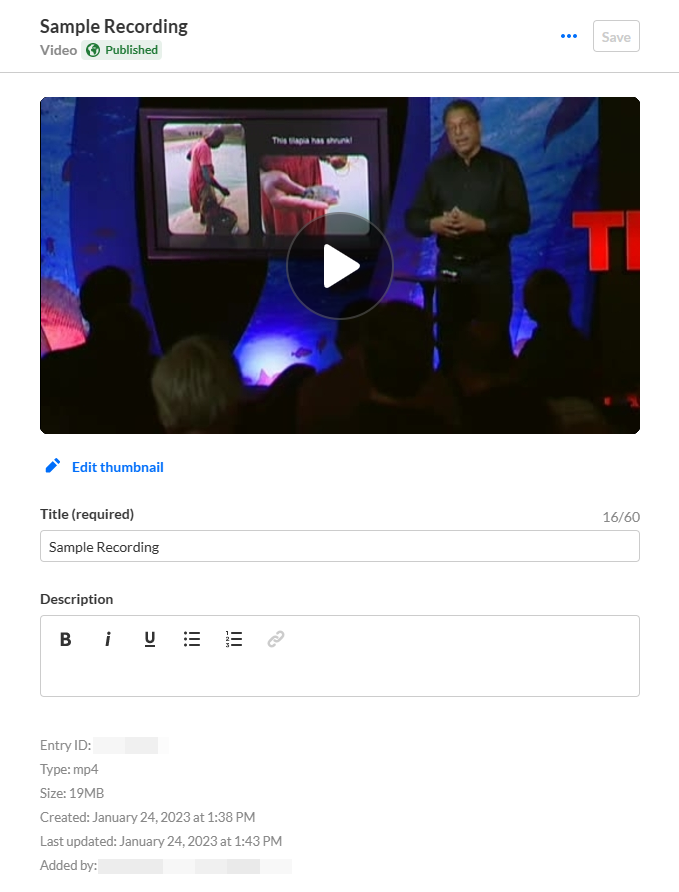
- Here you may edit the thumbnail, title, and description of the recording.
- Click Save when you are finished.
 The Editing screen displays.
Unpublish, download, or delete recording
On the Recordings & media tab, click the three-dots button and select the appropriate action.
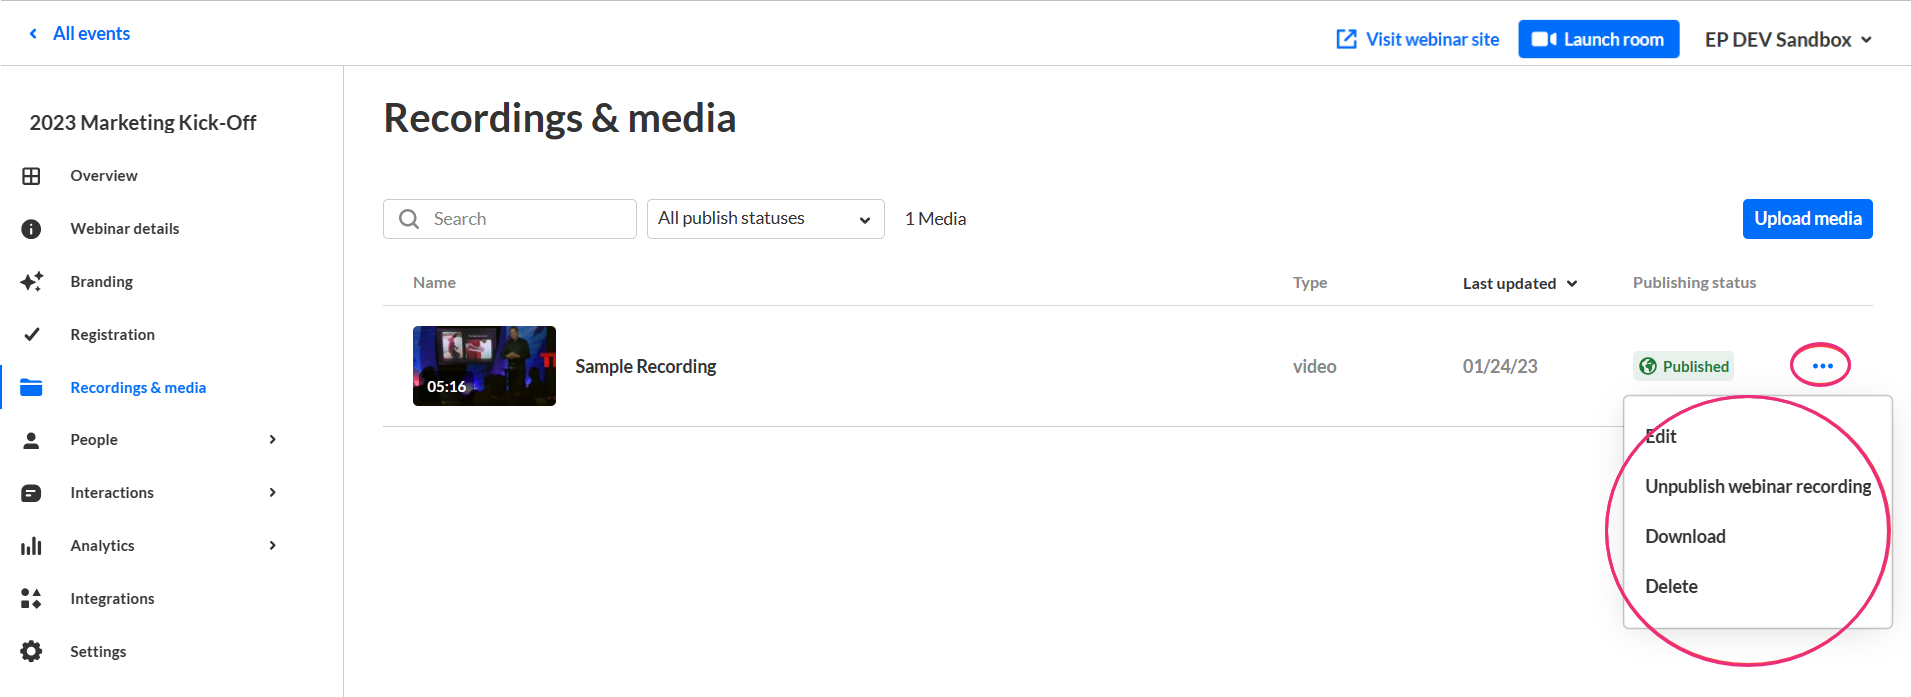
When unpublishing or deleting a recording, you will be asked to confirm your action.
Upload additional media
Click on the Upload media button to upload additional media.

