The following is a high-level overview of the steps necessary to create a campaign and distribute it to users.
1. The customer works with Idomoo to create a customized campaign for their project. A campaign is a template consisting of various components, such as slides, videos, and images.
2. The customer uploads a CSV file that contains relevant user data for the campaign.
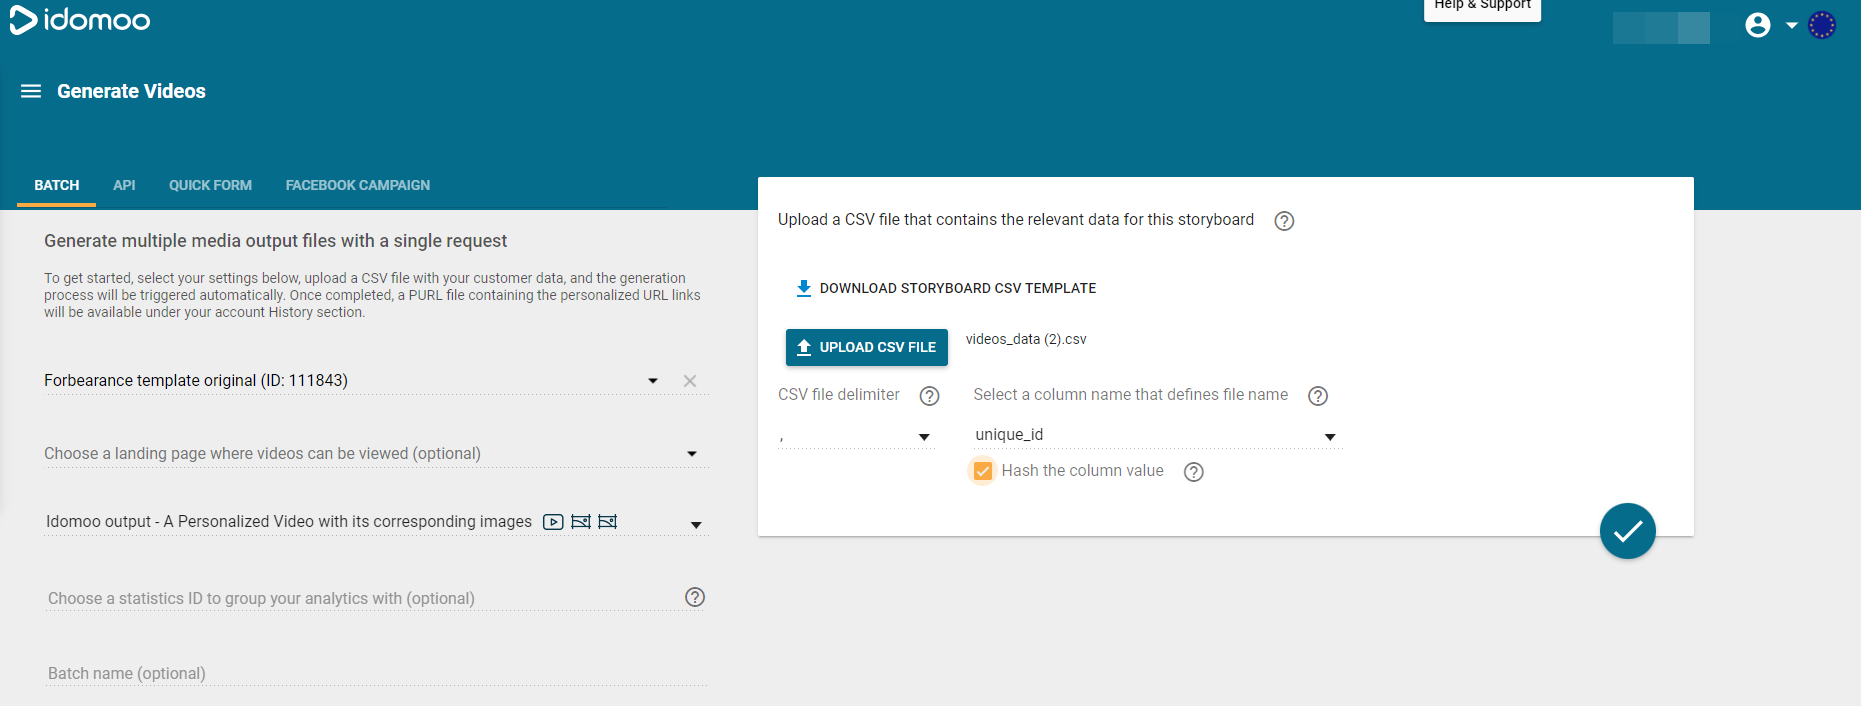 When uploading the CSV with user data in Idomoo, the customer must check "Hash the column value". This ensures that the User ID is not visible in the video URL.
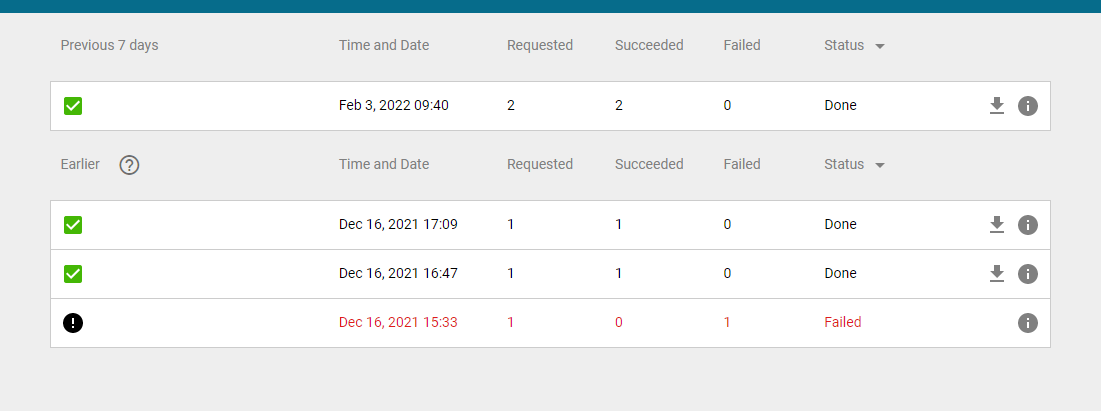
After uploading the CSV with the users' data, the progress of generating the personalized videos can be seen in the Idomoo History tab.
3. Idomoo creates a personalized VOD for each user based on the CSV file.
4. Idomoo provides the customer with an updated CSV file that contains each user's link to the entry page.
5. Kaltura CSM enables the KMS module for the customer.
6. The admin configures the customer's Idomoo account details using the configuration management section of KMS. See Idomoo Administrator Guide.
7. The customer creates a KMS entry that represents the campaign, then connects that entry to the campaign.
8. The customer then distributes the campaign by sending each user a link to the entry page.
9. Users access the entry page using their link and are shown the campaign with their personalized video. See Idomoo User Guide.
The customer can also view analytics (which users watched the campaign, how many times they watched, etc.) using KMS.
According to agreement between the customer and Idomoo, once the campaign is removed from Idomoo, the KMS entry that represents the campaign must be removed so users will not receive an error.
