Set up
- Log in to the Developer API Console (recommended console for this workflow)
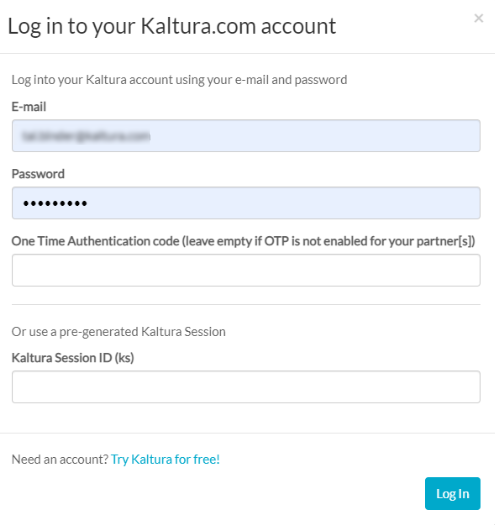
- Please choose a Kaltura Account ID (aka Partner ID). This will generate the KS automatically for you.

- To update an existing entry, select the call baseEntry.update from the left navigation bar.
The baseEntry.update call will essentially override the existing config. Meaning, in our case, using this call we will override the existing basic metadata fields (i.e. name, description, and tags) and configure new ones instead.
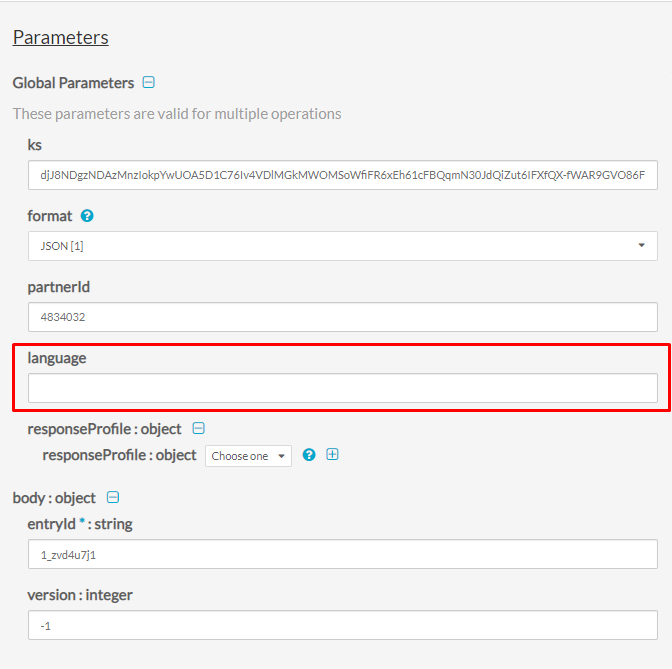
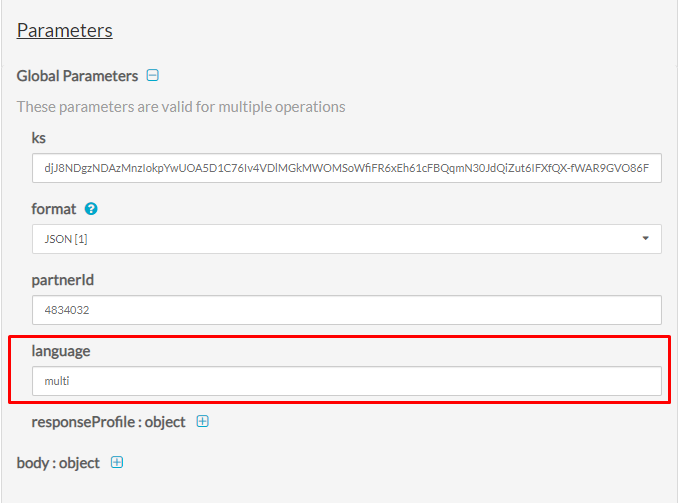
Expand the Global Parameters, and set multi in the language field.
 Expand the body:object, and paste the entryId in the designated field.
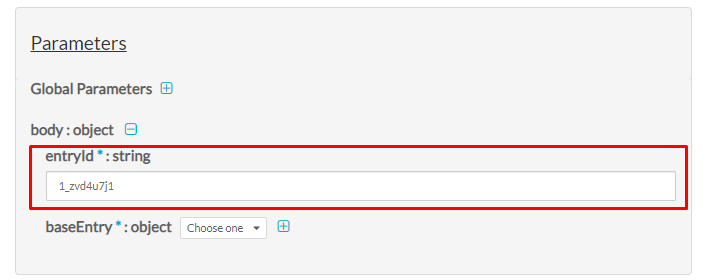
Expand the baseEntry:object, scroll down to the multiLingual section.
Expand multiLingual_description : array to add multiple languages in the entry's description. Such as,
- Click on Add item to add English as the first language set (the 1st will be the default):
language : string = en
value : string = This is my English Description - Click on Add item to add French as the second language set:
language : string = fr
value : string = This is my French Description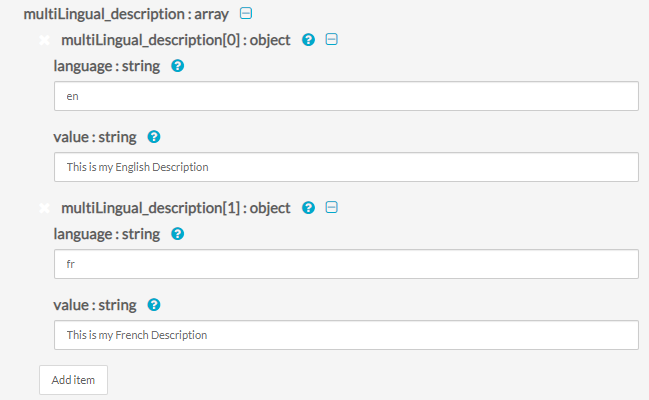
- Click on Add item to add English as the first language set (the 1st will be the default):
- Expand multiLingual_name : array to add multiple languages in the entry's name.
Such as,- Click on Add item to add English as the first language set (the 1st will be the default):
language : string = en
value : string = This is my English Name - Click on Add item to add French as the second language set:
language : string = fr
value : string = This is my French Name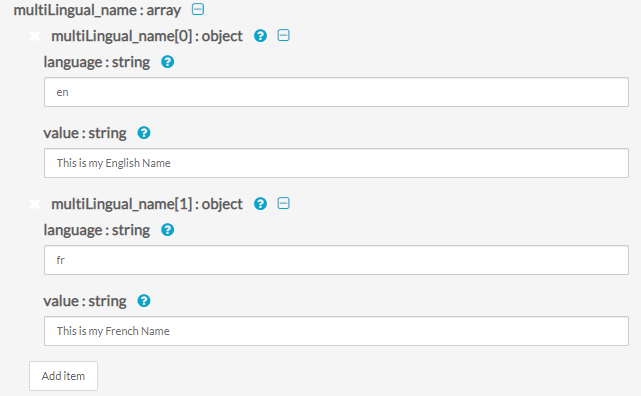
- Click on Add item to add English as the first language set (the 1st will be the default):
- Expand multiLingual_tags : array to add multiple languages in the entry's tags.
Such as,- Click on Add item to add English as the first language set (the 1st will be the default):
language : string = en
value : string = EnglishTAG1, EnglishTAG2 - Click on Add item to add French as the second language set:
language : string = fr
value : string = FrenchTAG1, FrenchTAG2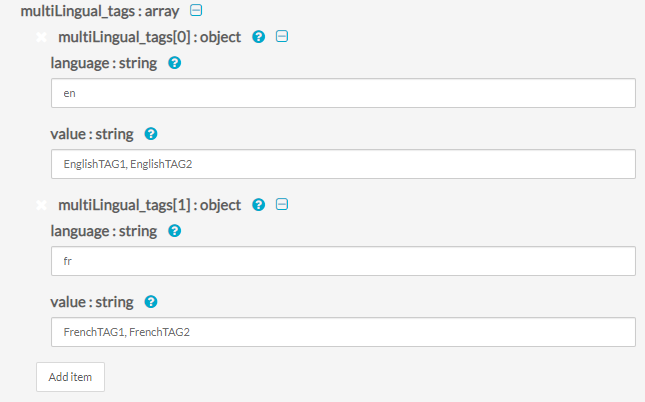
Notes -
* Repeat steps 7-9 for each language as needed.
* Scroll up and validate your config in the Sample Code to the right.curl -X POST https://www.kaltura.com/api_v3/service/baseentry/action/update \ -d "ks=$KALTURA_SESSION" \ -d "entryId=1_zvd4u7j1" \ -d "baseEntry[multiLingual_description][0][language]=en" \ -d "baseEntry[multiLingual_description][0][value]=This%20is%20my%20English%20Description" \ -d "baseEntry[multiLingual_description][0][objectType]=KalturaMultiLingualString" \ -d "baseEntry[multiLingual_description][1][language]=fr" \ -d "baseEntry[multiLingual_description][1][value]=This%20is%20my%20French%20Description" \ -d "baseEntry[multiLingual_description][1][objectType]=KalturaMultiLingualString" \ -d "baseEntry[multiLingual_name][0][language]=en" \ -d "baseEntry[multiLingual_name][0][value]=This%20is%20my%20English%20Name" \ -d "baseEntry[multiLingual_name][0][objectType]=KalturaMultiLingualString" \ -d "baseEntry[multiLingual_name][1][language]=fr" \ -d "baseEntry[multiLingual_name][1][value]=This%20is%20my%20French%20Name" \ -d "baseEntry[multiLingual_name][1][objectType]=KalturaMultiLingualString" \ -d "baseEntry[multiLingual_tags][0][language]=en" \ -d "baseEntry[multiLingual_tags][0][value]=EnglishTAG" \ -d "baseEntry[multiLingual_tags][0][objectType]=KalturaMultiLingualString" \ -d "baseEntry[multiLingual_tags][1][language]=fr" \ -d "baseEntry[multiLingual_tags][1][objectType]=KalturaMultiLingualString" \ -d "baseEntry[name]=FrenchTAG" \ -d "baseEntry[objectType]=KalturaBaseEntry"
- Click on Add item to add English as the first language set (the 1st will be the default):
- Click Send Request to execute.


 Expand the body:object, and paste the entryId in the designated field.


Validate
- To view the Entry's multiple languages, select baseEntry.get. Repeat steps 4+5 in this guide and Click Send Request.
See part of the output below: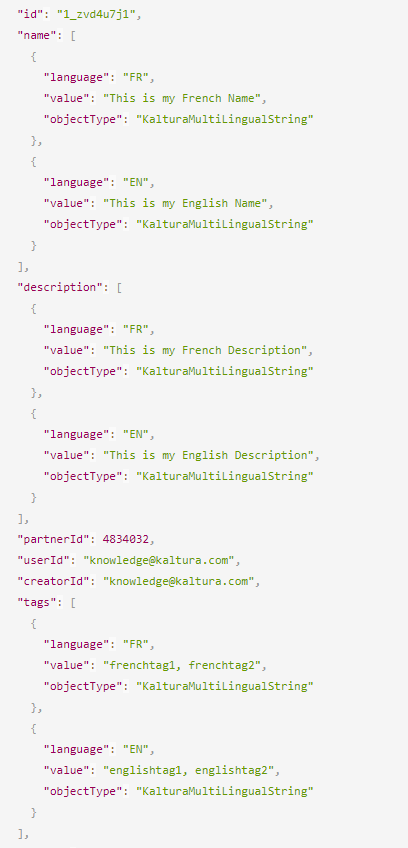
- To view an Entry's specific language, select baseEntry.get. Repeat steps 4+5 in this guide, this time set in the language field the desired language you wish to view. Click Send Request to execute.
For example, to view the French language, set fr in the language field.
- To view an Entry's default language, select baseEntry.get. Repeat steps 4+5 in this guide, this time leave the language field empty. Click Send Request to execute.
For example,