About
This article explains how to view, edit, and delete SAML profiles in the Rich Media Content Management System (Rich Media CMS).
SAML profiles connect Kaltura to your Identity Provider (IdP) and enable single sign-on (SSO). Use this page to monitor profile status and manage existing configurations.
Access the SAML profiles page
- Log into your Rich Media CMS. The Entries page displays by default.
- Click the settings (gear) icon at the top right of the page.
- Click the Authentication tab at the top right.

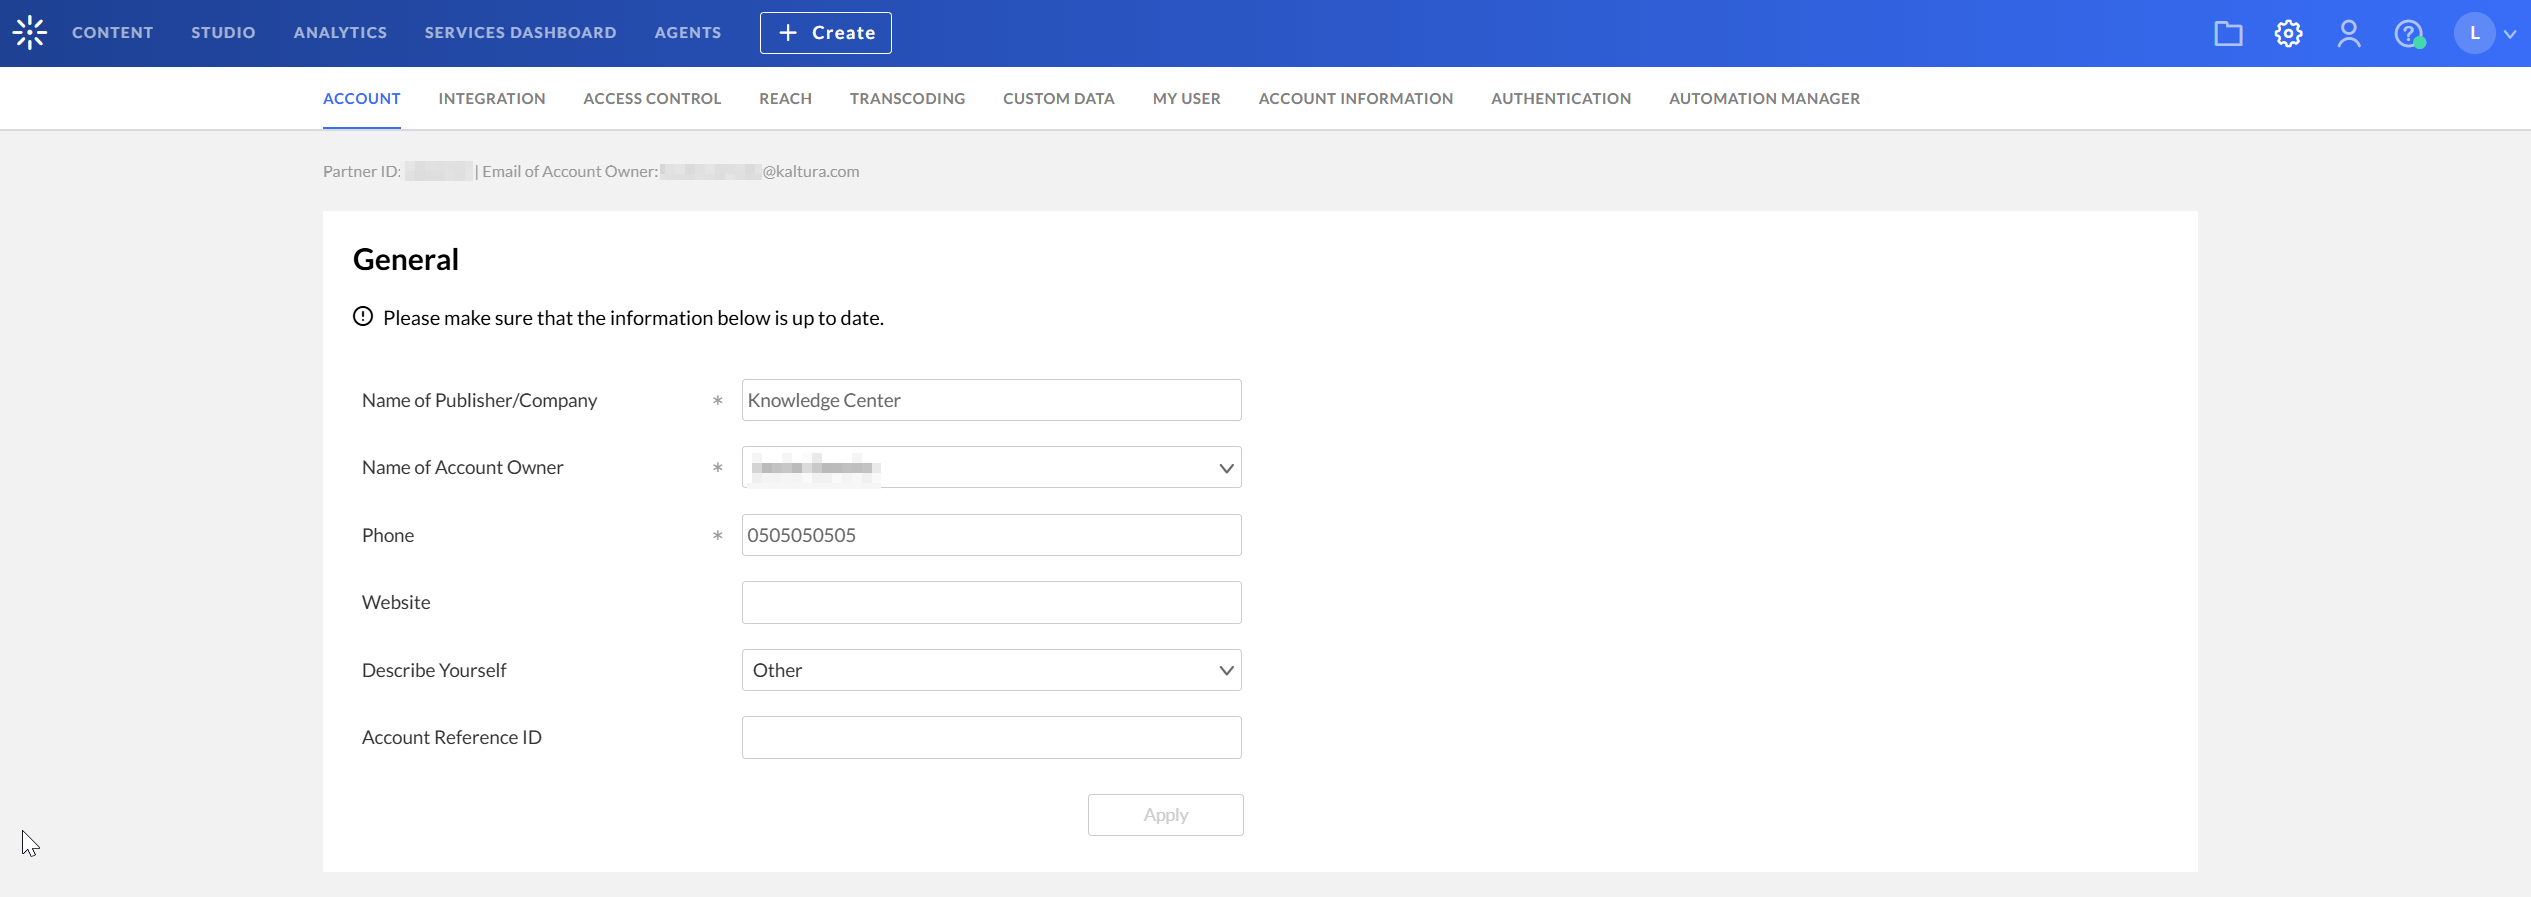
The 'Account' settings page displays.

The 'SAML profiles' page displays.

If no profiles exist, the list is empty and reads "No Results".
View SAML profiles
The SAML profiles page displays all configured profiles. The following columns are displayed:
- Name – Profile name
- Description – Profile description
- ID – Automatically generated profile ID
- Status – Draft or Ready
- Type – Authentication type
- Provider (IdP) – Selected provider
- Creation date – Date created (sortable)
You can sort profiles by clicking the Creation date column.
Understanding draft and ready status
A profile can have one of the following statuses:
- Draft – One or more required fields are missing.
- Ready – All required fields are populated.
Required fields include:
- Name
- Entity ID
- Login URL
- IdP certificate
- Core_User_Email attribute mapping
Edit a SAML profile
-
Click the three dots to the right of the relevant SAML profile and select Edit.
- Edit the information as desired and click Save when finished.

The 'Edit profile' page displays.

Delete a SAML profile
- Click the three dots to the right of the relevant SAML profile and select Delete.
- To confirm, type the profile name in the Profile name field.
- Click Delete this profile. The profile is deleted from the Rich Media CMS.

A confirmation message displays asking you to confirm your action.

The name must be typed exactly as it is shown in the Rich Media CMS. Only then will the Delete this profile button be enabled.
