This article documents the legacy KME room. For our next-generation virtual classroom and collaborative meeting solution, please visit the Kaltura Room documentation.
Overview of the Lock the Door Feature
The Lock the Door feature allows Instructors to lock the door to their virtual room and admit participants in selectively. Lock the Door may be configured to fit a variety of use cases. Instructors may Lock the Door to make sure no one enters the room while they are preparing their session, or before the stage is set. The door may be locked automatically when the room is launched or may be preset to lock minutes later. The Lock the Door feature may also be used to increase security measures when holding external meetings with guests from outside the organization.
How To Lock the Door
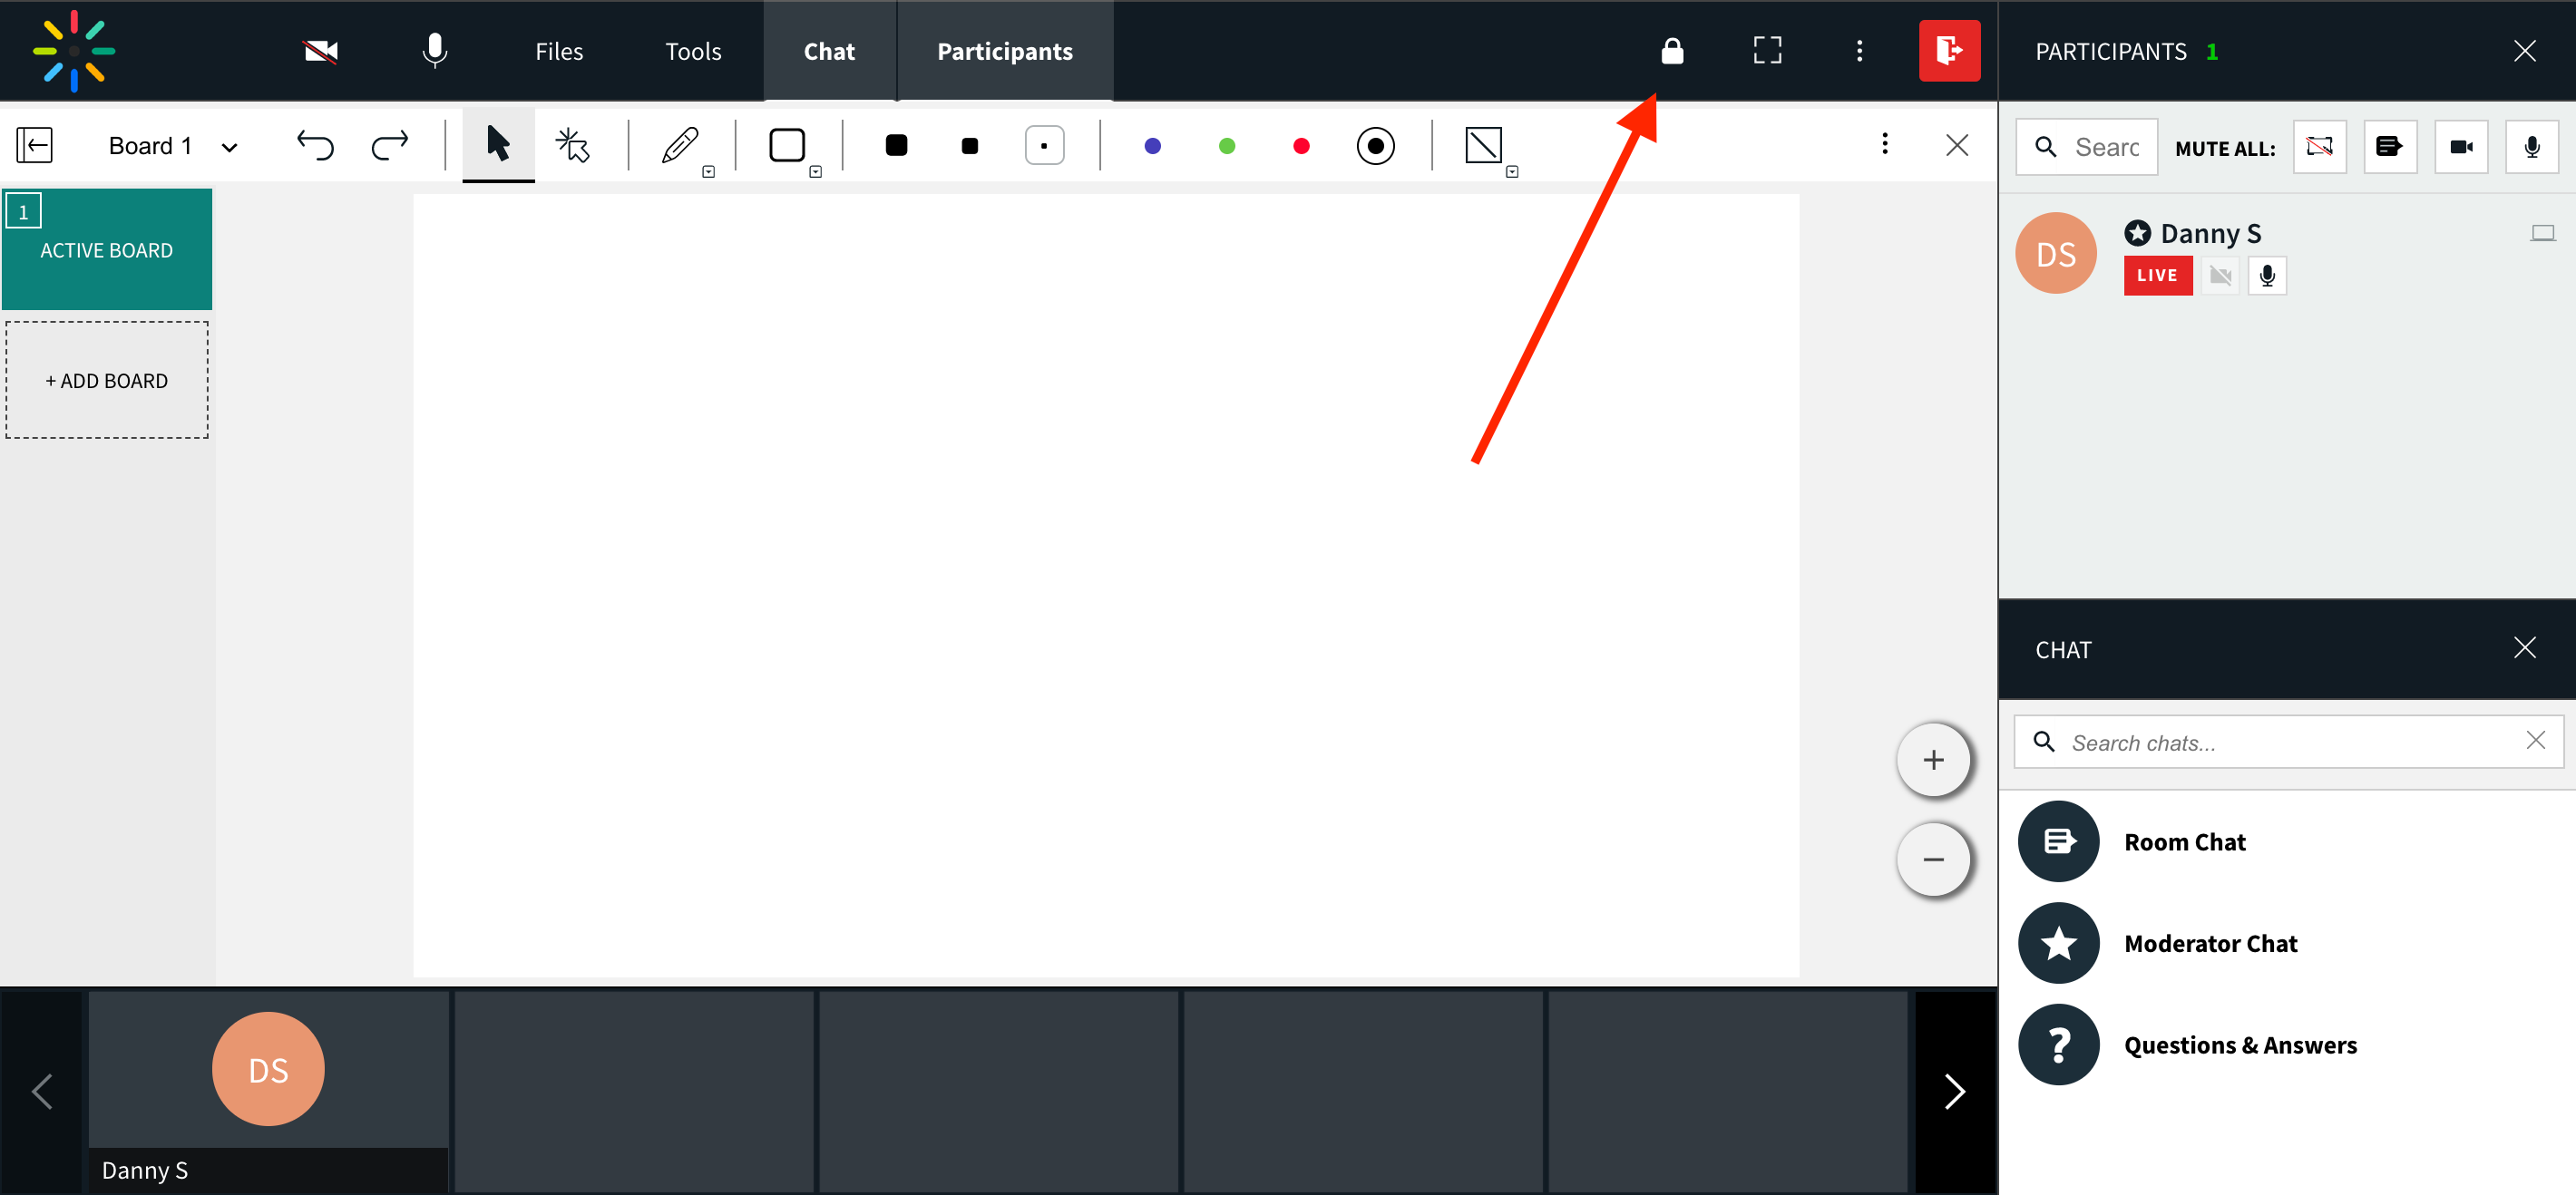
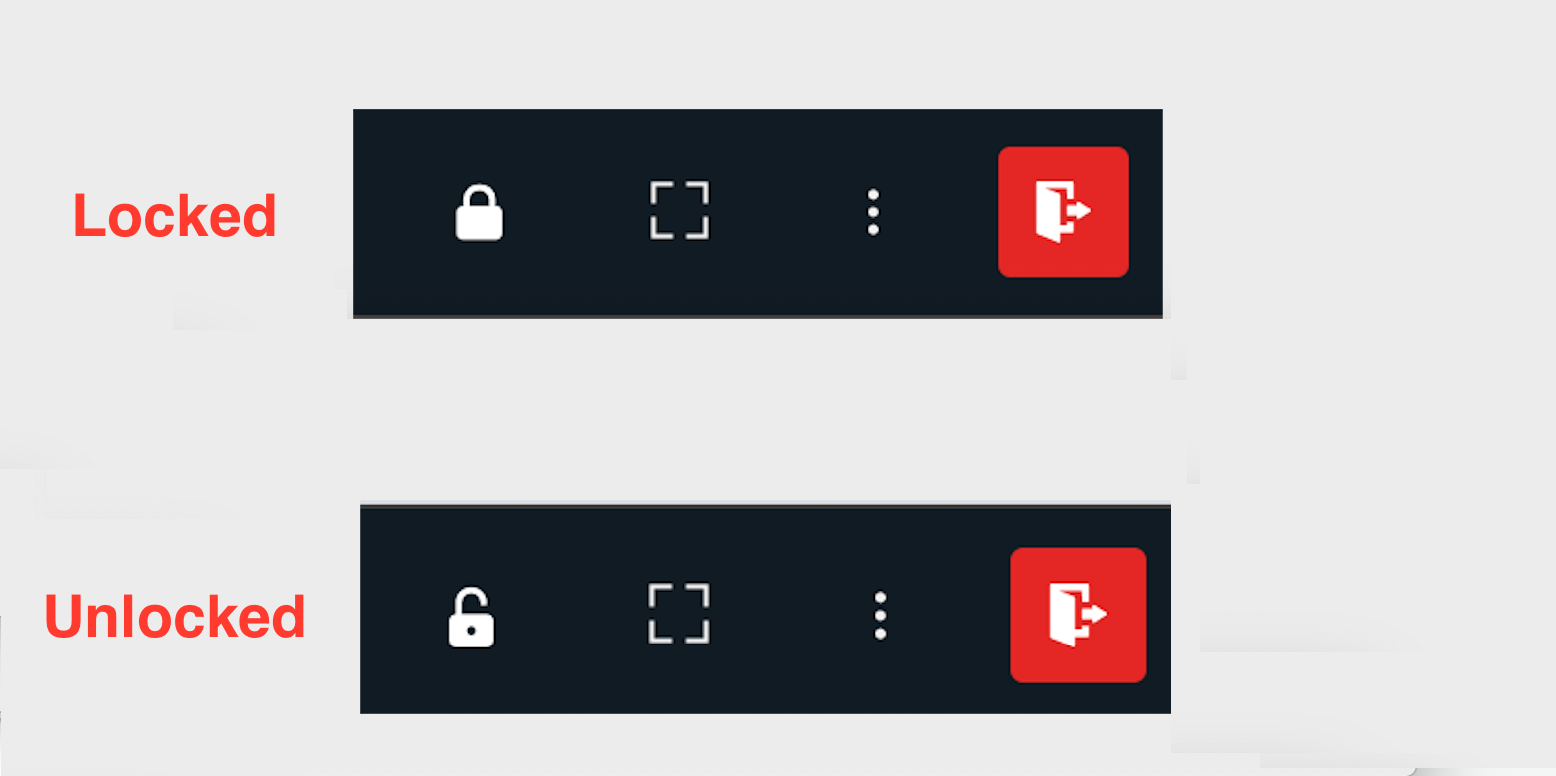
The Lock the Door feature is controlled through the top bar Lock icon. When the Lock icon is displayed as a closed lock, the door is locked. When the Lock icon is displayed as an opened (unlocked) lock, the door is open.
- When the door is open, click the Lock icon to lock the room immediately.
- When the door is locked and no one is waiting in the lobby to be admitted, click the Lock icon to open/unlock the door to the room.
Requesting Entrance and Admitting Participants into a room
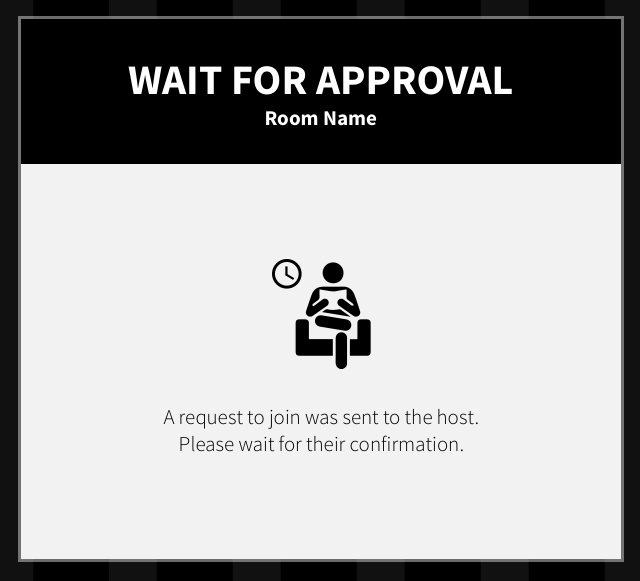
- When the door is locked, participants logging into the room see a banner welcoming them to the room lobby and asking them to wait to be admitted.
- Inside the room the instructor receives a pop-up notification with the name of the attendee requesting to enter the room. Click Yes or No to allow an individual participant in.
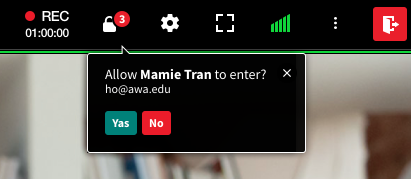
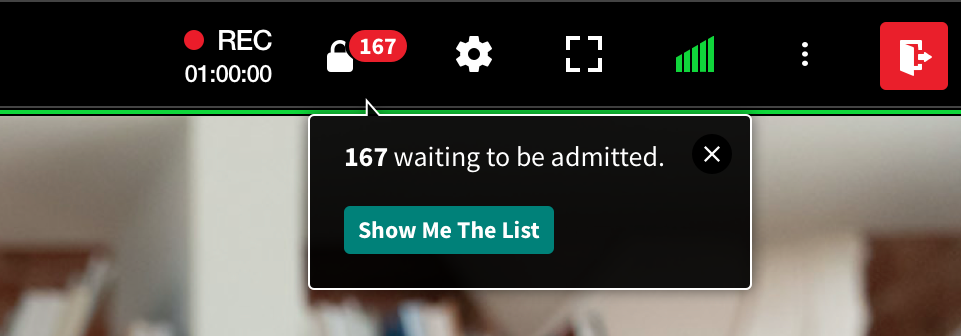
- If multiple attendees request entrance to the room, the pop-up updates to the number of attendees waiting in the lobby. Click Show Me The List to see the complete list of participants waiting for admission.
- Click the Lock icon while attendees are waiting in the lobby to open the list of attendees requesting admittance.
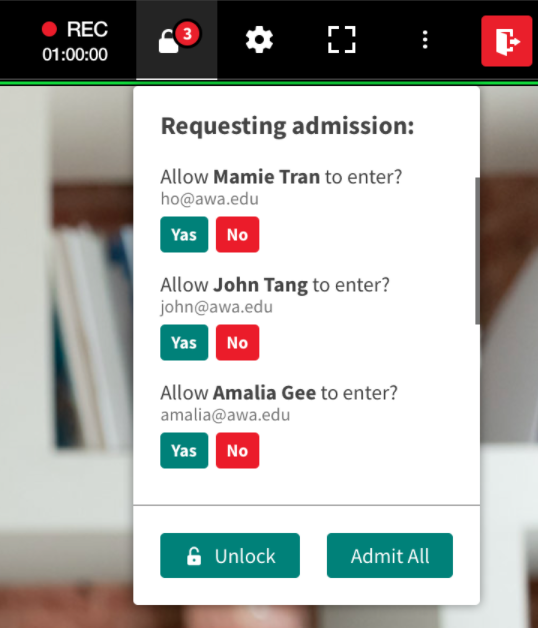 This allows you, as the instructor to:
- selectively admit or decline participants by clicking Yes or No next to an individual's name
- admit all participants by clicking Admit All.
- unlock the door to allow/admit everyone by clicking Unlock.
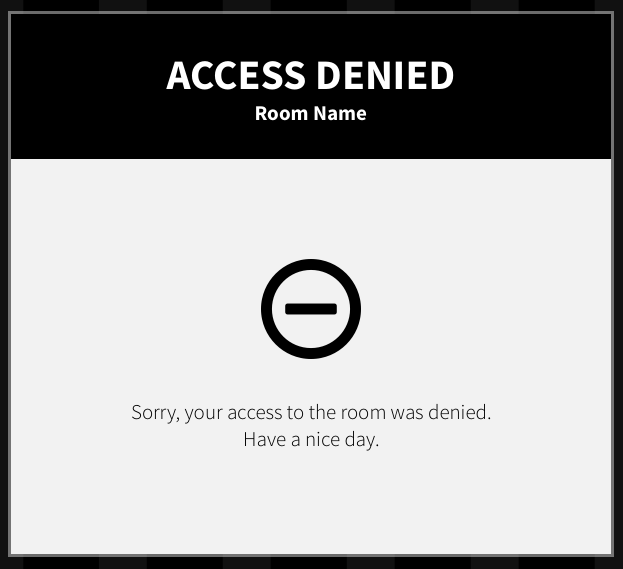
- Users that have been waiting in the lobby and chosen for admittance automatically enter the room. Users that have been declined admittance receive an Access Denied banner.


 This allows you, as the instructor to:
Lock the Door - Feature Configuration
Lock the Door may be configured per room or globally for all rooms within a company. Instructors may choose to lock rooms for user groups as well as when, if at all, to lock the door automatically.
Instructors may configure the Lock the Door feature from within their room's Settings menu.
To Set the Lock the Door Feature
- Go to the Settings Menu in the upper bar.
- Select the Access & Security tab.
- Set the relevant Room Lock settings:
- Lock the room for everyone but company members.
- Lock the room for everyone but instructors and administrators.
- Click Close.

💡To change the default setting or Lock the Door for your entire organization, please contact Kaltura Customer Care.
