About
This article explains how to install Lecture Capture.
Installation overview
Lecture Capture is a software application installed on Windows PCs. The installation uses an MSI file that you can deploy using software management tools such as SCCM.
Lecture Capture includes two applications:
- The Lecture Capture application, for classroom recording.
- The upload service, which runs in the background and uploads your recorded videos to Kaltura.
This article explains how to install both applications.
Prerequisites
- Kaltura V2 Player version 2.55 or later.
- The
Recschedulingmodule must be enabled in Content Hubs or LMS Extensions to schedule events. See the Kaltura Scheduling Administrator's Guide for more information.
Run the Lecture Capture installer
- Download the Lecture Capture application using the link your Kaltura representative provided.
- Double-click the
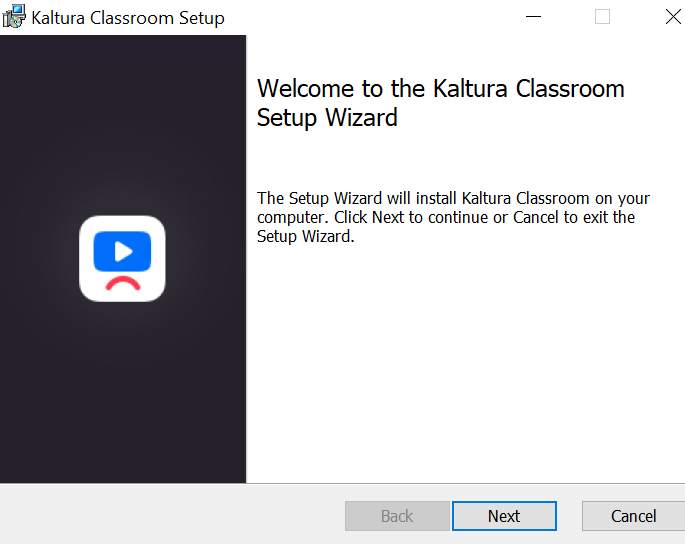
KalturaClassroom_NNN.msifile. - Click Next on the Welcome screen.
 (Optional) On the Custom Setup screen, right-click to configure the authentication settings.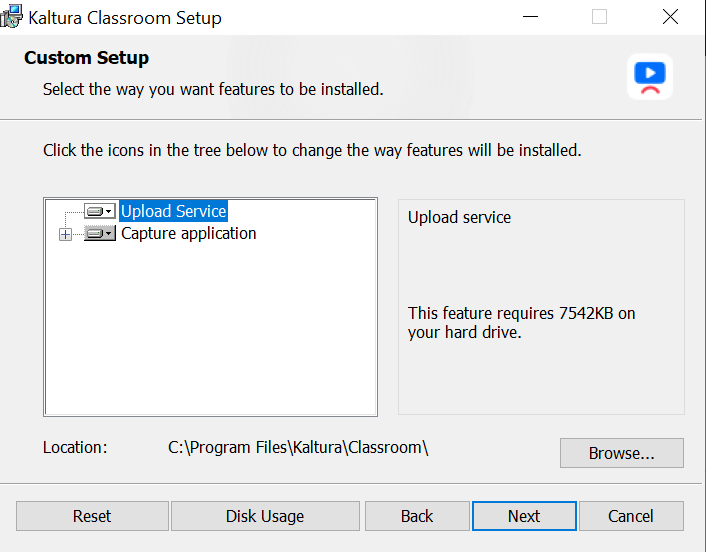
- (Optional) To check the disk usage required for each feature, click Disk Usage.
- Click Next.
- On the Settings screen, enter the following information, provided by your Kaltura representative:
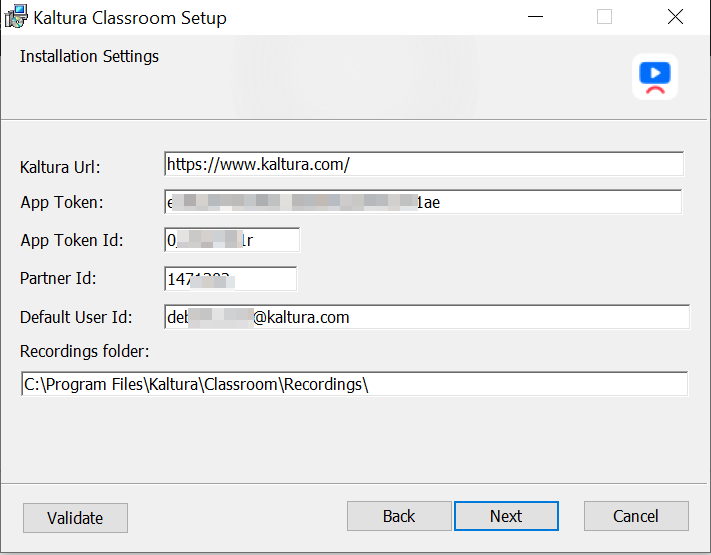
- App Token: Enables secure upload to Kaltura.
- App Token ID: Enables secure upload to Kaltura.
- Partner ID: Your Kaltura partner ID.
- Default User Id: The ID used to set the owner of the recording, if an owner isn't assigned.
- (Optional, only when authentication is enabled) Enter the authentication URL, in this format:
https://{your_KMSportal_URL}/classroomcapture/index/user-details
A sign-in window appears on the homepage when you open the application. - (Optional) To change the location of your stored recordings, enter the new location in the Recordings Folder field.
- (Optional) Click Validate to check that your settings are valid.
- Click Next, and then click Install to begin the installation.
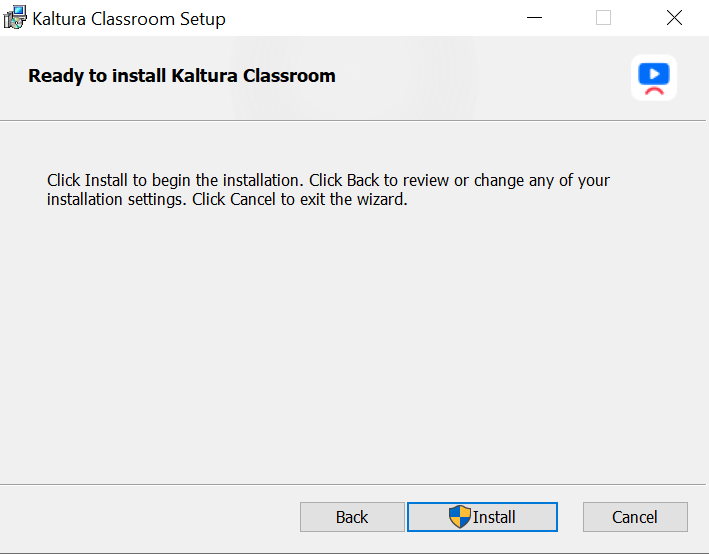
- Click Finish to complete the installation.
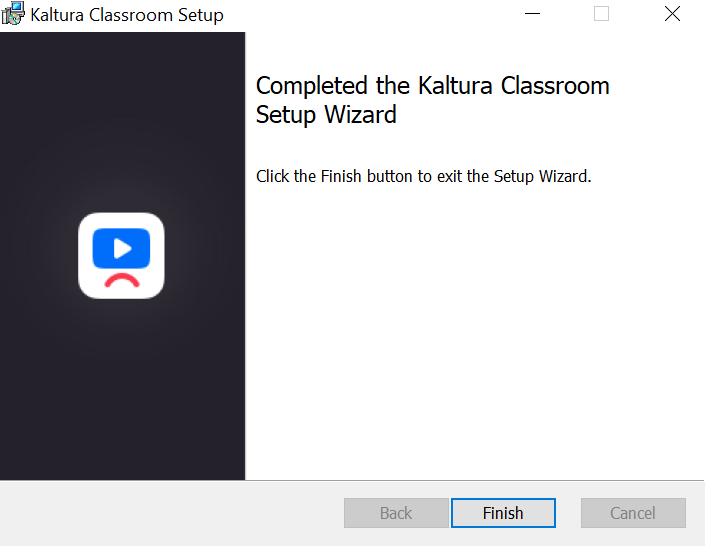
 (Optional) On the Custom Setup screen, right-click to configure the authentication settings.
The Lecture Capture software is installed.
Verify that Lecture Capture is installed
- Double-click the Lecture Capture icon on your desktop.
The Lecture Capture homepage opens.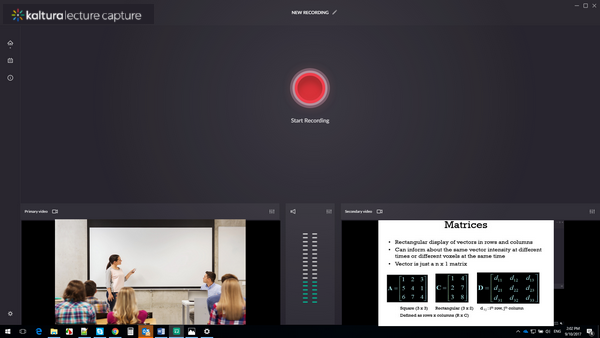
That's it. You can start recording.
See the Kaltura Lecture Capture User Guide for information on how to start recording.
Disable Lecture Capture from launching on startup
- Right-click the toolbar, and select Task Manager.
- Under Startup, right-click Lecture Capture, and click Disable.
