About
This article explains how to create a SAML profile in the Rich Media Content Management System (Rich Media CMS).
A SAML profile connects Kaltura to your organization’s Identity Provider (IdP), such as Azure or Okta, allowing users to sign in with single sign-on (SSO) using their existing credentials.
During setup, you exchange configuration details between Kaltura and your IdP so both systems trust each other.
Currently, only SAML is supported for self-serve setup.
Prerequisites
To create a SAML profile, you must:
- Be an IdP Admin or have access to IdP configurations.
- Be logged into the Rich Media CMS. For instructions on logging into the Rich Media CMS, see Log into the Rich Media CMS.
Event customers - Please use the same credentials to log into the Rich Media CMS that you use to log into Kaltura Virtual Events.
- Have the Authentication tab enabled in the Rich Media CMS. If this tab is unavailable, please contact your Kaltura representative about adding it.
Create a SAML profile
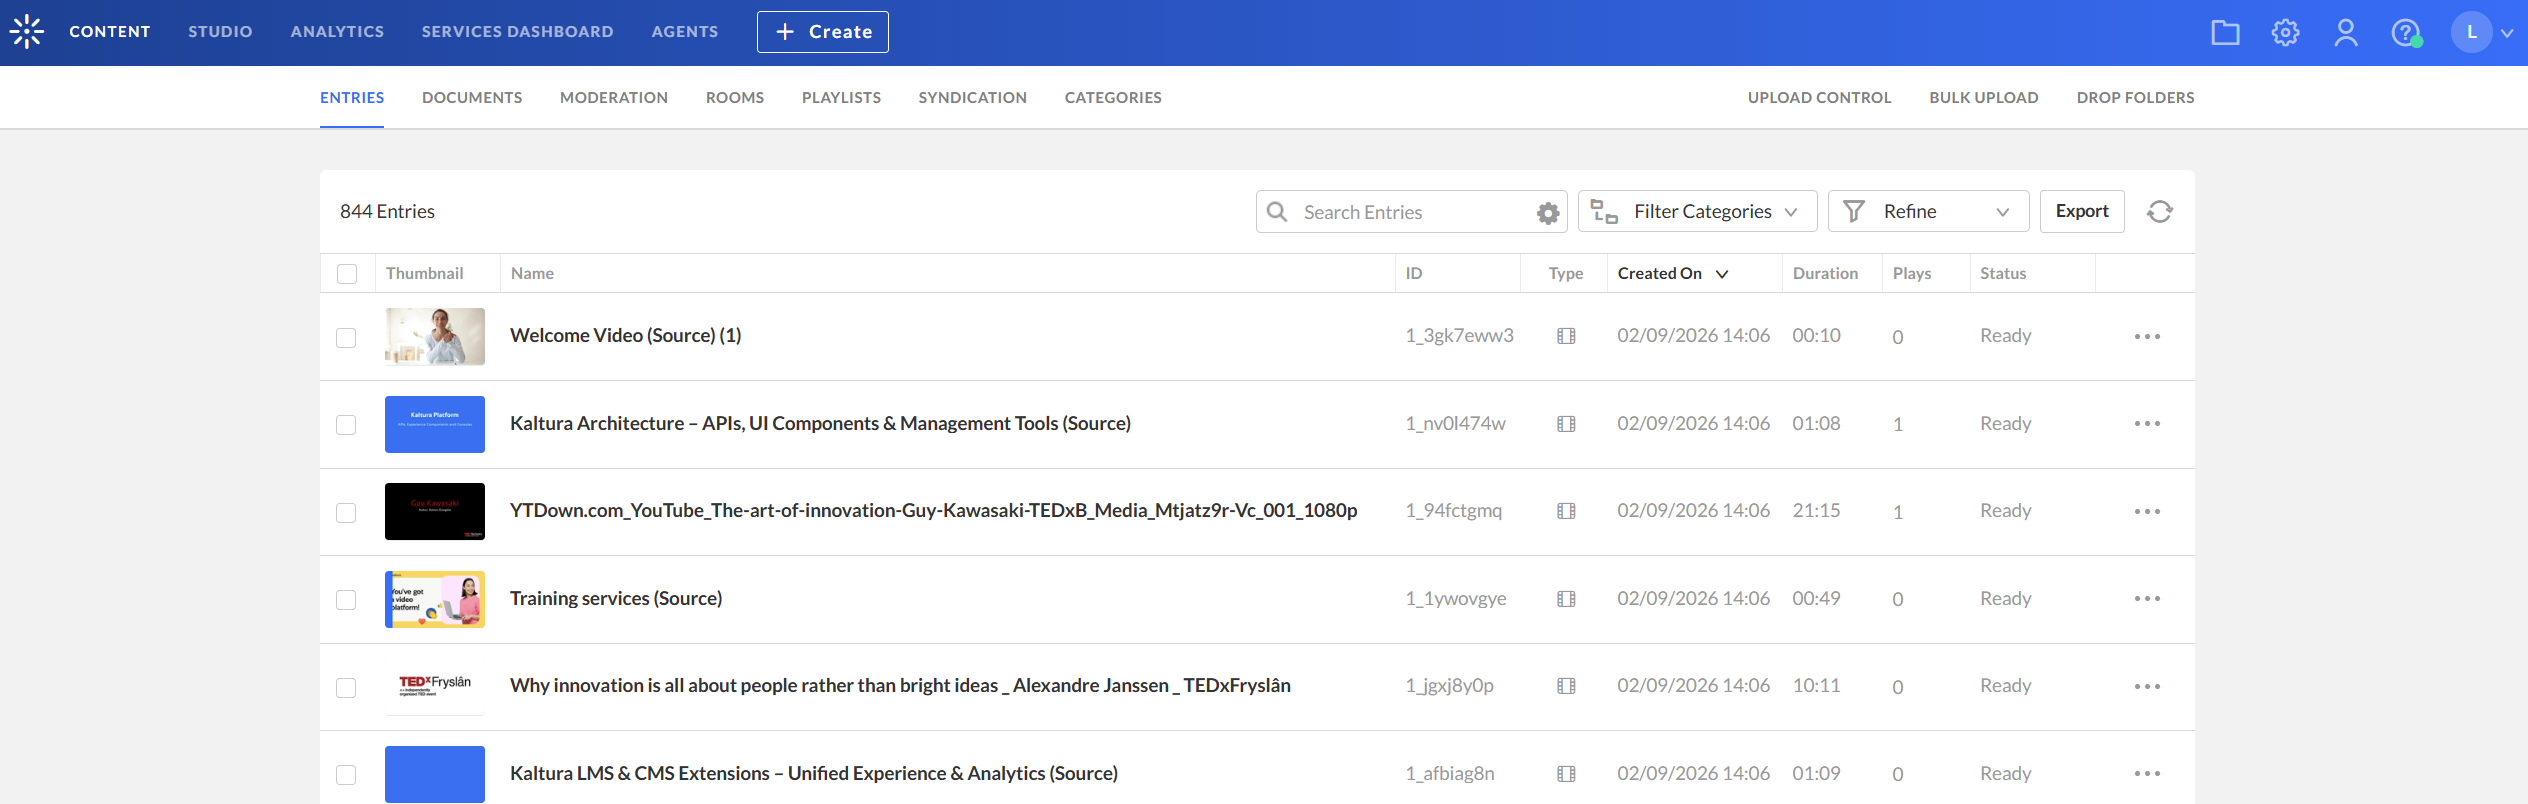
- Log into your Rich Media CMS. The Entries page displays by default.
- Click the settings (gear) icon at the top right of the page.
- Click the Authentication tab at the top right.
- Click New SAML profile.
- Enter the following information:
- Name (Required) - Type a name for your new SAML profile (max 255 chars).
- Description - Type a description for your new SAML profile (max 512 chars).
- Provider - Choose the appropriate provider from the dropdown list (Azure, Okta, AWS, Akamai, or Other).
- Admin profile - Select this option to allow this SAML profile to be used to sign into legacy Video Portal or KAF administration pages. You can't change this setting after the profile is saved. When selected:
- All legacy Video Portal and KAF applications in the account are automatically subscribed to this profile.
- If more than one SAML profile is set as an admin profile, admins are prompted to choose an authentication option after clicking Use single sign-on.
- If two-factor authentication is enabled at the account level, it is enforced for legacy Video Portal admin access.
- Enable the Block direct login for SSO users in the Rich Media CMS to prevent password-based login.
- Click Next. The button is enabled only after all required fields are completed.

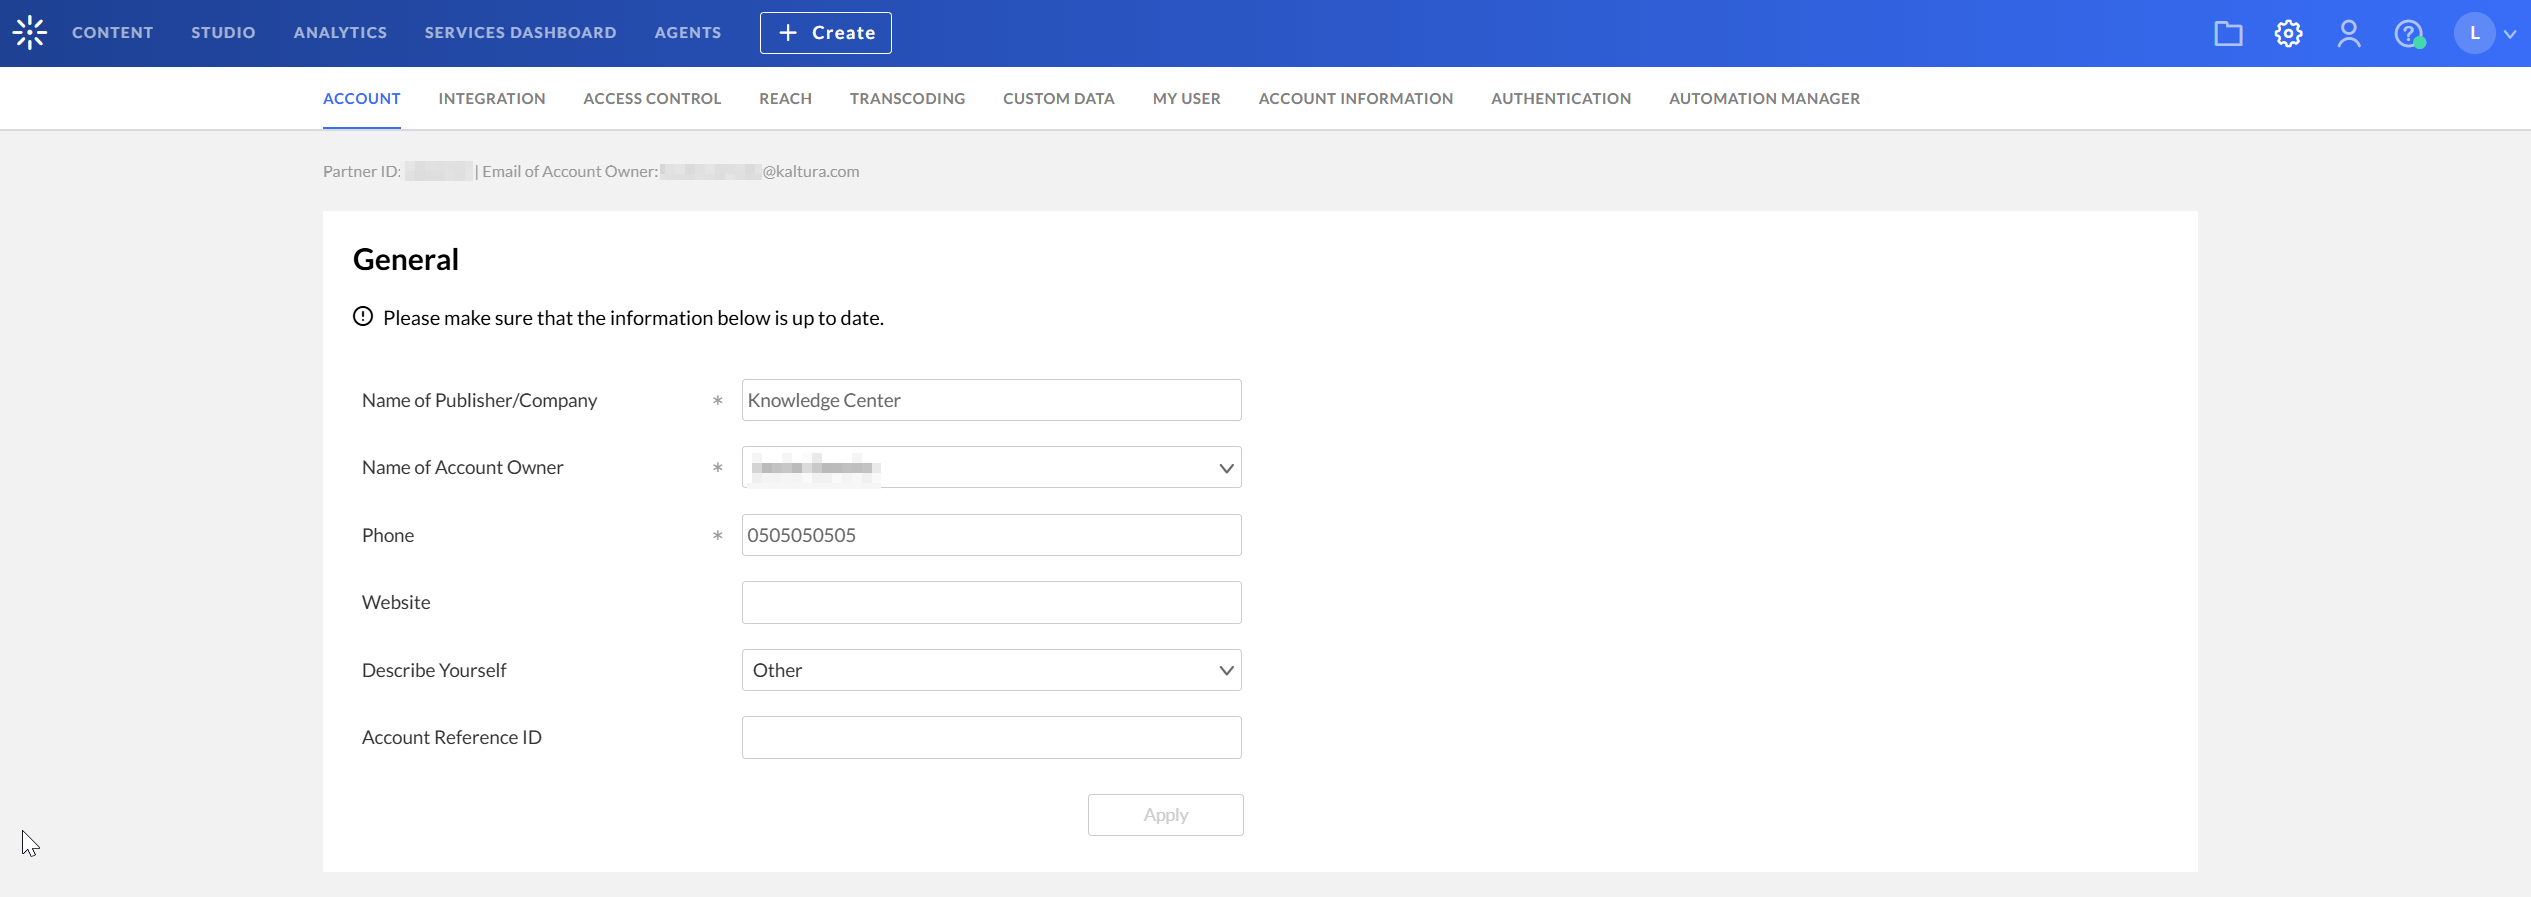
The 'Account' settings page displays.

The 'SAML profiles' page displays.

If no profiles exist, the list is empty and reads "No Results".

The 'Create profile' screen displays.

You are re-directed to the Edit profile page of the newly created SAML profile.

Configure service provider settings
In this section, copy the Kaltura values and provide them to your IdP.
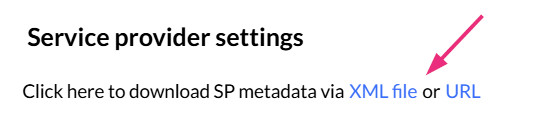
Instead of copying the service provider settings below manually, you can download them as an XML file or URL and upload them to your IdP. The IdP uses this file to automatically populate the Kaltura settings shown below.
- SSO URL - Copy this value and provide it to your IdP. After users sign in, the SAML response is sent to this URL. This is also known as the Assertion Consumer Service (ACS) URL.
- Entity ID (required) – A default value is provided. You can change it, but it must be unique per profile. Copy this value and provide it to your IdP.
- Sign SAML Request - Enable to sign authentication requests. Confirm to save the profile. The IdP validates the request using the public key in the Signing certificate field.
- Signing certificate - Displayed when Sign SAML request is enabled. Copy this public key and provide it to your IdP to validate signed requests.
- Encryption - Enable to encrypt SAML responses. Assertions are encrypted using the public key in the Encryption key field.
- Encryption key - Available when enabled. Copy this public key to your IdP.
Identity provider settings
- Login URL (required) - Enter the Single Sign-on URL provided by your IdP. Typically, it will appear as <SingleSignOnService Binding="urn:oasis:names:tc:SAML:2.0:bindings:HTTP-Redirect"……/>
- Logout URL - Enter the Single Logout URL provided by your IdP. Typically, it will appear as <SingleLogoutService Binding="urn:oasis:names:tc:SAML:2.0:bindings:HTTP-Redirect”…/>
- IdP certificate (required) - Paste the certificate used by your IdP to sign SAML responses.
- Metadata URL (optional) - Enter your IdP metadata URL to allow Kaltura to automatically update the signing certificate before it expires.
When pasting the certificate, remove the comment lines and spaces (e.g., -----BEGIN CERTIFICATE----- and -----END CERTIFICATE-----) to ensure it is a single, continuous line without any breaks.
Attribute statements
Map the user attributes sent by your IdP to Kaltura fields.
When a user signs in, your IdP sends user information (such as email or group membership). In this section, you define how that information is stored in Kaltura.
Map the required email attribute
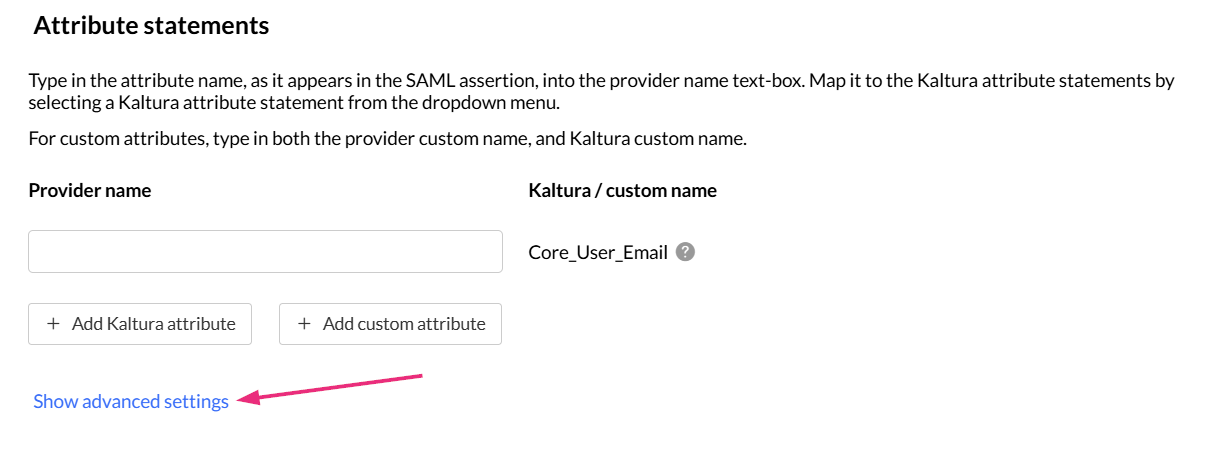
Core_User_Email is required.
In the Provider name field, enter the attribute name from your IdP that contains the user’s email address. Ensure it is mapped to Core_User_Email in the Kaltura / custom name column.
For example, if your IdP sends the email attribute as mail, enter mail as the Provider name.
To map more attributes:
- Click + Add Kaltura attribute to map an IdP attribute to an existing Kaltura field.
- Click + Add custom attribute to create a new custom field in Kaltura and map an IdP attribute to it.
- Click Remove next to a row to delete a mapping.
Click Show advanced settings to configure group mapping and additional options.
Group attribute statements
Use this section to control how user groups from your IdP are handled in Kaltura.
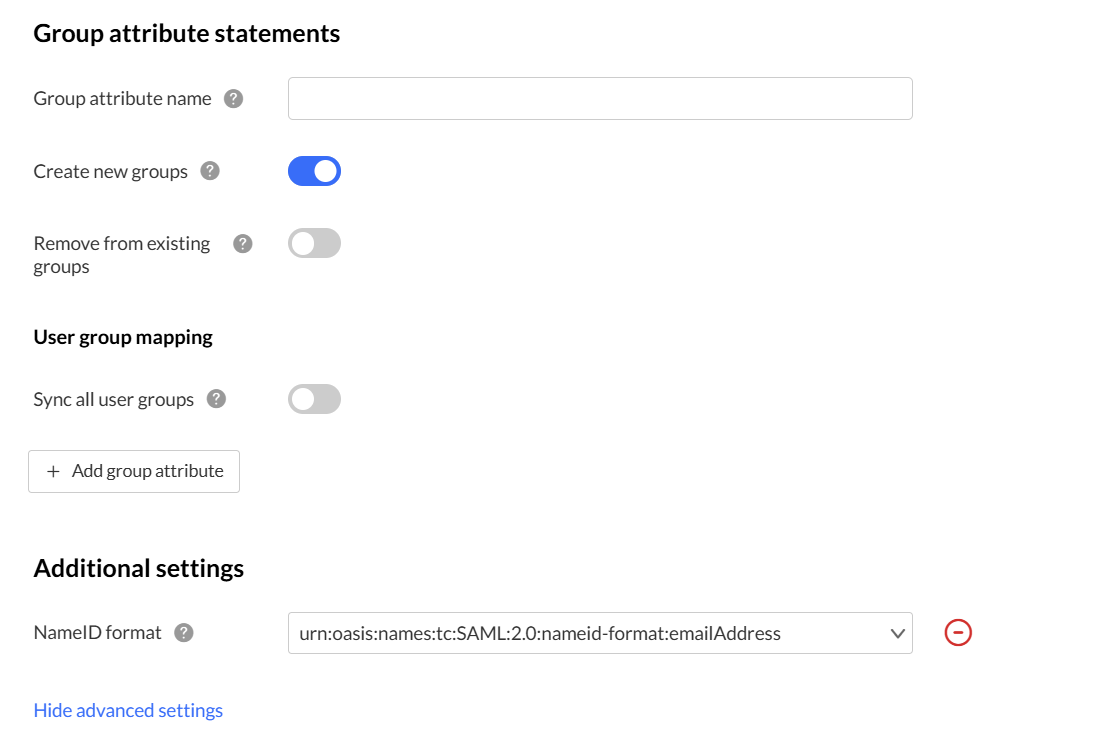
- Group attribute name - Enter the name of the IdP attribute that contains the user’s group values. This should match the attribute you mapped in the Attribute statements section.
- Create new groups - Enable to automatically create new groups in Kaltura if they exist in your IdP but do not yet exist in Kaltura.
- Remove from existing groups - Enable to automatically remove users from Kaltura groups if they are removed from the corresponding group in your IdP.
User group mapping
Use this section to control how IdP groups map to Kaltura groups.
To manually map groups:
- Click + Add group attribute.
- In Provider name, enter the attribute name from your IdP that contains group information.
- In Kaltura name, enter the corresponding Kaltura group field.
(You can click the red remove icon to delete a mapping.)

Additional settings

To learn more about subscribing applications to your newly created SAML profile, see Subscribe Rich Media CMS and Event accounts to Auth Broker profiles.
User experience after enabling an admin profile
- Admin login using single sign-on - Admins can click Use single sign-on on the legacy Video Portal admin login page to authenticate using the configured SAML profile.

- Two-factor authentication - If two-factor authentication is enabled at the account level, admins are prompted to enter an authentication code after signing in.
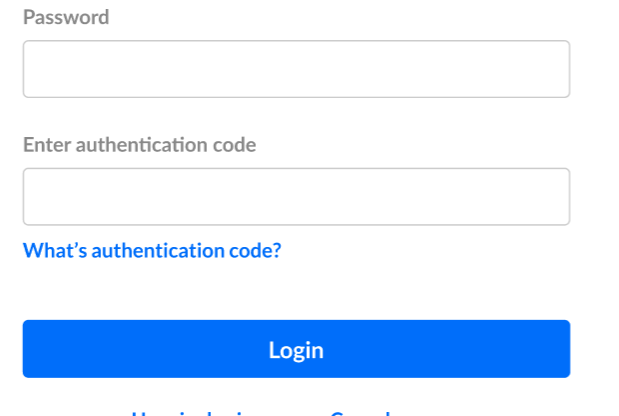
- Multiple admin SAML profiles - If more than one SAML profile is set as an admin profile, admins are prompted to choose an authentication option after clicking Use single sign-on.


