About
Breakout rooms allow moderators to divide participants into smaller groups for discussions, workshops, or collaborative activities.
This article explains how to create and configure breakout rooms before starting a breakout session.
Create breakout rooms
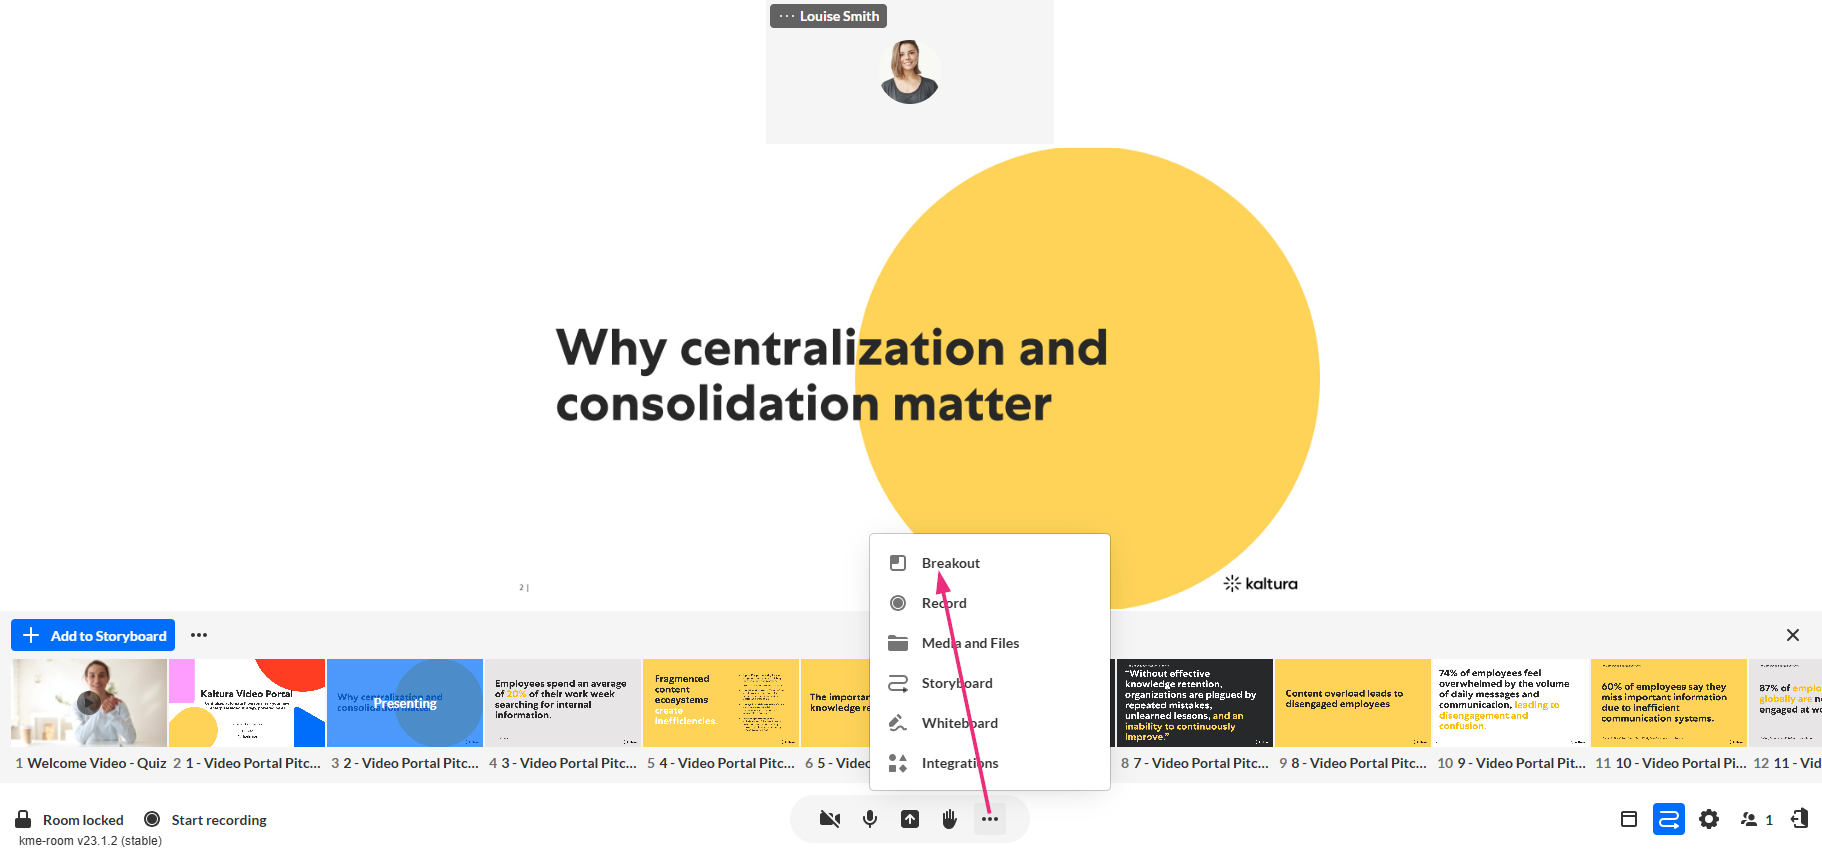
1. Click the three dots on the bottom toolbar and select Breakout.
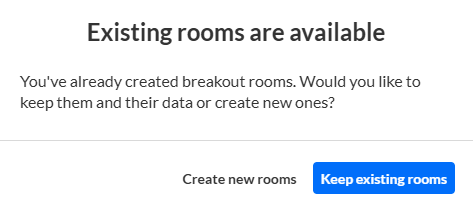
If breakout rooms already exist, you will be prompted to either use the existing rooms or create new ones.
When creating new rooms, the 'Start breakout rooms' window opens.

2. Configure the breakout session:
Create breakout rooms - Use the Create field to define how many breakout rooms to create (up to 15).
Assign participants - Choose how participants will be assigned to rooms:
- Automatically – Participants are distributed automatically across the breakout rooms.
- Manually – The moderator assigns participants to rooms from the breakout rooms dashboard.
- Let participants choose room – Participants select which breakout room to join.
Set room time limit (optional) - Select Set room time limit to define how long the breakout session lasts. When the timer ends, participants return to the main room automatically.
3. Click Continue.
The Breakout rooms dashboard opens, where you can review rooms, assign participants, and start the breakout session.
Breakout rooms dashboard
The breakout rooms dashboard allows moderators to review the rooms and configure session settings before the breakout session begins.

From the dashboard you can:
- Review the breakout rooms that were created
- Adjust the session time limit
- Configure participant permissions
- Assign participants to rooms (if manual assignment was selected)
Set or adjust time limit
If a time limit is set, it appears on the dashboard (default: 10 minutes). To adjust the duration:
1. Click the time display.

2. Adjust the time limit, then click Set time limit.

When the timer expires, breakout rooms close automatically and all participants return to the main room.
Configure participant permissions
Click the settings (gear) icon and select Change participants permissions to define what participants can do in breakout rooms.

By default, all permissions are enabled. You can uncheck individual items to restrict specific actions:
- Allow participants to choose room - Participants can move between rooms or select their own room.
- Upload files - Participants can share documents or images from their device.
- Recording - Participants can record their breakout session locally.
- Access media libraries, play or add to storyboard - Participants can use Kaltura media tools and shared playlists.
- Share screen - Participants can share their screen with others in the room.
- Content annotation - Participants can use markup tools on shared content.
- Draw on whiteboard - Enables the collaborative whiteboard for brainstorming.
Assign participants
If Manual assignment was selected when creating the breakout rooms, participants appear in the Main room panel.
From here you can move participants between rooms or leave some participants in the main room if needed.
You can also click and drag participants between rooms as needed.

Manage rooms
Each breakout room displays the names and number of participants assigned to it.
You can:
- Rename a room
- Delete a room
- Move participants between rooms
Hover over a room and click the three-dots to rename or delete it.

You can also create additional rooms using the + Add Room button on the top right.
Next up, see Launch and manage breakout sessions in a Kaltura Room.
