About
You can add and manage custom domains (alias hostnames) for your Content Hubs or KAF application. You can configure SSL certificates to make sure your site is secure and available through your own domain.
Prerequisite
To setup a new hostname, you need to configure a CNAME DNS record that points your custom domain to your Content Hubs or KAF instance.
For more information, see Set up Alias Hostname for Content Hubs and KAF.
Access the Application Hostnames page
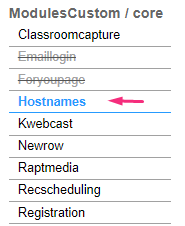
- Go to your Configuration Management console, and navigate to the Hostnames module. You can also navigate directly: https://{your_site_URL}/admin/config/tab/hostnames.
- Set enabled to 'Yes'.
- Click Save.
- At the top of the page, click Navigate to the hostnames page.
If you don't see this module in your list, please contact your Kaltura representative to enable it for you.
The 'Hostnames' page opens.


The Application Hostnames page opens.

Here you can see all current hostnames for the application.
Add a hostname
1. Click +Add Hostname at the top right of the Application Hostnames page.
The 'Add Hostname' window opens.

The provided hostname (for example: 12345.mediaspace.kaltura.com) is used when configuring your DNS CNAME record. Make sure your DNS is configured before continuing.
2. Click Start.
A new screen displays with a Hostname field.

3. Enter the hostname configured in the DNS CNAME record (for example: video.yourdomain.com)
4. Click Next to continue.
The 'Add Hostname' screen displays.

5. Under SSL certificate type, choose how the SSL certificate will be handled:
SSL certificate type can't be changed after setup. To use a different type, delete the hostname and create a new one.
- Managed - Kaltura handles the certificate provisioning and automatic renewal, so no manual setup is required. The default certificate issuer is already selected.
- Custom - Choose this option if you want to provide and manage your own SSL certificate.
- After choosing 'Custom', additional fields display.
- Enter the following:
- Custom SSL certificate (PEM format)
- Private key (PEM format), or select Import from file
- Match the private key
- Include the exact hostname (CN or SAN)
- Be valid (not expired or not yet valid)
- Single-domain certificates
- Multi-domain (SAN) certificates
- Wildcard certificates
- Encrypted private keys
- Non-PEM formats

The certificate must:
Supported certificate types:
The following aren't supported:
If the certificate or key is invalid, inline error messages are displayed.

6. Click Next.
A confirmation screen with the hostname and SSL details displays.

7. Review the details then click Set domain.
The hostname is added with a Pending status.

The status updates automatically once setup is complete.
Manage hostnames
You can manage each hostname by select actions from the three-dot menu next to the hostname.
The available actions depend on the hostname configuration.
 Three-dot menu with available hostname management options
Choose the desired action as follows:
Set a main alias
The main alias is the primary domain used for your application.
- In the Application Hostnames table, locate the desired hostname and click the three dots at the end of the row.
- Select Set as main alias.
The selected hostname becomes the primary domain for your application. Only one hostname can be set as the main alias at a time.
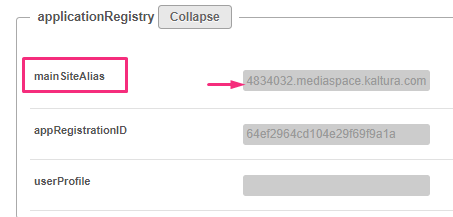
The main alias you choose will automatically appear in the Application module in the mainSiteAlias field (as shown in the image below).
Delete hostname
- Select Delete hostname from the three-dot menu. A confirmation message displays.
- Click Delete. The hostname is removed from the application.
If the hostname is set as the main alias, you must set a different hostname as the main alias before deleting it.
