This article describes how to add texts and other effects to your assets.
Once the asset is on your Timeline, double-click it or click the pencil icon. The Scene Design window displays.
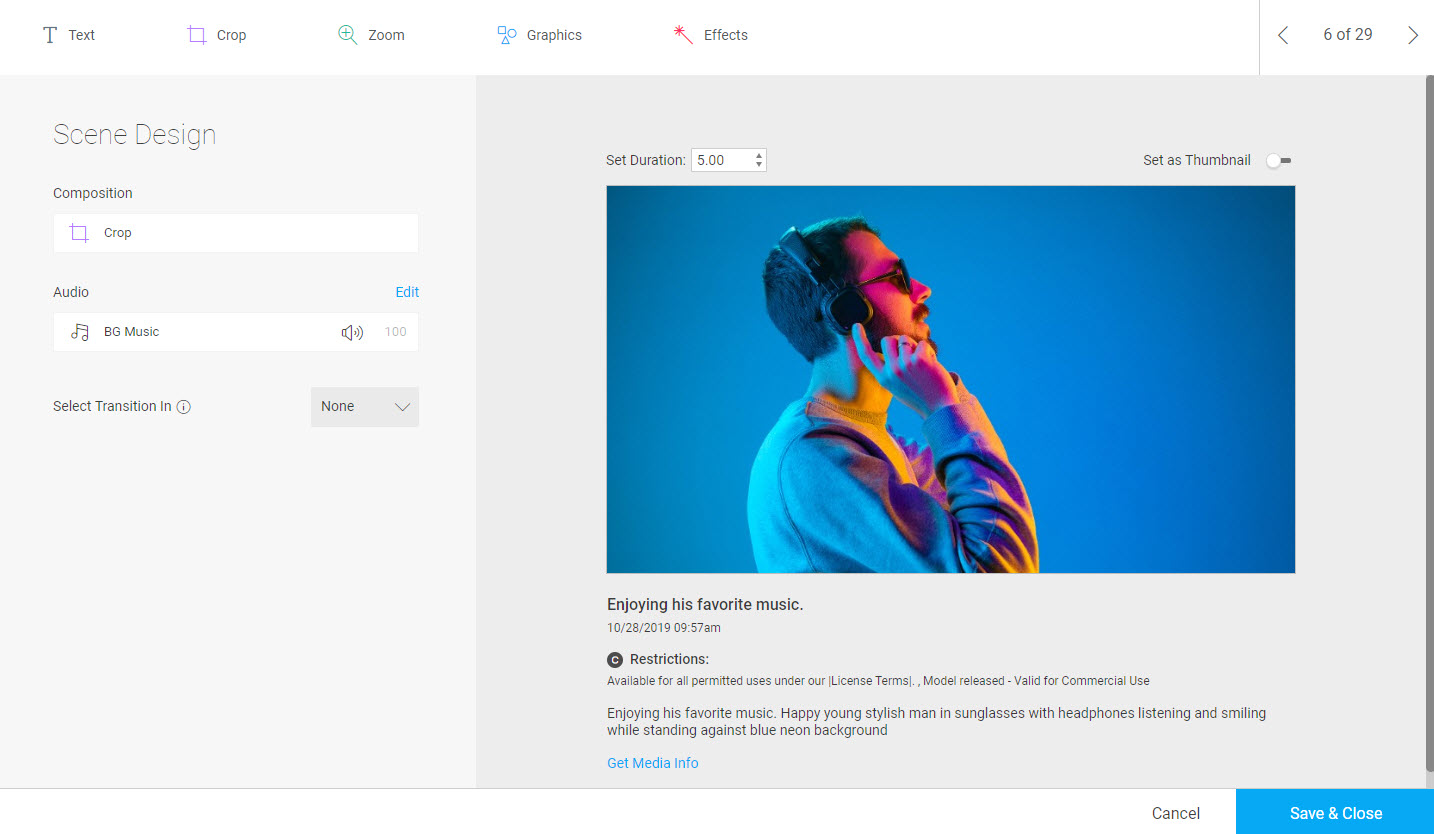
To add and/or edit asset text
- Click Text from the row of options at the top of the window.
- Click on Free Text to unleash your creativity and add any text you would like. You can choose the font, color and timing.
In addition, you may choose from a set of text presets for maximum quality and consistency across your video. These presets can be configured with your brand's font and color.
To crop an asset
- Click Crop from the row of options at the top of the window.
- Use the plus and minus icons to adjust what part of the image is visible in the frame. Click the image to drag and drop to the desired location inside the frame.
- Click Apply.
To add a graphic and/or effect
- Click Graphics or Effects from the row of options at the top of the window.
- Browse through the various options in these sections to add filters, emojis, and effects to your video.
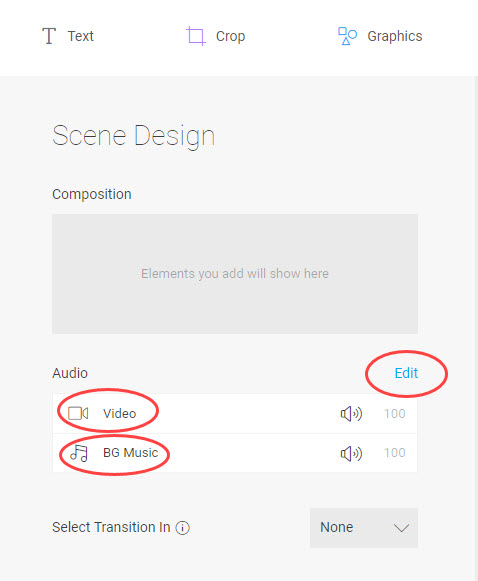
To adjust sound settings
Click the Edit button to the right of Audio or click an individual audio item (in our example, you can choose from Video (the audio of the video itself) or BG (Background) Music).
The Audio window displays.
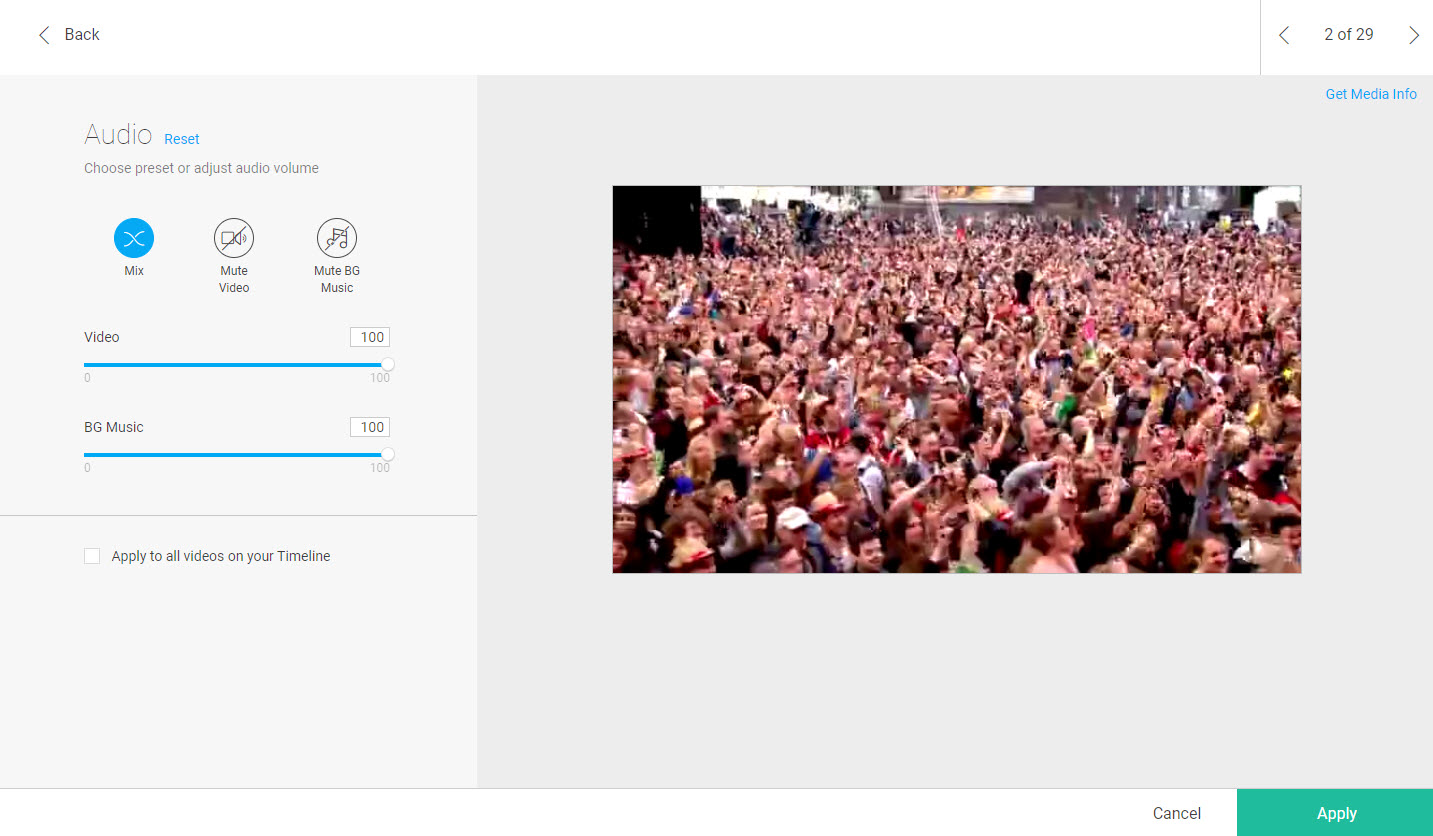
Here you can control your audio levels with precision. Mute, un-mute, or set specific levels for your raw footage (if it has sound), as well as for the background music.
