About
KMS GO is Kaltura's mobile app, offering an intuitive way to watch, create, and engage with media on the move. Enjoy familiar features like content discovery, sharing, offline viewing, and powerful search tools, all in a fully native app.
KMS GO is not accessible to native apps by default. Your KMS administrator must enable the KMS GO app and set it up before you can start using it.
Download KMS GO
- Download the Kaltura MediaSpace GO app from Google Play Store.
- Open the app on your Android device.
Be certain to download the KMS GO app and not the legacy KMS App.
Log into KMS GO
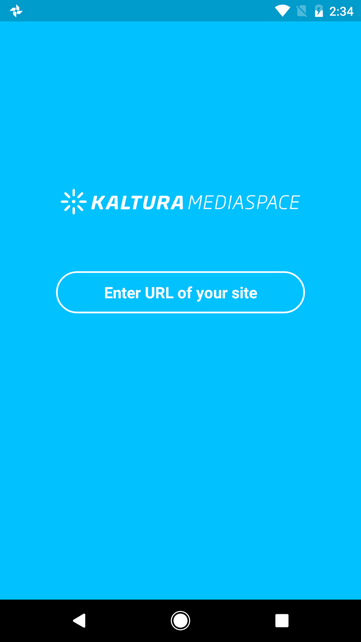
- Enter your site’s address. Remember to include "https://" before the site address.
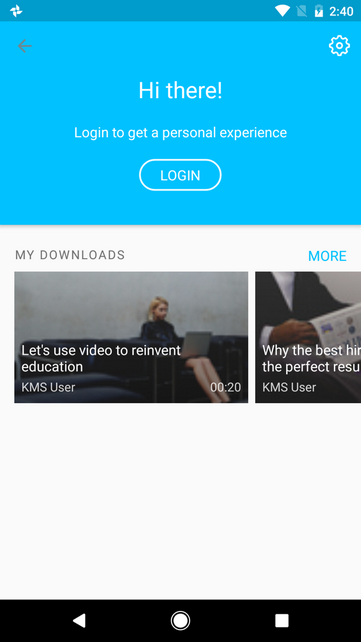
- Choose between using the app as a guest or logging in for more features.
- To log in:
- Tap the person icon at the top left of the homepage.
- Tap LOGIN.
- Enter your credentials.

Log into the Kaltura demo site
You might also want to check out the Kaltura demo site.
- Go to the following URL: https://corporatetube.mediaspace.kaltura.com/
- Log into “My Page”.

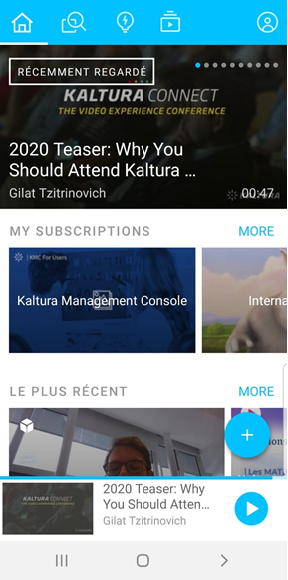
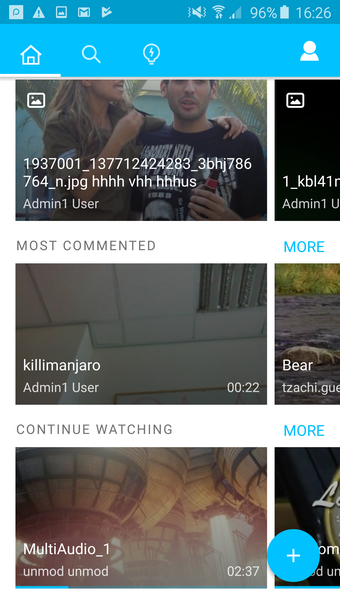
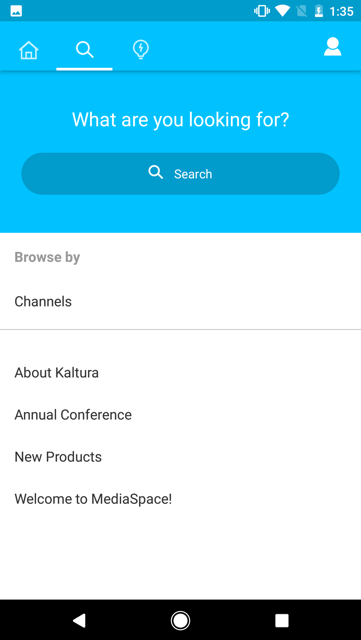
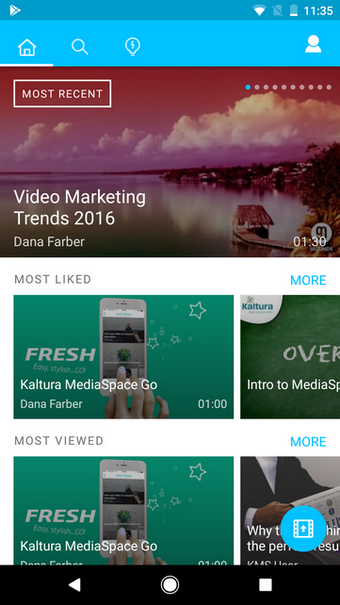
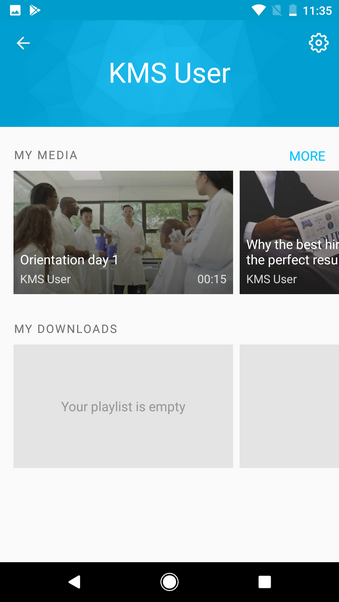
Homepage
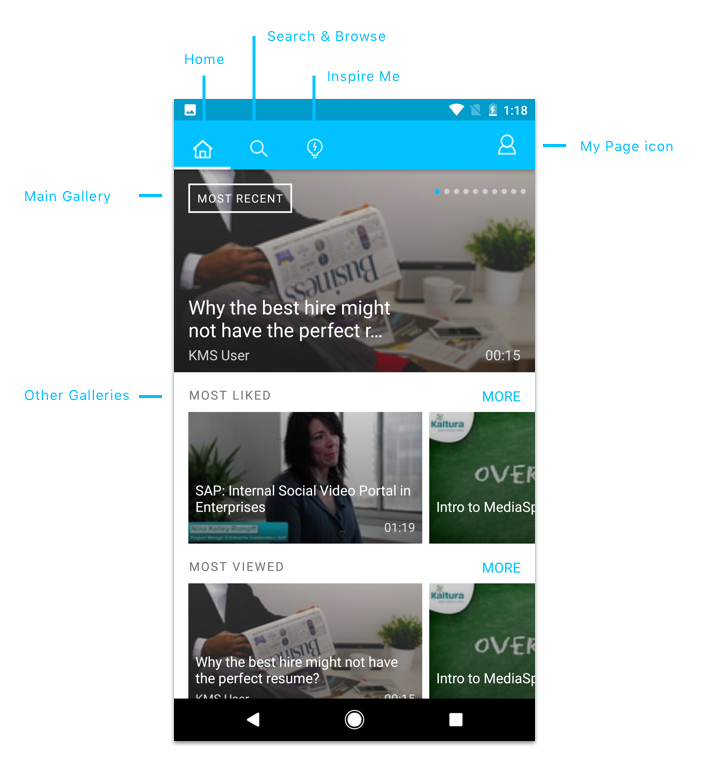
The KMS GO homepage is initially displayed with the following:
- The My Page icon – links to your personal area and app settings
- App’s main gallery displayed
- Additional galleries
- App bottom navigation bar:
- Home - returns you to the homepage
- Inspire me - fun way to get inspired and discover media based on a time frame
- Search & Browse - Opens the KMS GO powerful search tool and browsing options. For more information, see Searching and Browsing Through Media.

The homepage display depends on your KMS administrator’s configuration settings and may be reconfigured.
If you're a KMS admin, check out the Kaltura MediaSpace GO (KMS GO) Mobile Application Admin Guide for customization details and instructions on setting up KMS GO and reconfiguring your homepage.
Your homepage may look different from the Kaltura KMS GO demo page.
Media discovery and interaction
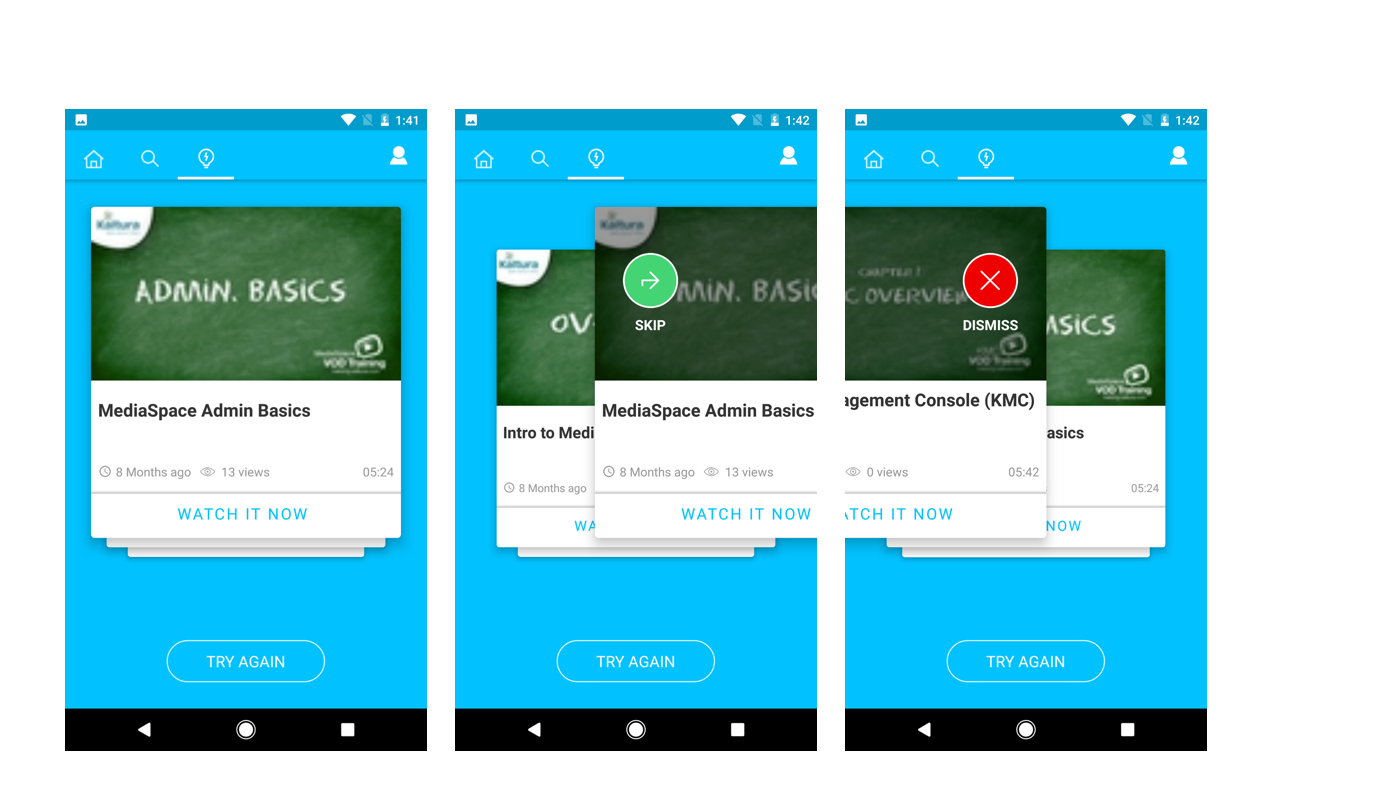
Media discovery starts on your KMS GO homepage. You can browse the gallery by swiping horizontally or tapping on a gallery name for vertical scrolling. The following image shows an example of the vertical display of selected media item on your gallery.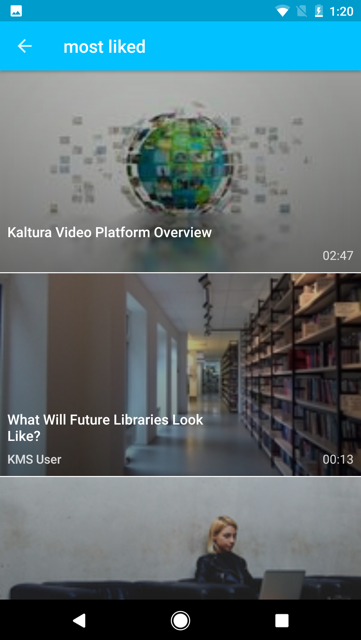
While in vertical view, swipe horizontally to access media quick actions. The available quick actions are:
You can also comment on media items. See Commenting on Media.
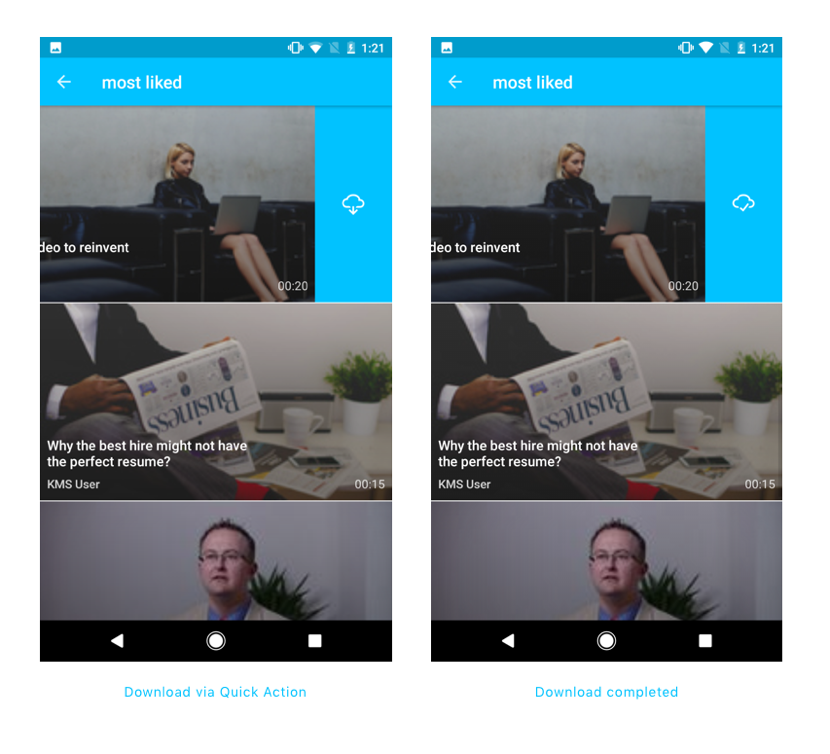
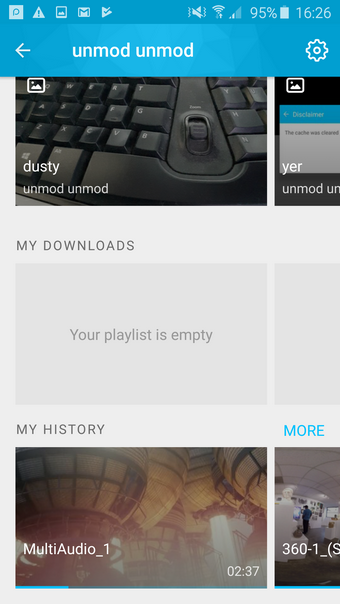
Download media
You can download media (if enabled by your administrator) from a gallery's vertical view or a media page. Downloaded media displays on your device and in the My Downloads section on your homepage.
Please note that when you download media using KMS GO, the file stays within the app and cannot be accessed or played outside of KMS GO's native player.
On the vertical gallery view, you can use the following quick actions:
- Swipe the selected media to the left.
- Click the download icon.
- Abort downloading by tapping on the download icon (note that the icon has an “x” in it).
- Media that was downloaded can be deleted from your device by tapping on the download icon by using a quick action swipe or on the Media Page.
You can also download media directly from the Media Page by tapping on the download icon on the top right corner.
Watch Later playlist
When configured by your administrator, the Watch Later playlist is a quick and easy way to set aside a video for later viewing. You can add or remove content from the Watch Later playlist from any gallery or playlist view and media page.
From a gallery or playlist
- Swipe the selected media to the left.
- Click on the clock icon to add or remove from the playlist.
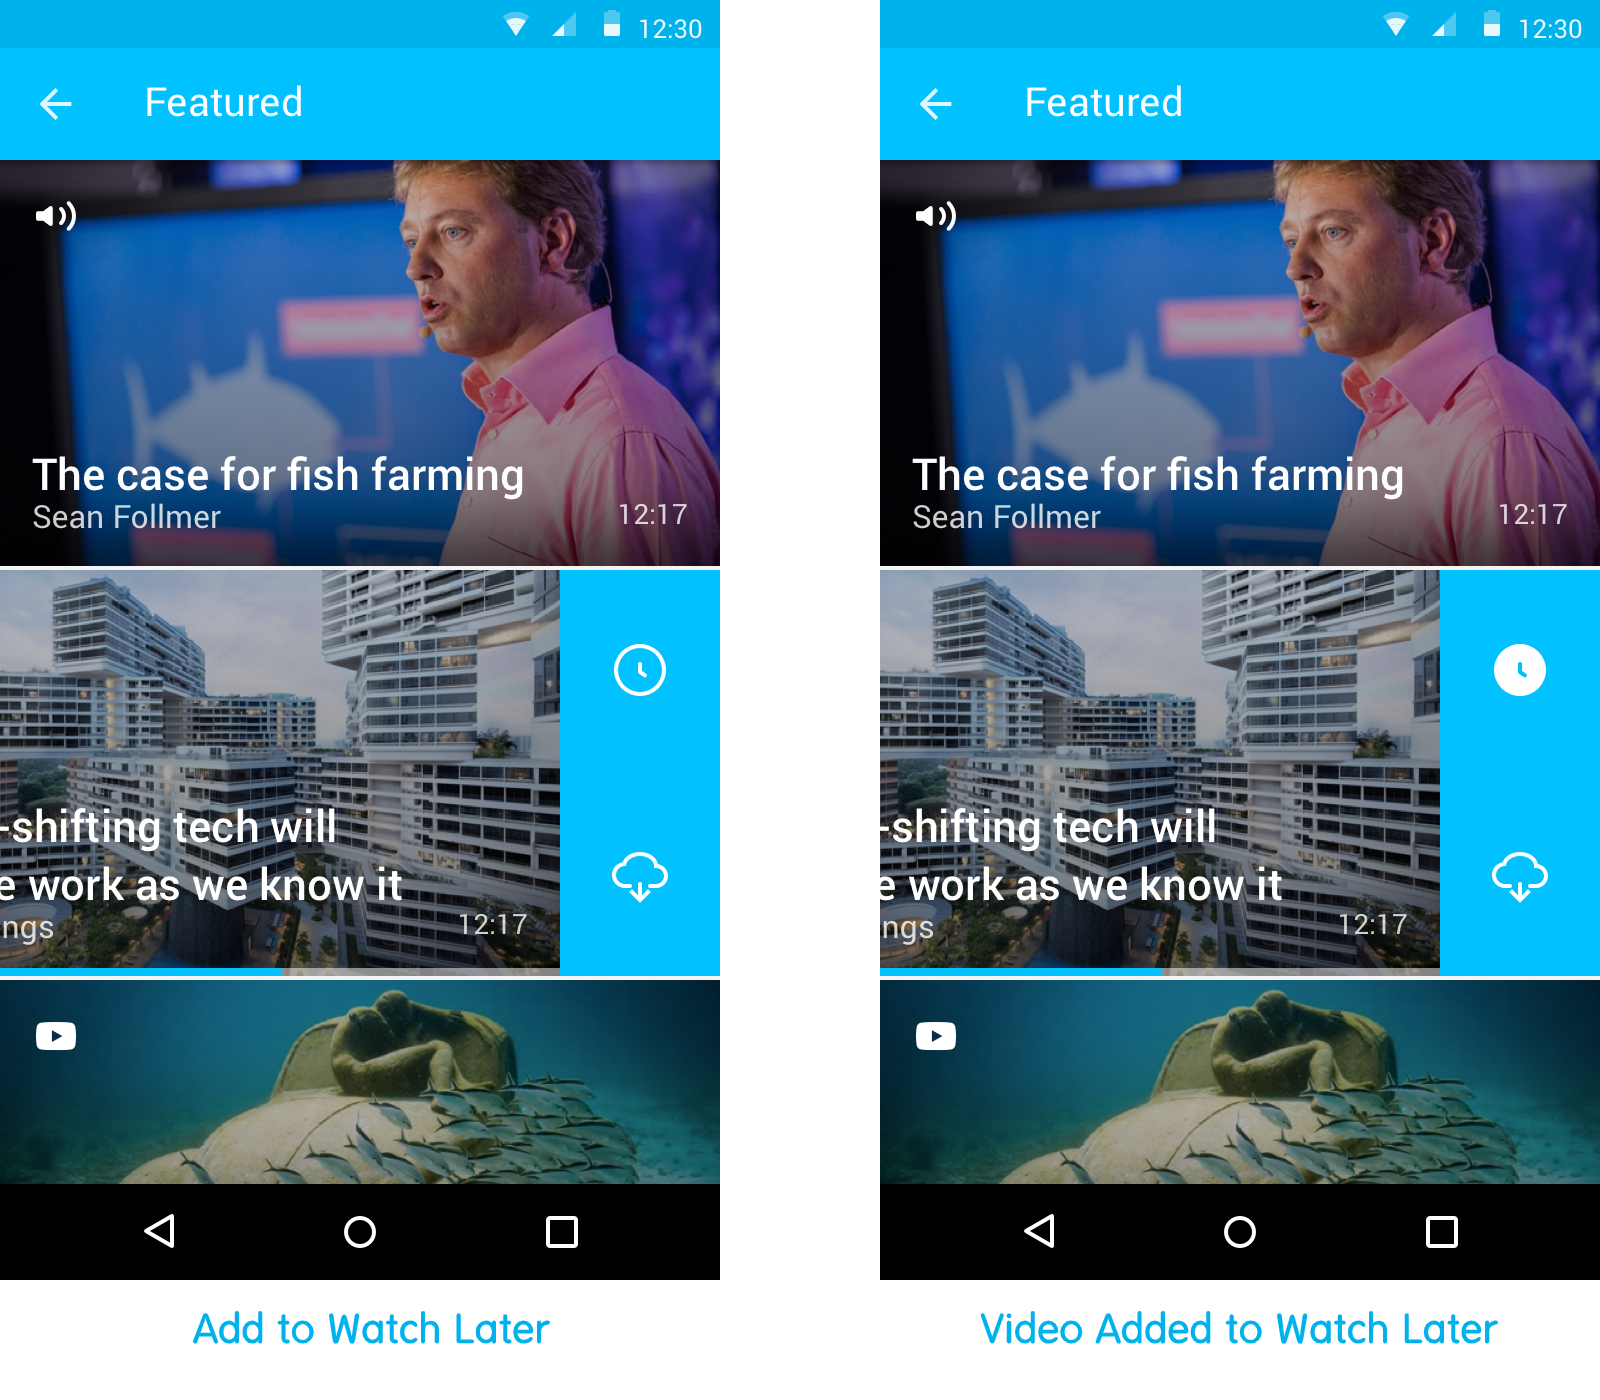 The media is now added or removed from the Watch Later playlist. Go to your Watch Later section to view changes.
 The media is now added or removed from the Watch Later playlist. Go to your Watch Later section to view changes.
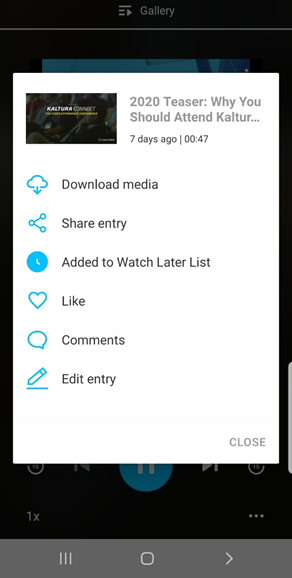
From the media page
- Select the content.
- Click the three dots menu.
- From the menu, click Save to Watch Later to add content to playlist.
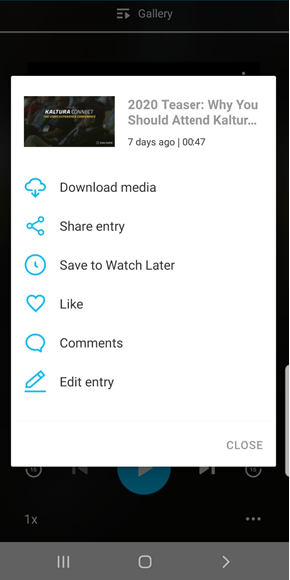
To remove content, click Added to Watch Later List.


View the Watch Later Playlist
- Click My Profile.
- Click Watch Later to access the playlist.


From here you can remove content from the Watch Later playlist by swiping left and clicking the clock icon.
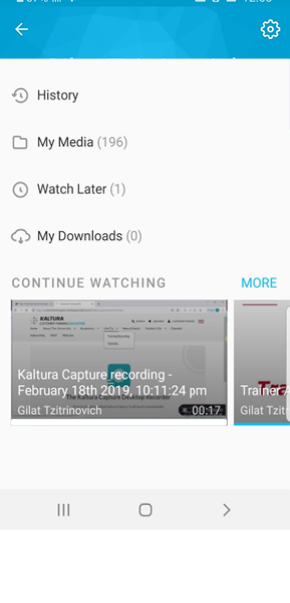
View My History
When set up by your administrator, My History is accessed from My Page and shows videos you've watched while signed in, whether on the KMS app or mobile browser. Changes to your history sync across all devices. Scroll to My History and tap 'More' to see viewed videos.
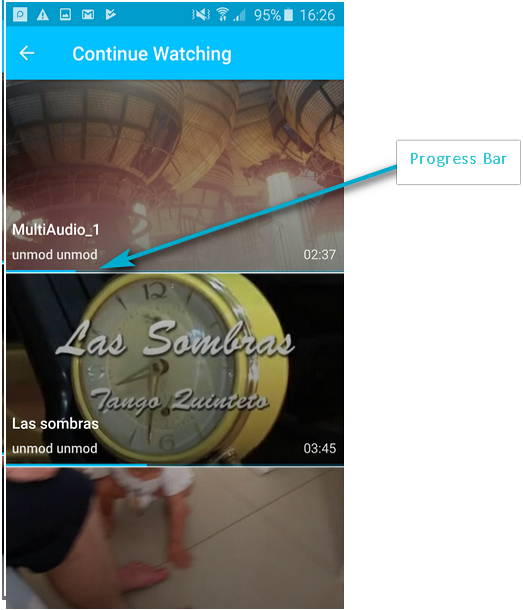
Continue Watching
When set up by your administrator, Continue Watching on the homepage shows videos you've partly watched while signed in, whether on the KMS app or mobile browser. Scroll to Continue Watching and tap More to see these videos.
The video progress bar shows where you left off when watching a video. If you stop before finishing, the bar marks your spot. When you return, the video picks up from there.
Sometimes the video might restart if the admin set a different end time for it to be 'finished'.
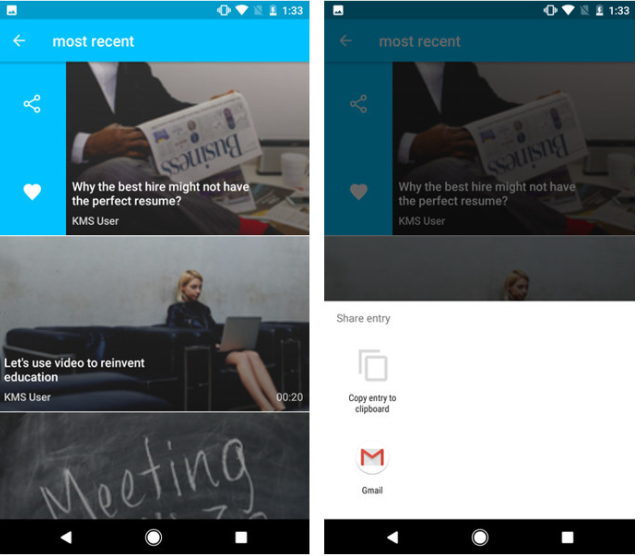
Like and share media
On the gallery vertical view, use quick actions and swipe the selected media to the right.
- Tap on the heart icon to like.
- Tap on the share icon to share.
- Select either email or copy.
You can also like and share media from the media page. See Media Page for more information.
Comment on media
You can comment, reply and participate in a discussion from the Media Page.
- Access the Media Page by tapping on the media thumbnail.

- Tap on Comments and enter a comment.
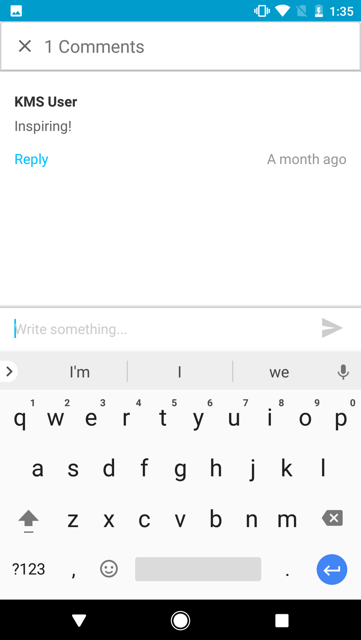
- Tap Post.
- To reply to an existing comment, tap Reply.


Media discovery and actions depend on settings from your KMS admin. Commenting may be enabled or disabled by your administrator.
Search
KMS GO features a robust unified keyword search, available for the following:
- metadata
- slides
- captions
- channels
- categories
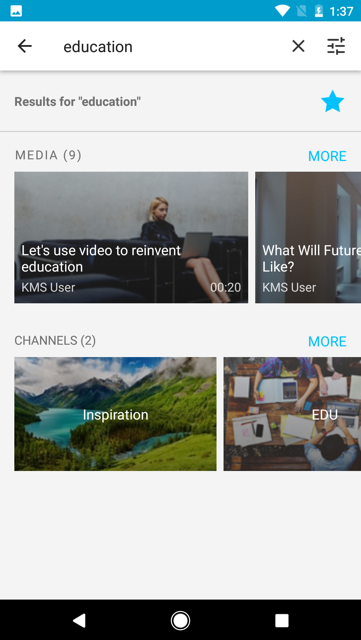
Search results
Search results in KMS GO appear in a magazine-style layout. The Matches section shows media best suited to your search. Channels matching your criteria are also displayed.
Sort and filtering
To sort and filter your search results, click the filter icon at the top right of the search results page.
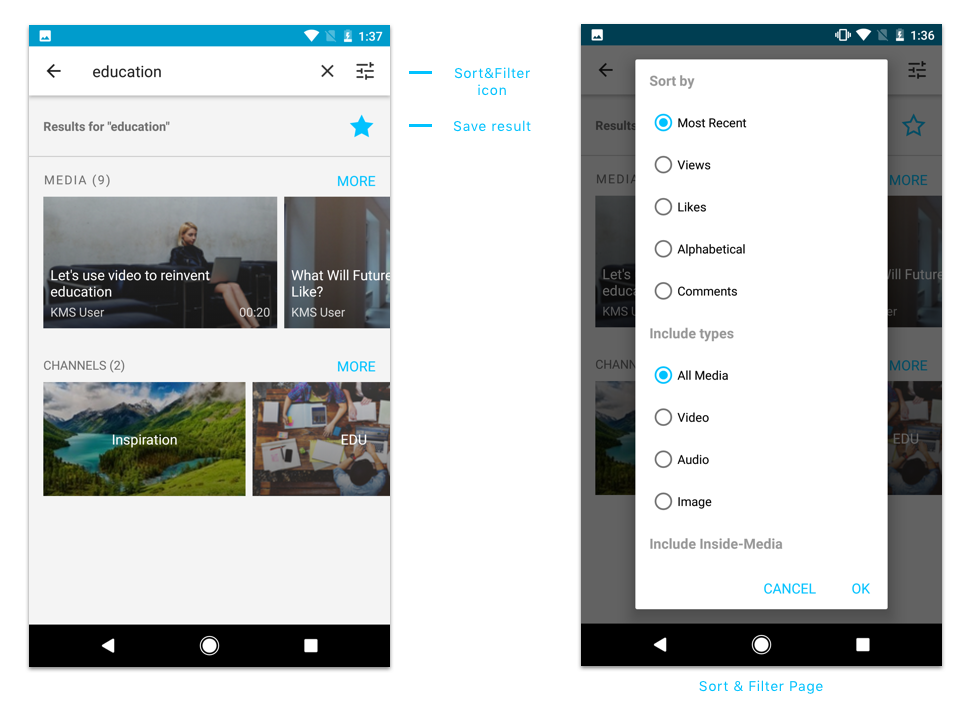 The search results can be sorted by:
- Likes
- Most recent
- Views
- Comments
- Alphabetical
You can choose the types of media to include in your search from:
- All Media
- Audio
- Images
- Video
You can choose to extend the search to the content of the media itself, including:
- Slides
- Captions
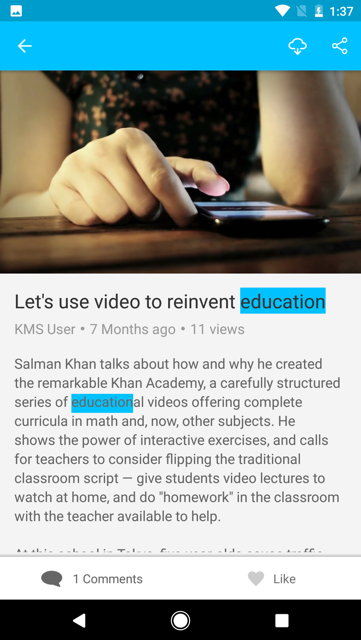
To understand why specific media appears in your search results, tap a thumbnail on the search results screen. Your keyword will be highlighted in all relevant data related to the media, based on your selected filters.
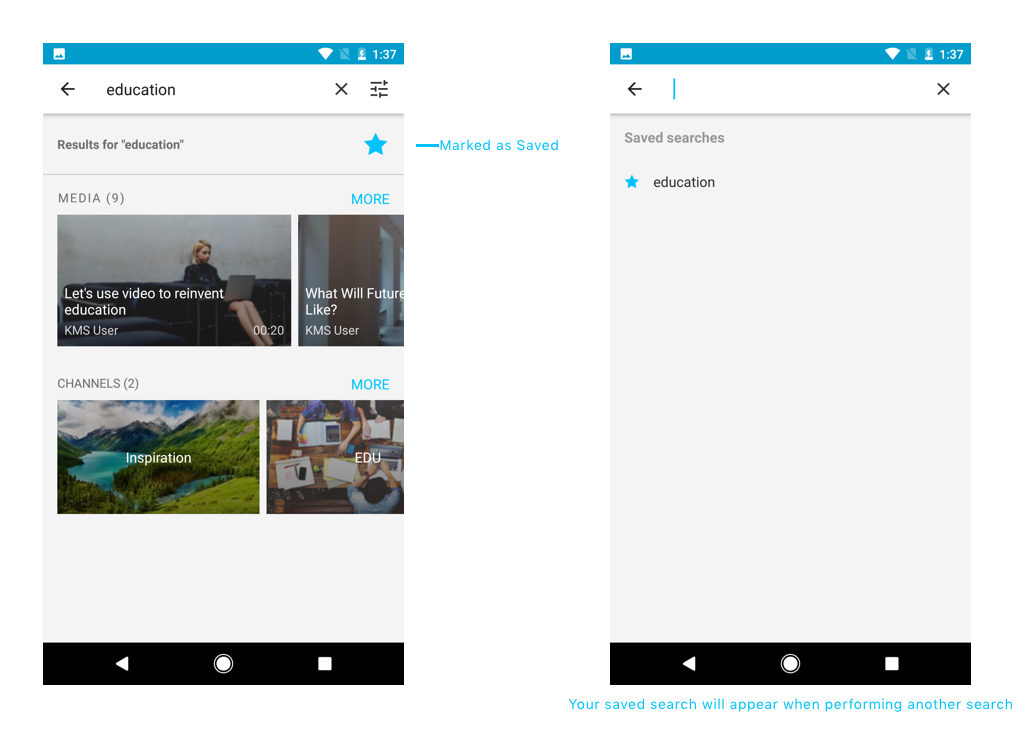
Save a search
Save your search by clicking the star next to your keywords in the search window. Access your saved search later or remove it by tapping the blue star on the saved searches screen when it's no longer needed.
To access your saved KMS GO searches, tap the magnifying glass on the main bottom navigation bar, then tap the search field to open the saved searches screen.
Browsing
To search and browse media, tap the magnifying glass icon at the bottom of your main navigation bar. This search screen also lets logged-in users browse channels and categories.
For additional information about channels vs categories, please check out our article Galleries and Channels - What are the differences?
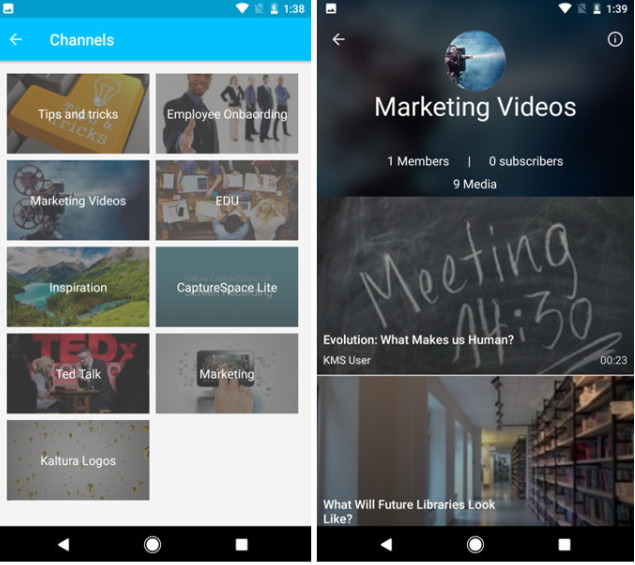
Channels
Every channel in KMS GO has a dedicated channel page, where you can see:
- all the media in the channel
- the number of the channel’s members
- the number of the channel’s subscribers
To access a channel page tap on Channels from your browsing screen or tap on a specific channel from your search results.
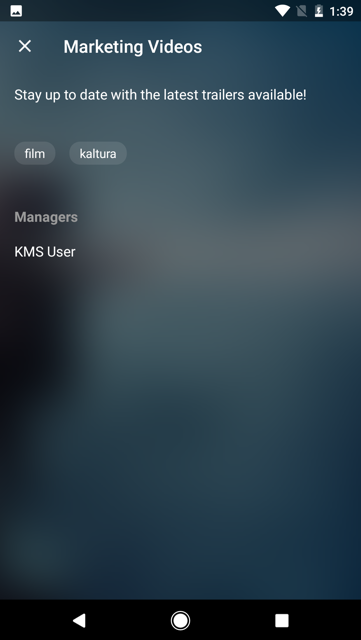
To see more detailed information about the channel, tap on the Information icon on the top right of the channel page. You can see the following:
- channel description
- list of categories this channel appears in
- list of channel managers

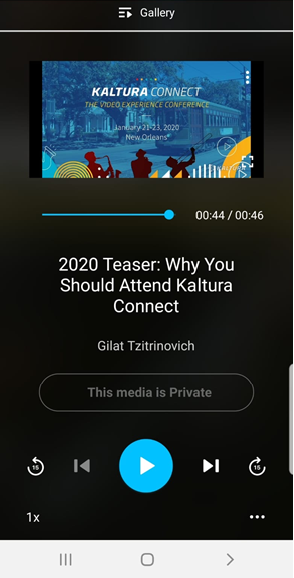
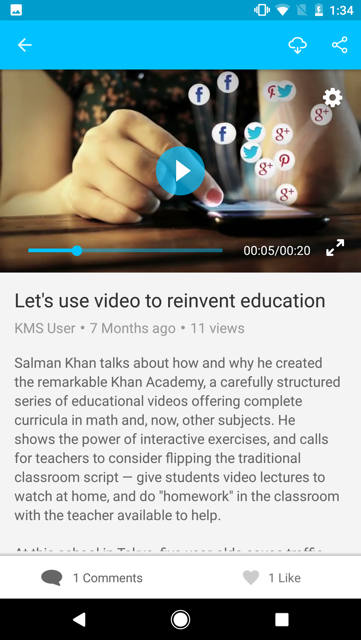
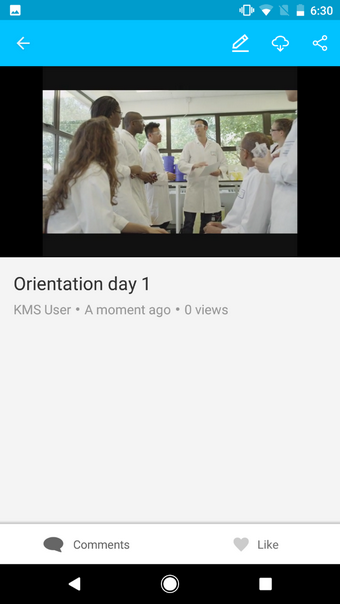
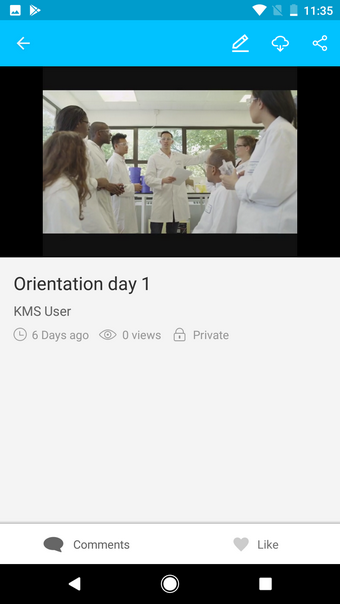
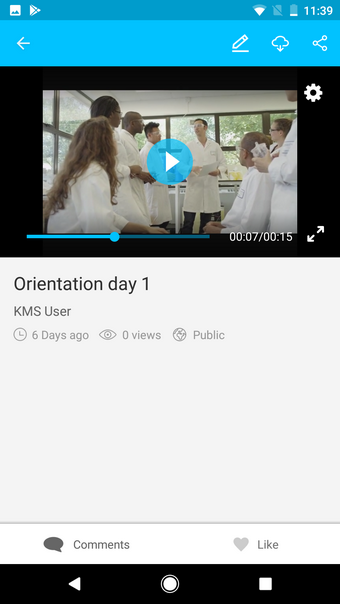
Media page
Every media has its own dedicated page, which includes the following information:
- Media owner
- Publish date
- Number of views
- Description Tags
- Custom metadata
- Number of comments
- Number of likes
You can perform the following actions from this page:
- Tap to play the video
- Rotate the device to enter the full screen view
- Download the media (for videos)
- Add to Watch Later
- Share
- Comment
- Like

The availability of some of these items is subject to entitlements defined by your KMS admin.
Create and upload media
The upload icon is located on the bottom right of the KMS GO homepage. Use the upload icon to add media from your existing photos or create new media using your Android device camera for uploading to KMS GO.
- Tap the upload icon to begin the upload process. Depending on your configuration you may be required to login.
- You can choose to upload existing media from the device's photos gallery, or to create media using your device's camera.
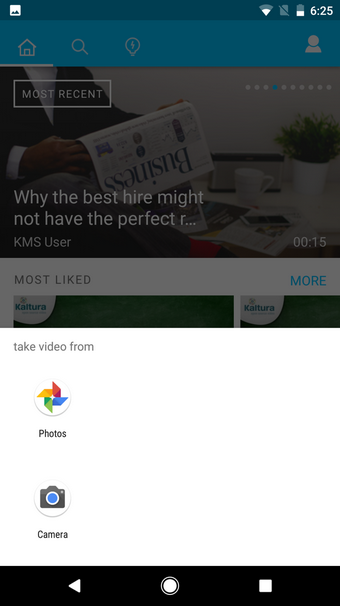
- Select where you want to upload media from.
- Tap the media you want to upload.
The video displays in a new screen with the trim tool.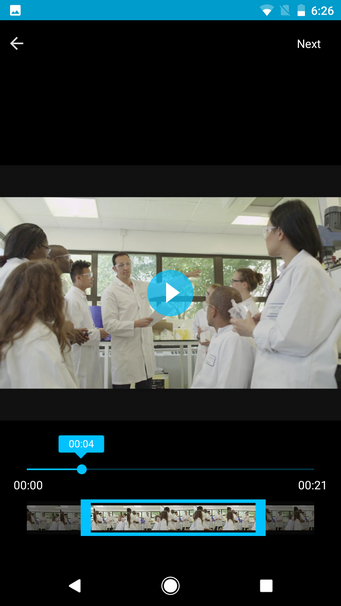
- (Optional) You can select to trim the media from either end, as follows:
- Drag the anchor left or right, or on both ends, to trim. A preview of the trimmed video is displayed.
- Select Back if you decide to cancel the trimming process and return to the original video.
NOTE: After a video is trimmed, it is automatically saved. The old video isn’t altered in any way, but instead a new video file is created.
- Tap Next to continue with the upload process.
- Enter a title for the media.
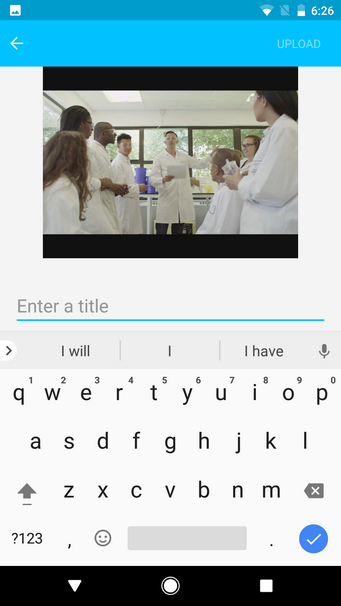
You can always change the title later. See Editing or Adding Metadata for more information.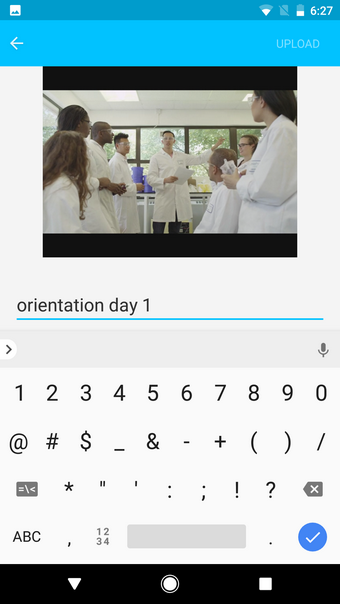
- Tap Enter on the keyboard to dismiss the screen. The upload information page displays.
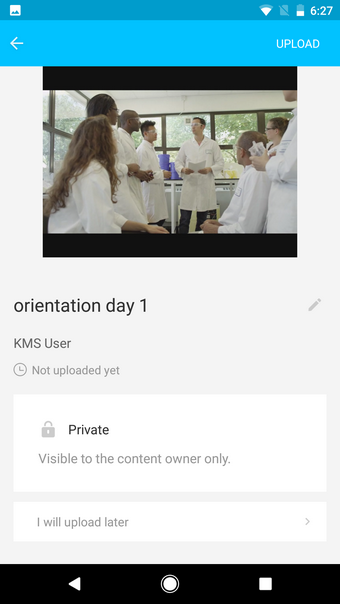
- You can choose to upload the video later by selecting 'I will upload later'. A copy of your media will remain in your device gallery or continue with the upload process .

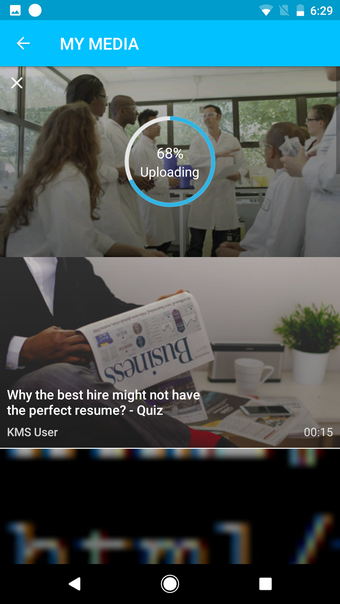
- The upload progress bar is displayed.

- You can cancel the upload by clicking on the X in the upper right corner of the media. A confirmation prompt displays.
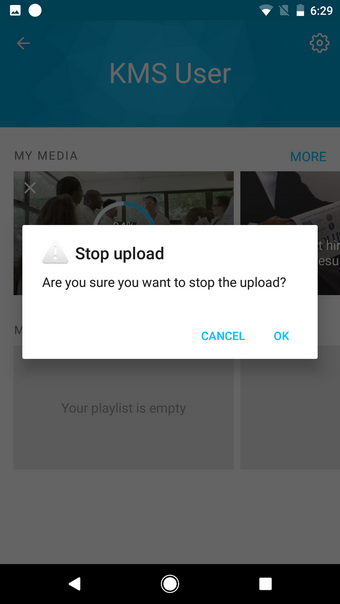
- Tap OK to cancel the upload or tap Cancel to continue with the upload. The video should complete uploading.
A confirmation message displays when the upload is complete.
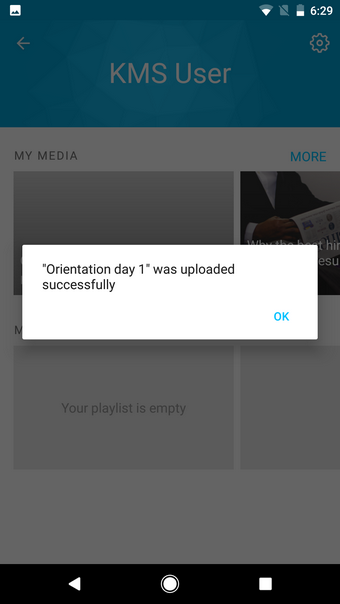


The uploaded video is now available for viewing depending on your publishing settings. You can easily find it in My Page in My Media.
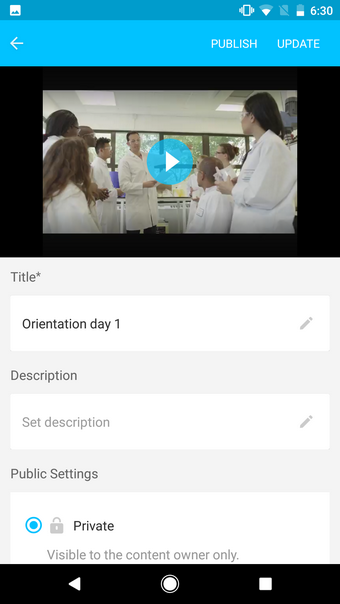
Add and edit metadata
You can add or edit metadata for your media. Editing requires the appropriate privileges.
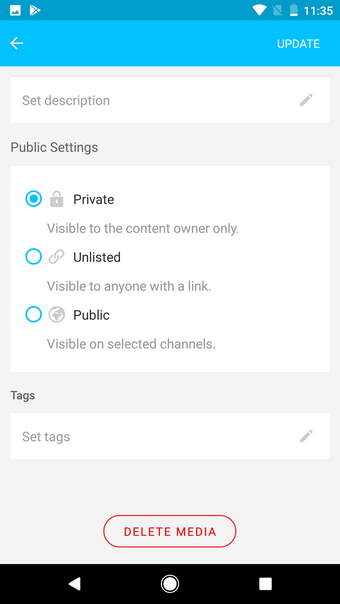
You can change the publish settings from the Edit Entry screen.
- Tap on the video you want to edit.
- Tap on the pencil icon at the top of your screen.
- Tap the pencil icon next to each field to edit it. Scroll to the bottom to see all available fields for editing.
- Tap OK for each field you modify.
- Tap Enter.
- Tap UPDATE to update the information on the server.
You can edit the following:
- Title
- Description
- Publishing Settings - tap on the screen to edit the settings. See Publishing Settings.
- Tags
- Delete Media
Edit
- Tap on the pencil icon on the top of your screen.
- Scroll to the bottom to display all available fields to modify.
- Tap the Pencil icon near each field to open the relevant field to modify.
Title - Enter title, then tap Enter.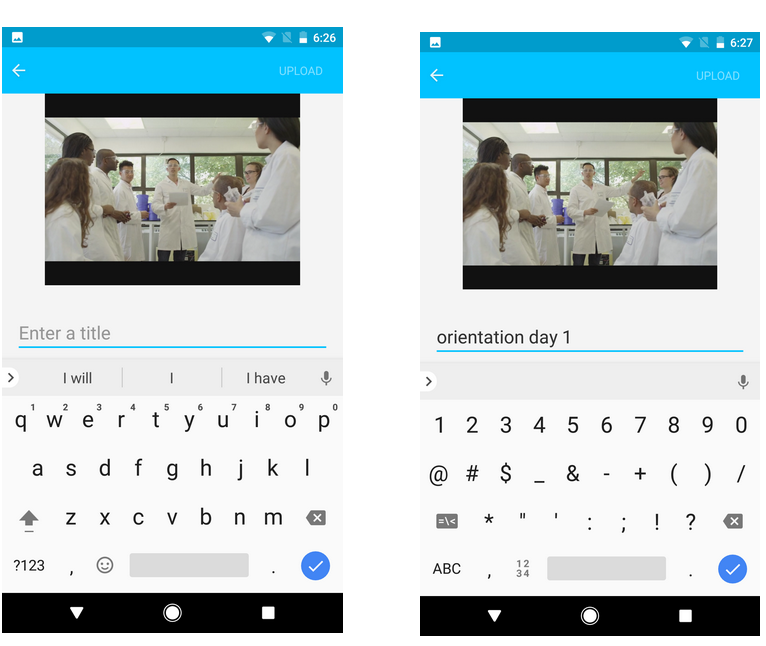 Description - Enter description, tap OK, and then tap Enter.
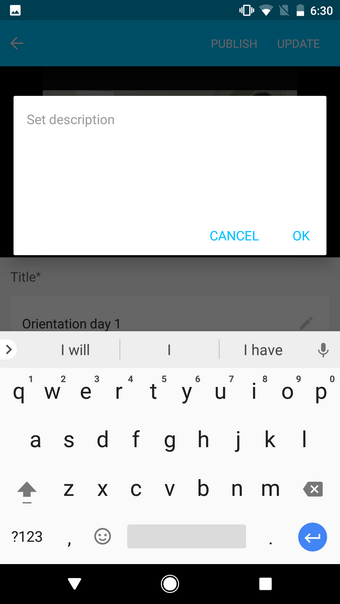
Tags - Enter tags, and tap OK.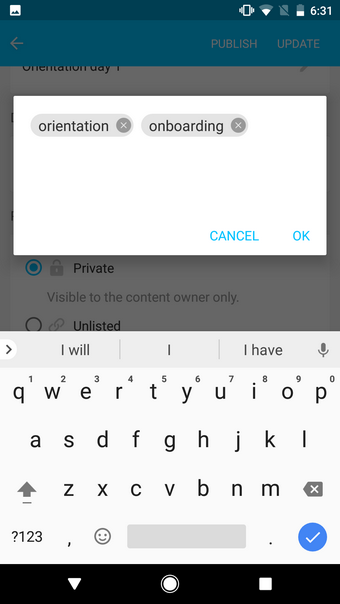
Edit Publishing settings - See Publishing Settings.


Publish media
- On the homepage, go to My Page. Depending on your configuration, you may be required to login.
- Select the video you want to publish from your media.
Note that the publishing settings are set to Private by default - Select Publishing Settings.


Unlisted
- Clicking unlisted copies the URL to a clipboard.
A confirmation displays. -
Click OK.
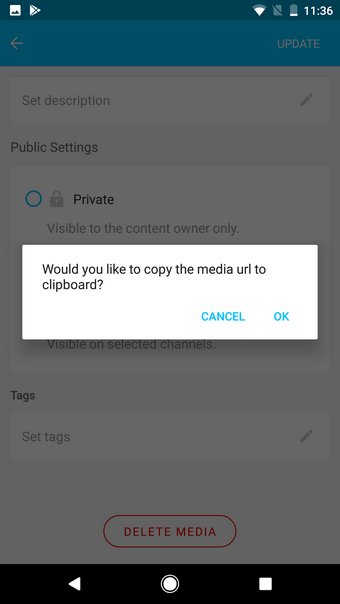
- Click Update.

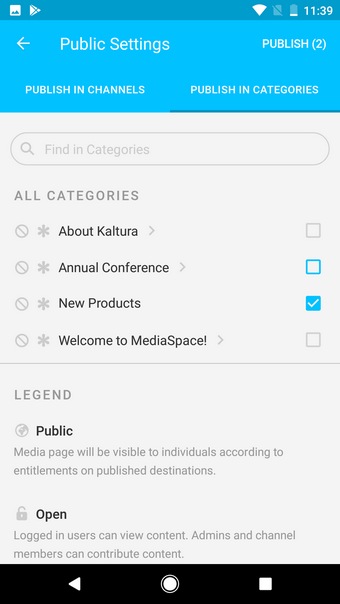
Public
- Public settings lets you publish to channels or categories you have permission for. After updating your publishing options, you'll see the Publish settings screen with two tabs: Publish in Channels and Publish in Categories. The active tab is underlined in blue.
- Tap the desired tab and select the channels / categories you want to publish to.
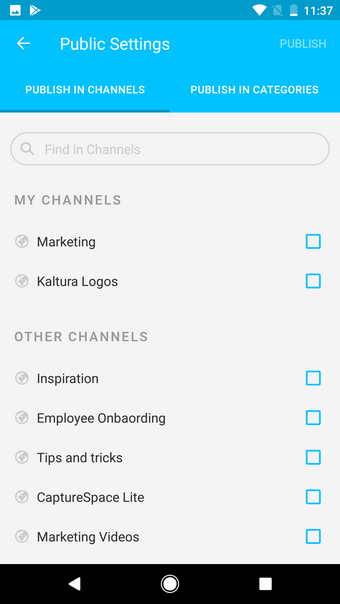
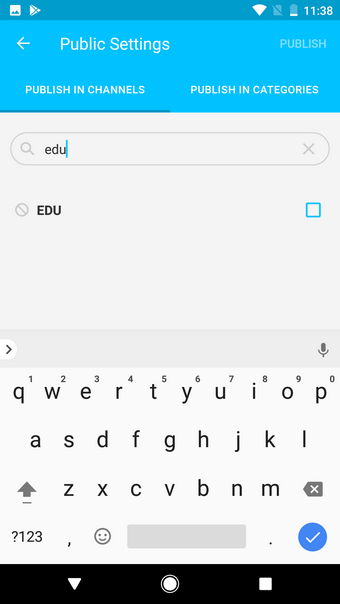
- You can also use the Search field to search for a channel or category.
- Check the checkbox to select the channels/categories to publish to.
You can publish media to multiple channels and categories. The counter next to the Publish option (in parentheses) shows how many are selected. Note the counter represents each publish selection (whether it be channel or category).
Tap Publish. A confirmation message displays.
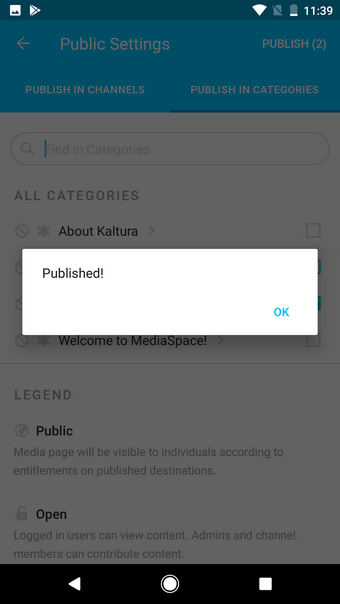
- On your media page, the status changes to 'Public' when published.


Get Inspired
KMS GO “Get Inspired” is a fun way to discover media based on your available time. You can access the Get Inspired section by clicking on the light bulb icon on the bottom navigation bar.
- To discover videos, swipe to select the available time.
- Click Let’s Go.
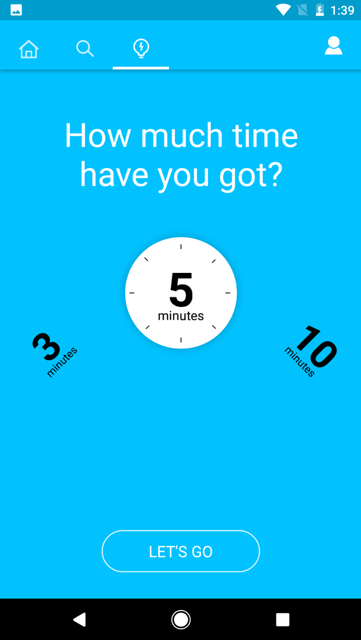
- Swipe to dismiss suggested media or tap on it to view.


My Page
Personal info
Your unique profile page on KMS GO is referred to as My Page. On your page, you can access all of your media and downloads and control your application settings. If you haven’t logged in, you can do it here as well.
To access My Page, tap on the profile icon on the top navigation bar from KMS GO Homepage.
To view your KMS profile settings (from My Page), tap on the settings icon in the upper right corner of My Page to access your Settings Page.
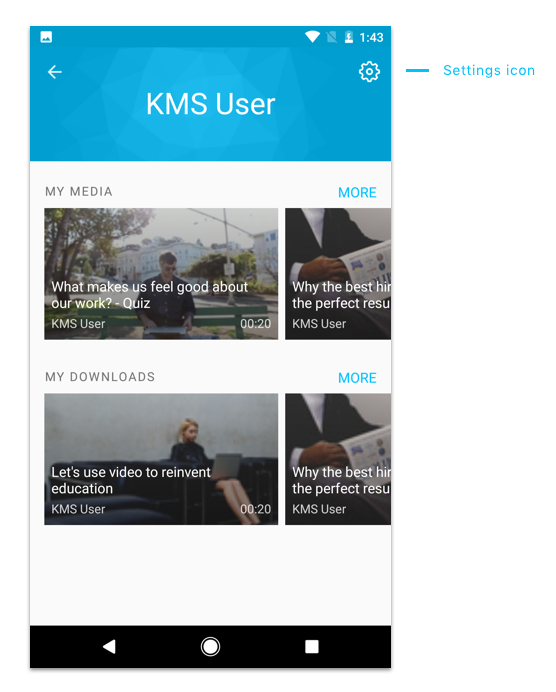
Settings
The Settings page includes the following;
- About
- Application version
- Link to the open source documentation
- Connection
- Play Media on Wifi Only - select your desired
- Download media on Wifi Only – select your desired setting.
- Change Site Address
You may have the option to change the site address based on configuration created by your admin.
Logout
You can logout and continue to browse in Guest mode.

Settings on your Android device
In the App Setting section on your Android device you can specify whether KMS GO should use cellular data.

