About
This article describes how to record a virtual classroom session. It also describes how to access those recordings and additional functionality available to you.
Looking for more information about these features? Feel free to contact your Kaltura representative.
Start recording
- Click Start recording or click the three dots button and choose Record.
 You are asked to confirm your action.
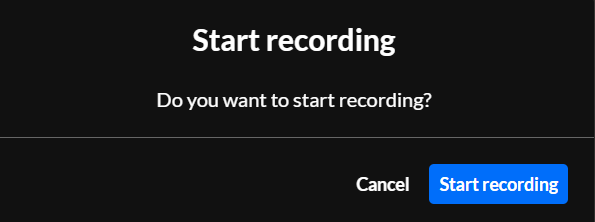
- Click Start recording.
Note the red "record" light in the lower left corner of the screen that indicates you are currently recording.
 You are asked to confirm your action.


Stop recording
- Click the Stop Recording (square icon) button or click on the three dots button and choose Stop Recording.
 You are asked to confirm your action.
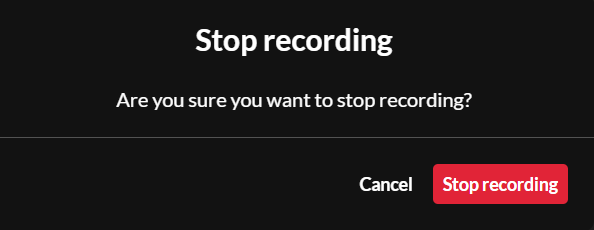
- Click Stop recording.
 You are asked to confirm your action.

Once you stop recording, a toast message displays asking you to wait for the recording to be uploaded. Another toast message displays informing you once it has been uploaded successfully. The classroom recording is now published.
You can find the file on the Recordings & media tab. See the following section for additional functionality.
Additional functionality on the Recordings & media tab
Edit recording
On the Recordings & media tab, click on the recording, or click the blue dots button and select Edit.

The Basics tab of the Editing screen displays.

The editable fields in the Basics tab are as follows:
Thumbnail - If you wish to insert a different thumbnail, click Edit Thumbnail and choose the desired file. We recommend 1920x1080 px.
Title - A title for your media (char limit is 120).
Description - A description of your media.
Publish to site or change publish settings
To publish media:
On the Recordings & media tab, click the blue dots button and select Publish to site.

The Publish to site screen displays.

Move the toggle to the right, then click Save changes.
To unpublish media:
On the Recordings & media tab, click the blue dots button and select Change publish settings.

The Publish to site screen displays.

Move the toggle to the left, then click Save changes.
Download recording
On the Recordings & media tab, click the three-dots button and select Download. The media is downloaded to your computer.
Delete recording
On the Recordings & media tab, click the three-dots button and select Delete. When deleting a recording, you are asked to confirm your action.
Upload additional media
Click on the Upload media button to upload additional media.
