About
This article explains how to set up Lecture Capture scheduling.
Content Hubs and LMS Extensions system administrators manage Kaltura scheduling in the admin area, accessed from <Base_URL>/admin (for example, https://videos.mediaspace.kaltura.com/admin), in the Recscheduling module.
My Schedule has transitioned to My Calendar. All previous events remain available.
Enable and configure the Kaltura Scheduling module
- Configure the
Recschedulingmodule:- Set up the roles and permissions allowed to schedule a recording at the school or institution.
- Set up the resources or devices to use.
- Set up the publishing categories, when categories need to be created in advance for multiple applications.
- Verify that you activated the Kaltura Scheduling feature.
Verify that you activated the Kaltura Scheduling feature
Verify that selected users can schedule an event
Content Hubs
- Log in to Content Hubs.
My Calendar appears in the user login drop-down.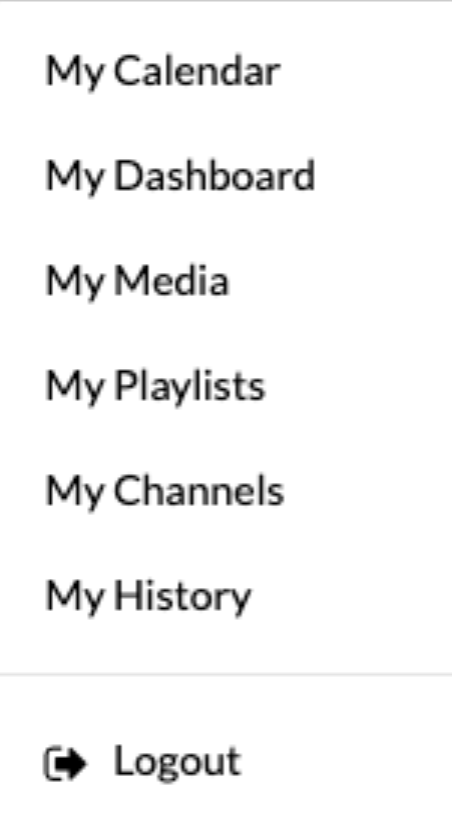
- Log in to your LMS Extensions application.
My Calendar appears on the My Media page.
Resources
Ingesting from different devices can be challenging, since recording equipment differs between schools and institutions. Each resource maps to a device, and the device is triggered by the scheduling API.
Upload a resources file
- In the Configuration Management Console, select the
Recschedulingmodule. - Enable the
Recschedulingmodule. - In the
manageResourcesfield, click Upload a resource definition file (.csv).
The list should contain all available resources for recording, the device name, and the device location.
View the resources used for recording
- In the Configuration Management Console, select the
Recschedulingmodule. - Enable the
Recschedulingmodule. - In the
exportResourcesfield, click Download the Resources list.
View how a scheduling admin schedules a resource
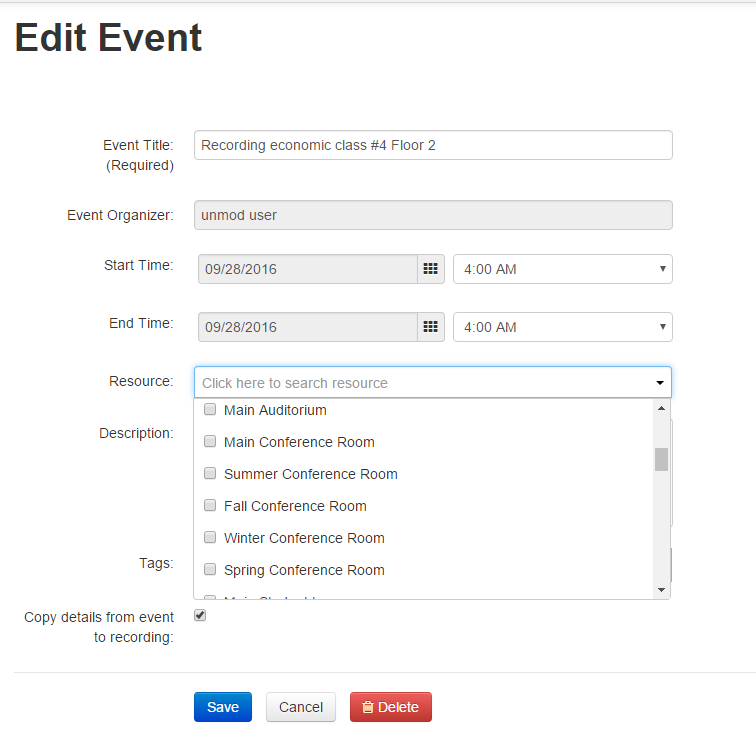
- In the Add or Edit Event window, click the Resources field.
The available resources appear. - Select a resource from the drop-down, and click Save.