The following instructions require the recyclebin module to be enabled.
Although the items in the recycle bin are automatically deleted after a specified number of days, an item can also be permanently deleted manually by the media owner.
The recycle bin retention period (number of days items stay in the recycle bin before being permanently deleted) is configured by Kaltura account management or the Customer Care team.
Delete a single item
- From the user menu
 at the top right, choose My Recycle Bin.
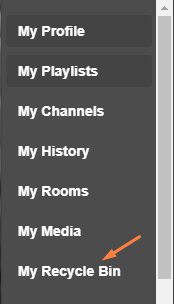
The Recycle Bin page opens.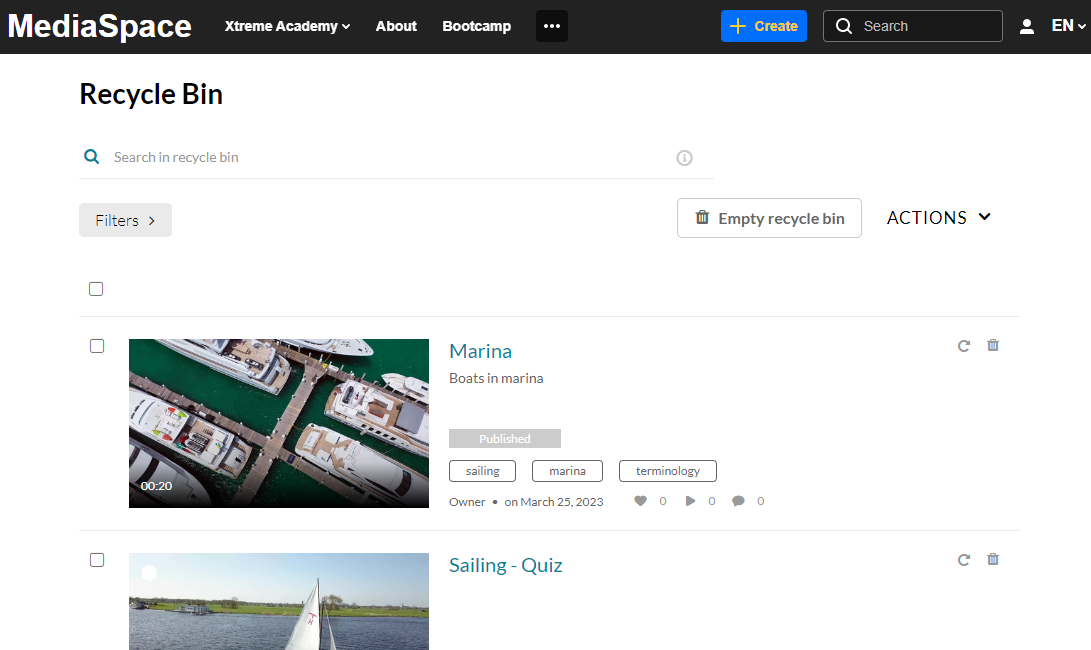
- Click the trash can icon next to the item.
A warning message displays.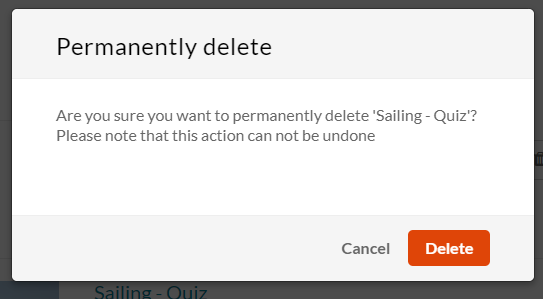
- Click Delete or Cancel.
The item has been permanently deleted.


Delete multiple items
If there are many media items in the Recycle bin, you can use the Filters function to sort the media items by type. 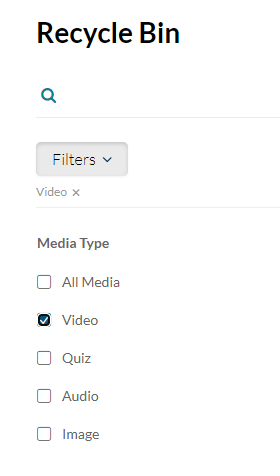
- Choose the boxes next to each media item you want to delete.
- From the ACTIONS menu, choose Delete.
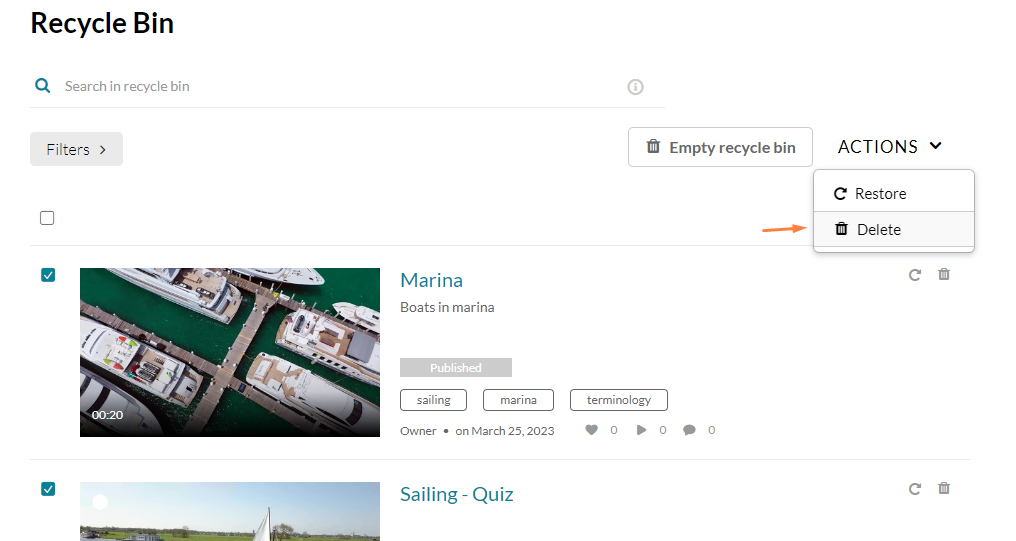
- A warning message displays.
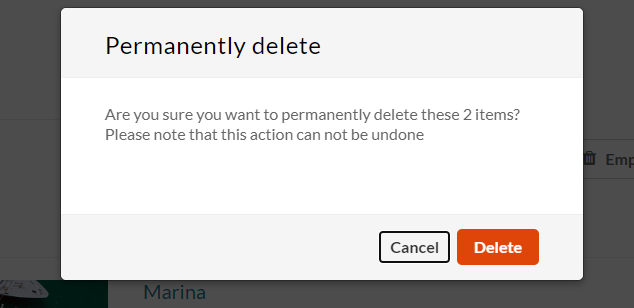
- Click Delete or Cancel.


This functionality is limited to 1,000 entries per single action.
Empty the Recycle Bin
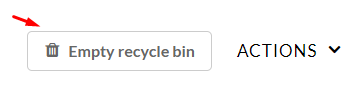
- Choose all the items, then click Empty recycle bin.
- A warning message displays.

- Click Delete or Cancel.
Your Recycle Bin is empty.


