Change dashboard timeframe
Use the date picker at the top of the dashboard to change the timeframe and view data across different periods. You can select preset time periods or choose specific dates.
Preset time periods
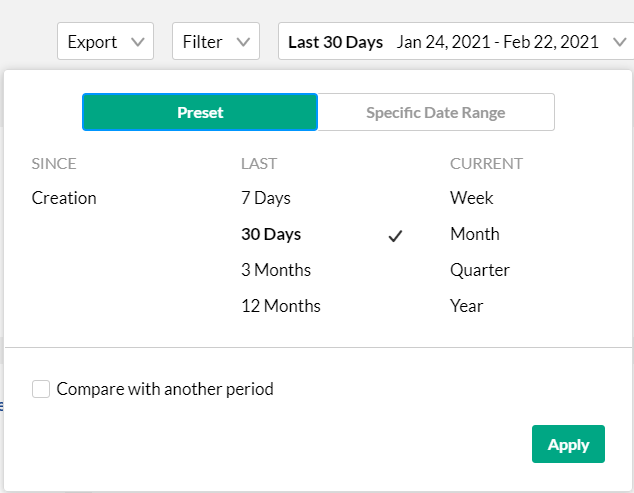
Preset time periods are a quick way of looking at recent data, such as the last week or the last month. You can also select time periods such as current year or quarter.

Selecting a custom timeframe
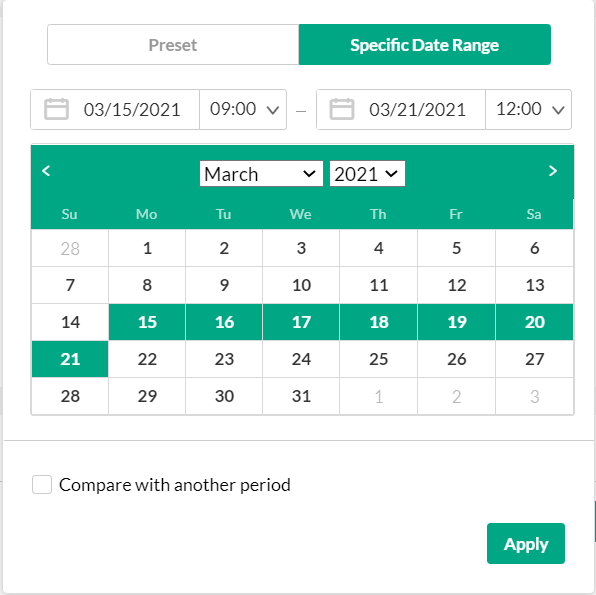
- Click on the date picker and choose the Specific Date Range tab.
- Navigate to the first date of the timeframe and click on the date in the calendar.
- Navigate to the last date of the timeframe and click on the date in the calendar. The timeframe will appear marked on the calendar.
- Select the hours filter to fine tune your filtering to specific hours. Note: if you want to select until midnight, please enter 23:59 as the hour.
- Click Apply to view the dashboard data for the selected custom time period.

Compare time periods
You can compare different time periods to better understand your data considering seasonality and changes in usage following adoption of new tools and capabilities. You can choose to compare between the same period last year or pick a specific date and compare the timeframe starting from this date. You can also use the hours filter to fine tune your analytics for specific hours.
To compare time periods
- Click on the date picker and choose the Specific Date Range tab.
- Select the first time period you would like to explore.
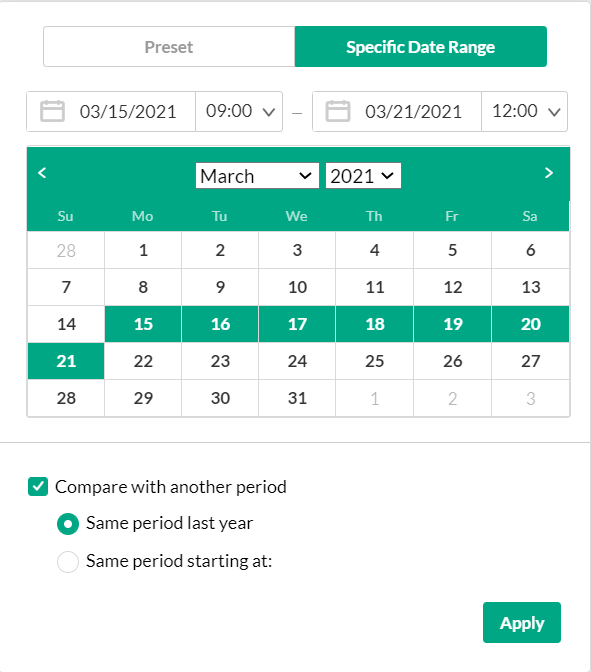
- Check the box to Compare with Another Period.
- Choose the second time period you would like to compare with:

- Choose Same Period as Last Year to compare the exact same time period the year before. For example, if the first selected time period is March 15, 2021 to March 21, 2021, the comparison will be performed to the time period of March 15, 2020 to March 21, 2020.
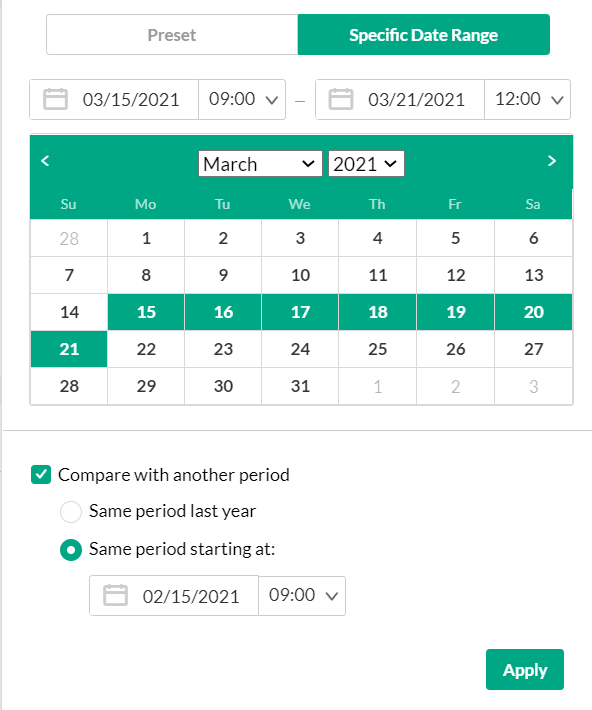
- Choose Same Period Starting At to compare with a specific time period of the same duration. You may also select to filter the analytics for the hours for a specific time range. For example, if you would like to compare analytics for March to February, select the first selected time period as March 15, 2021 to March 21, 2021. Enter the hours specific hours you want to produce the analytics for. In the following screen, analytics for 9 AM to 12PM have been chosen for rendering. Then select the Same Period Starting At and mark the starting date as February 15, 2021. The comparison will be performed for the time period of February 15, 2021 to February 21, 2021.

- Click Apply to view the dashboard data and compare the information from both periods.
To return to viewing a single time period
- Click on the Exit Compare Mode link next to the Date Picker.


