About
In this guide, we'll show you how to remove media from a channel in your video portal without deleting it from your account. We'll cover steps for both non-Theming and Theming users.
For those interested in upgrading to Theming, visit our article Getting started with the Theming module.
Non-Theming users
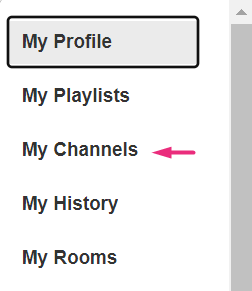
- Log into your video portal (aka MediaSpace), and select My Channels from the user menu.
- Click on a thumbnail to open the desired Channel.
The Channel page displays.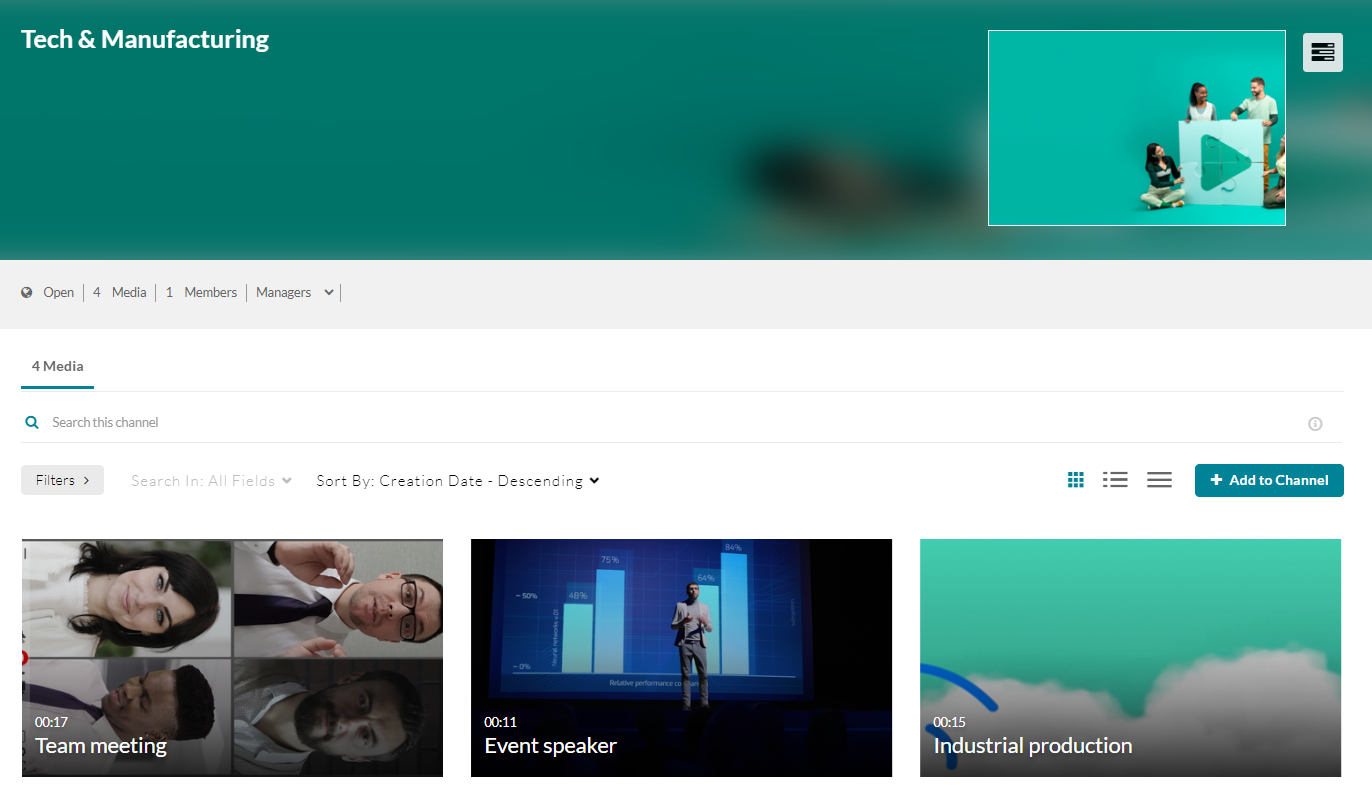
- Click the three dots menu on the lower right side of the media item you want to remove.
- Click the Remove from Channel button (circle with 'x').
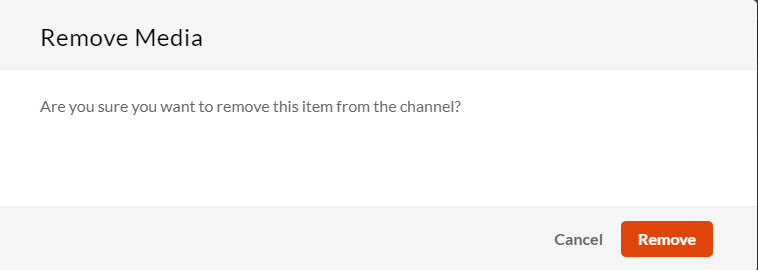
A confirmation message displays: Are you sure you want to remove this item from the channel?
- Click Remove to confirm the deletion.


Theming users
- Log into your video portal (aka MediaSpace), and select My Channels from the user menu.
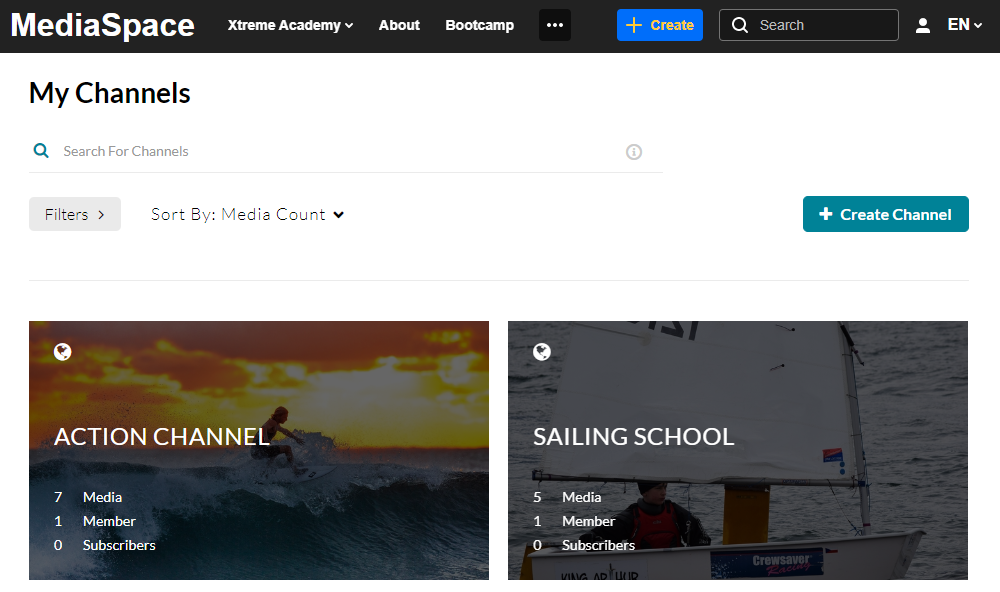
The My Channels page displays.
-
Click on a thumbnail to open the desired Channel.
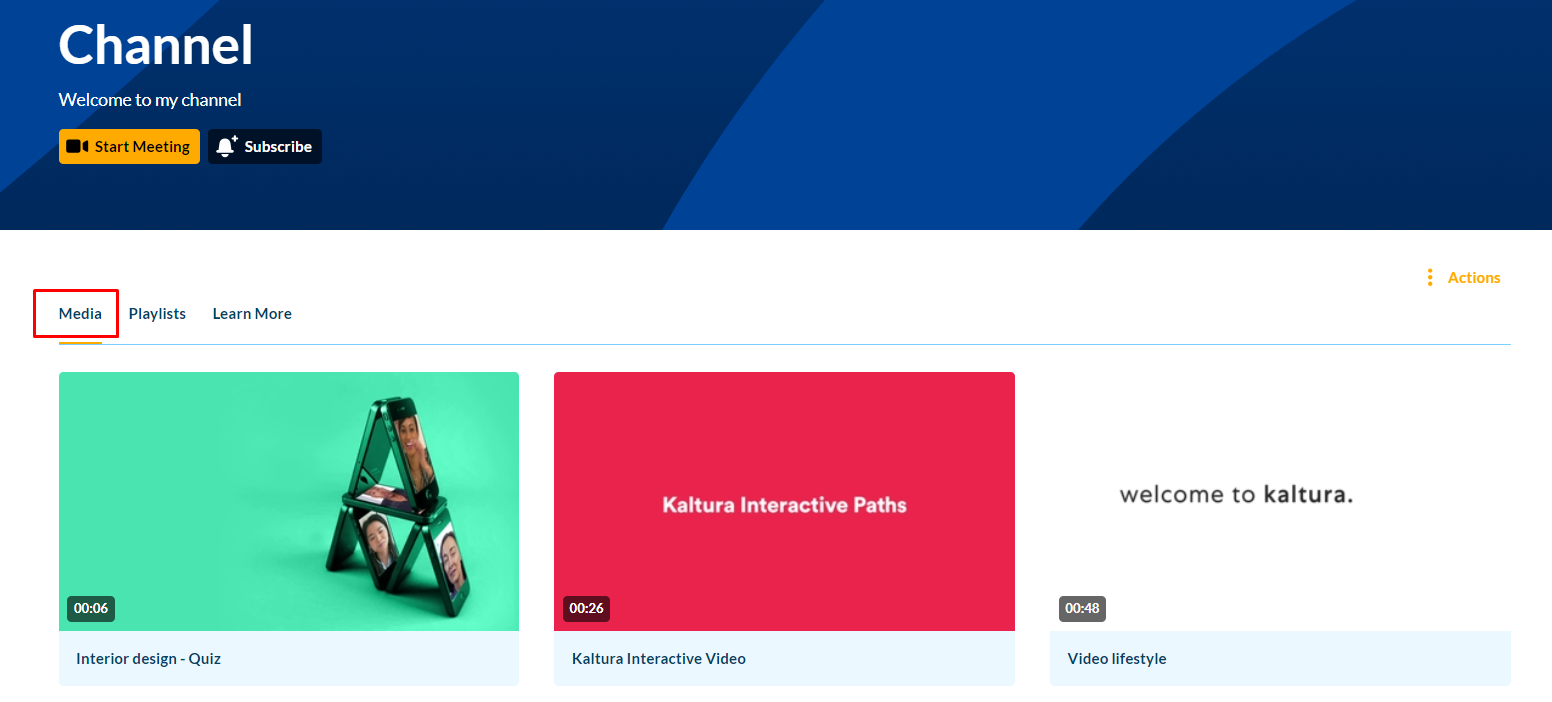
The Channel page displays.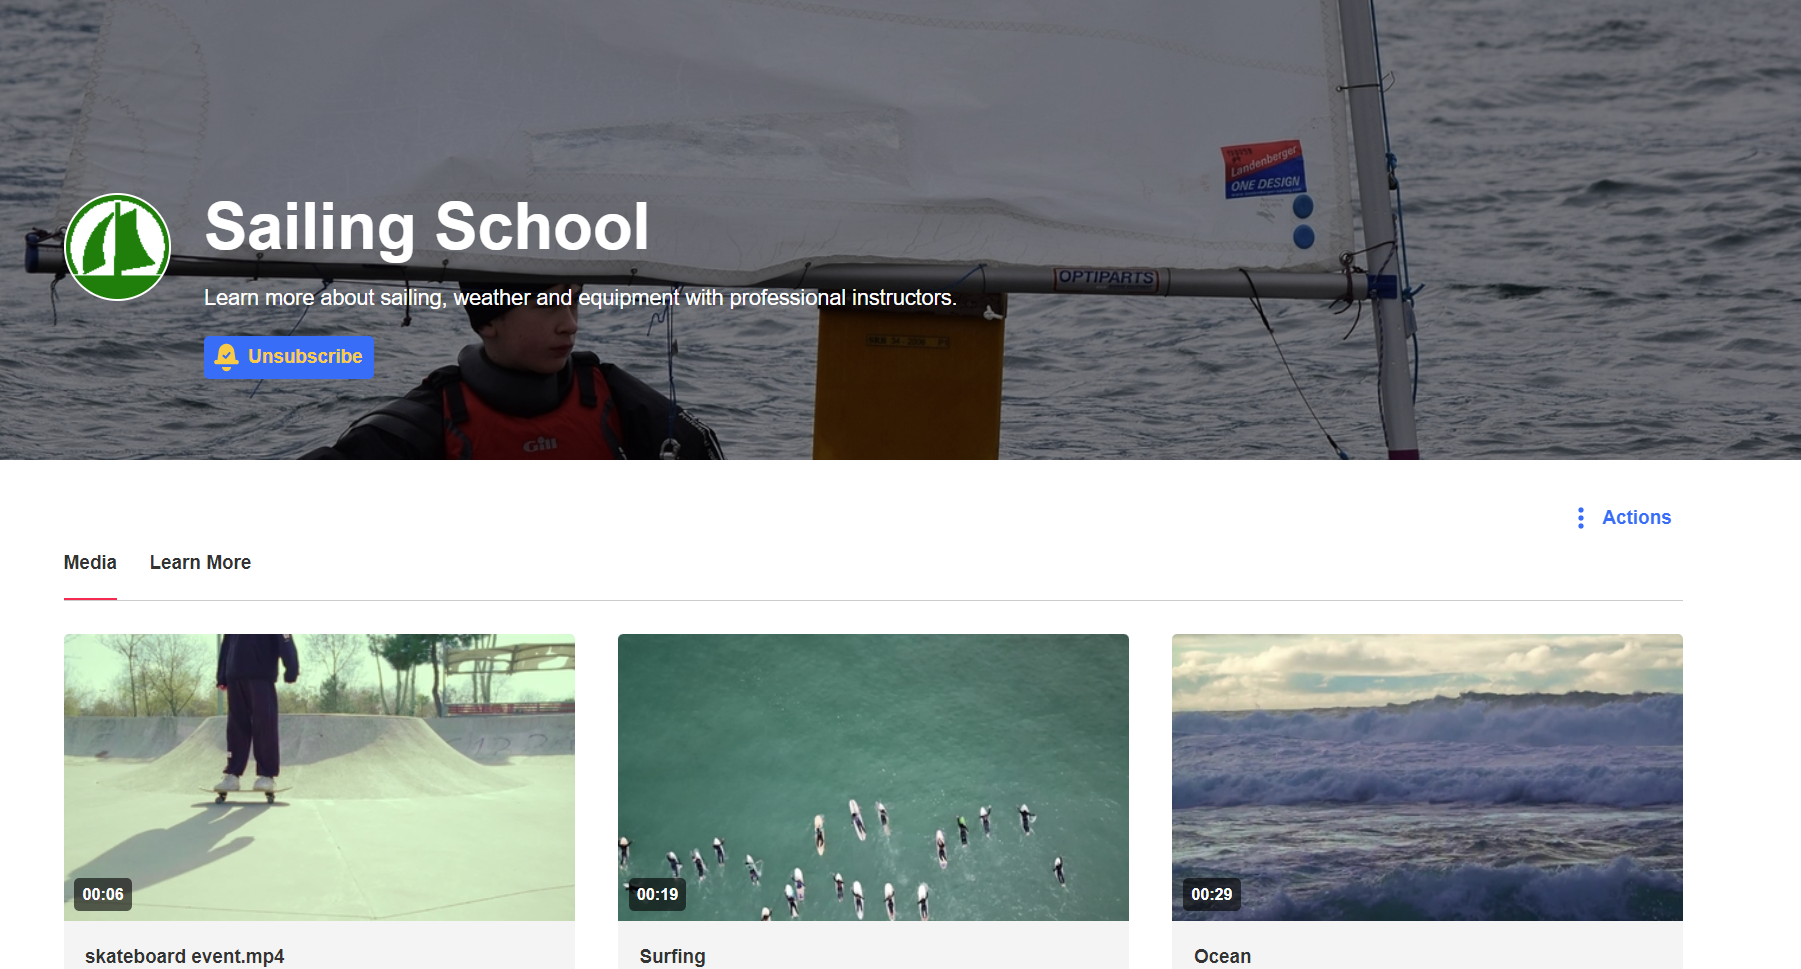
- Select the Media tab and click on the desired media's thumbnail.
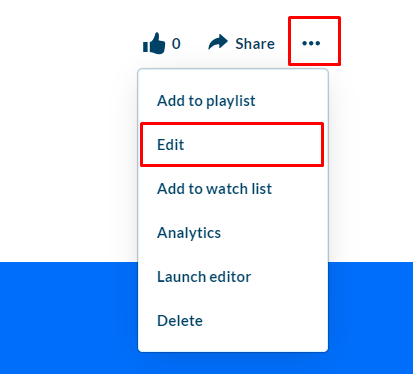
- Click on the three dots menu and select Edit.
- On the media editing page, select the Publish tab.
- Under Publishing Status, select Private.
This will unpublish the media from all categories/channels and all other applications.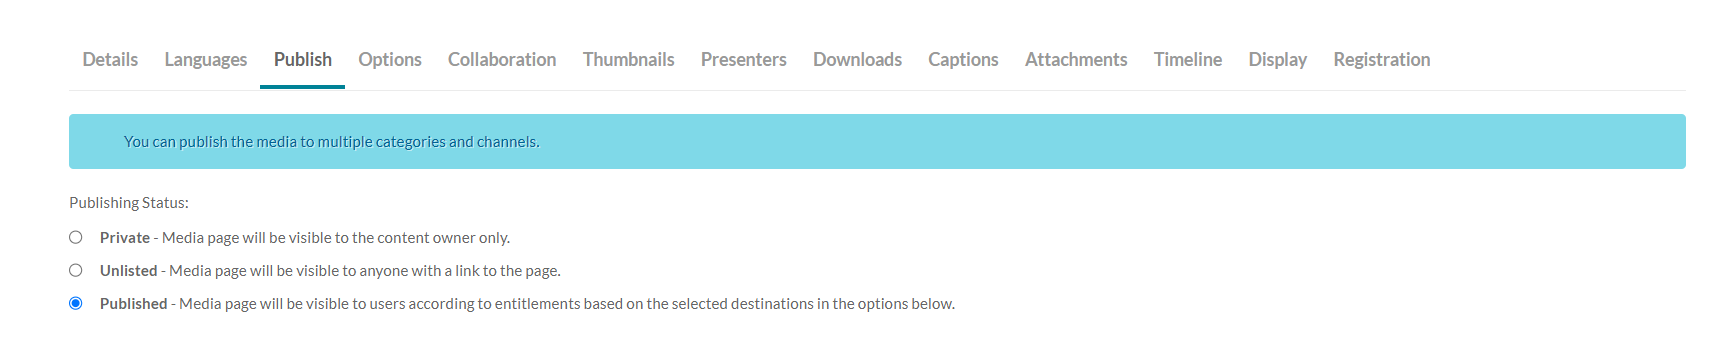
- Click Save.


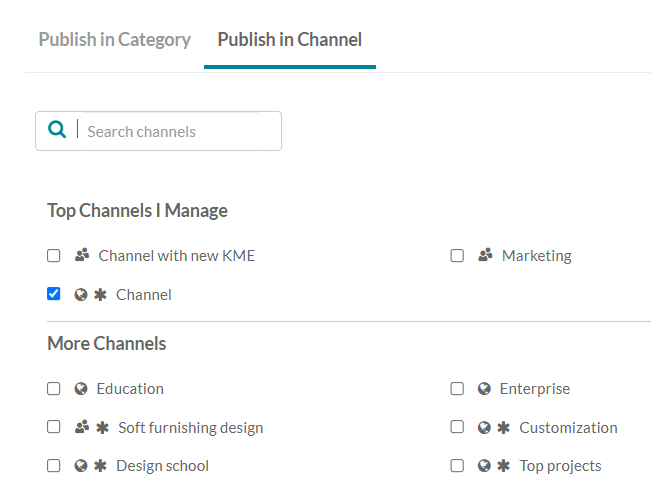
To keep media published in other categories or channels, leave the published status unchanged and simply uncheck the channel you want to remove it from.
Removing media from a channel will not delete it from your account. To learn more, see Delete an entry and Restore items from the Recycle bin.


