Setting up the Webex Integration with Kaltura
Prerequisites
- A Webex Account
- Access to Cloud Recording
- A Kaltura Account
Installing the Webex Video Plugin for the Kaltura Webex Integration
The Webex integration for Kaltura is an account-level application. All the recordings created by Webex users under the configured account will be uploaded to Kaltura.
Only Webex account admin(s) can install the Kaltura Webex plugin application from the Webex Marketplace.
After the Kaltura Webex plugin for Kaltura is installed and enabled on your account:
- All Webex cloud recordings for the account are uploaded to the configured Kaltura account.
- Only the Webex admin may edit the application configuration.
- Recordings that were recorded prior to the installation will not be uploaded to Kaltura.
The transfer to Kaltura begins immediately and seamlessly, although it may take a few minutes for the recording to be available from Webex.
To configure the Webex Kaltura integration settings:
- Browse to the following link Webex Integration.
- Sign in to Webex with your credentials.
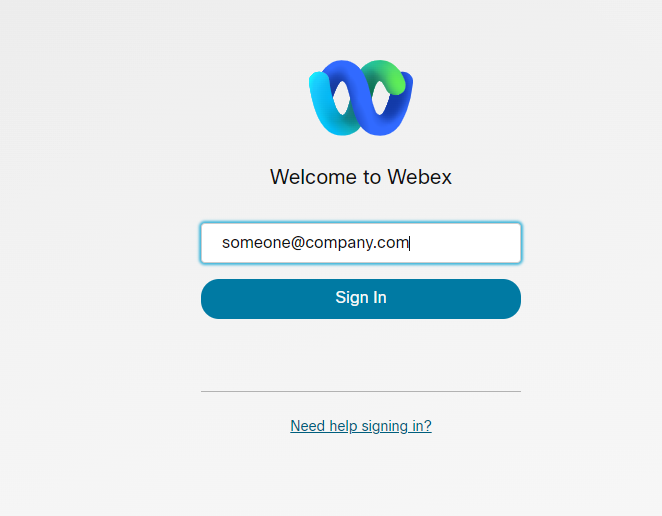
- Accept the application terms.

- The following screen is displayed: Authentication Screen - use to authenticate/authorize with your Kaltura account credentials.
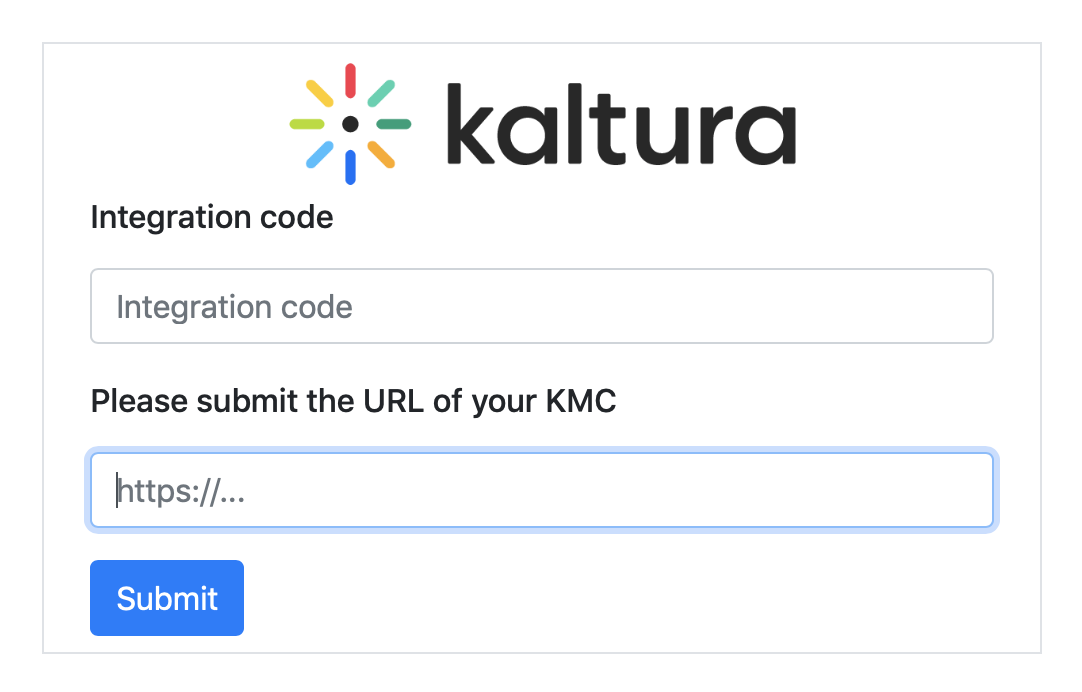
- Enter the URL of your KMC. For SaaS installations, the URL is https://kmc.kaltura.com/index.php/kmcng/login.
- To identify a user, you must generate the integration code in the Kaltura Management Console and then paste the copied integration code onto your authentication screen.
- The Integration code is generated in the "Settings > Integrations", Webex integration section in the Kaltura Management Console.
- Scroll down to Webex integration and click Generate Integration code.

- The Integration Code is generated. Copy the code and close the window. The code is temporary and may be used only once for setting up Webex integration.
- After submitting, login to the Kaltura Management Console and select Settings and then select the Integration tab.
- Scroll down to Webex integration. A list of all Webex integrated Accounts is displayed.


Configure the Webex Account Information
- Select Settings and then select the Integration tab.
- Scroll down to Webex integration. A list of all Webex integrated Accounts is displayed.

- Click on the 3 dots to configure your Webex integration settings. First, you need to enable your integration. After all the settings are configured, click Save to apply your configuration. All the settings can be reviewed and changed later as needed.
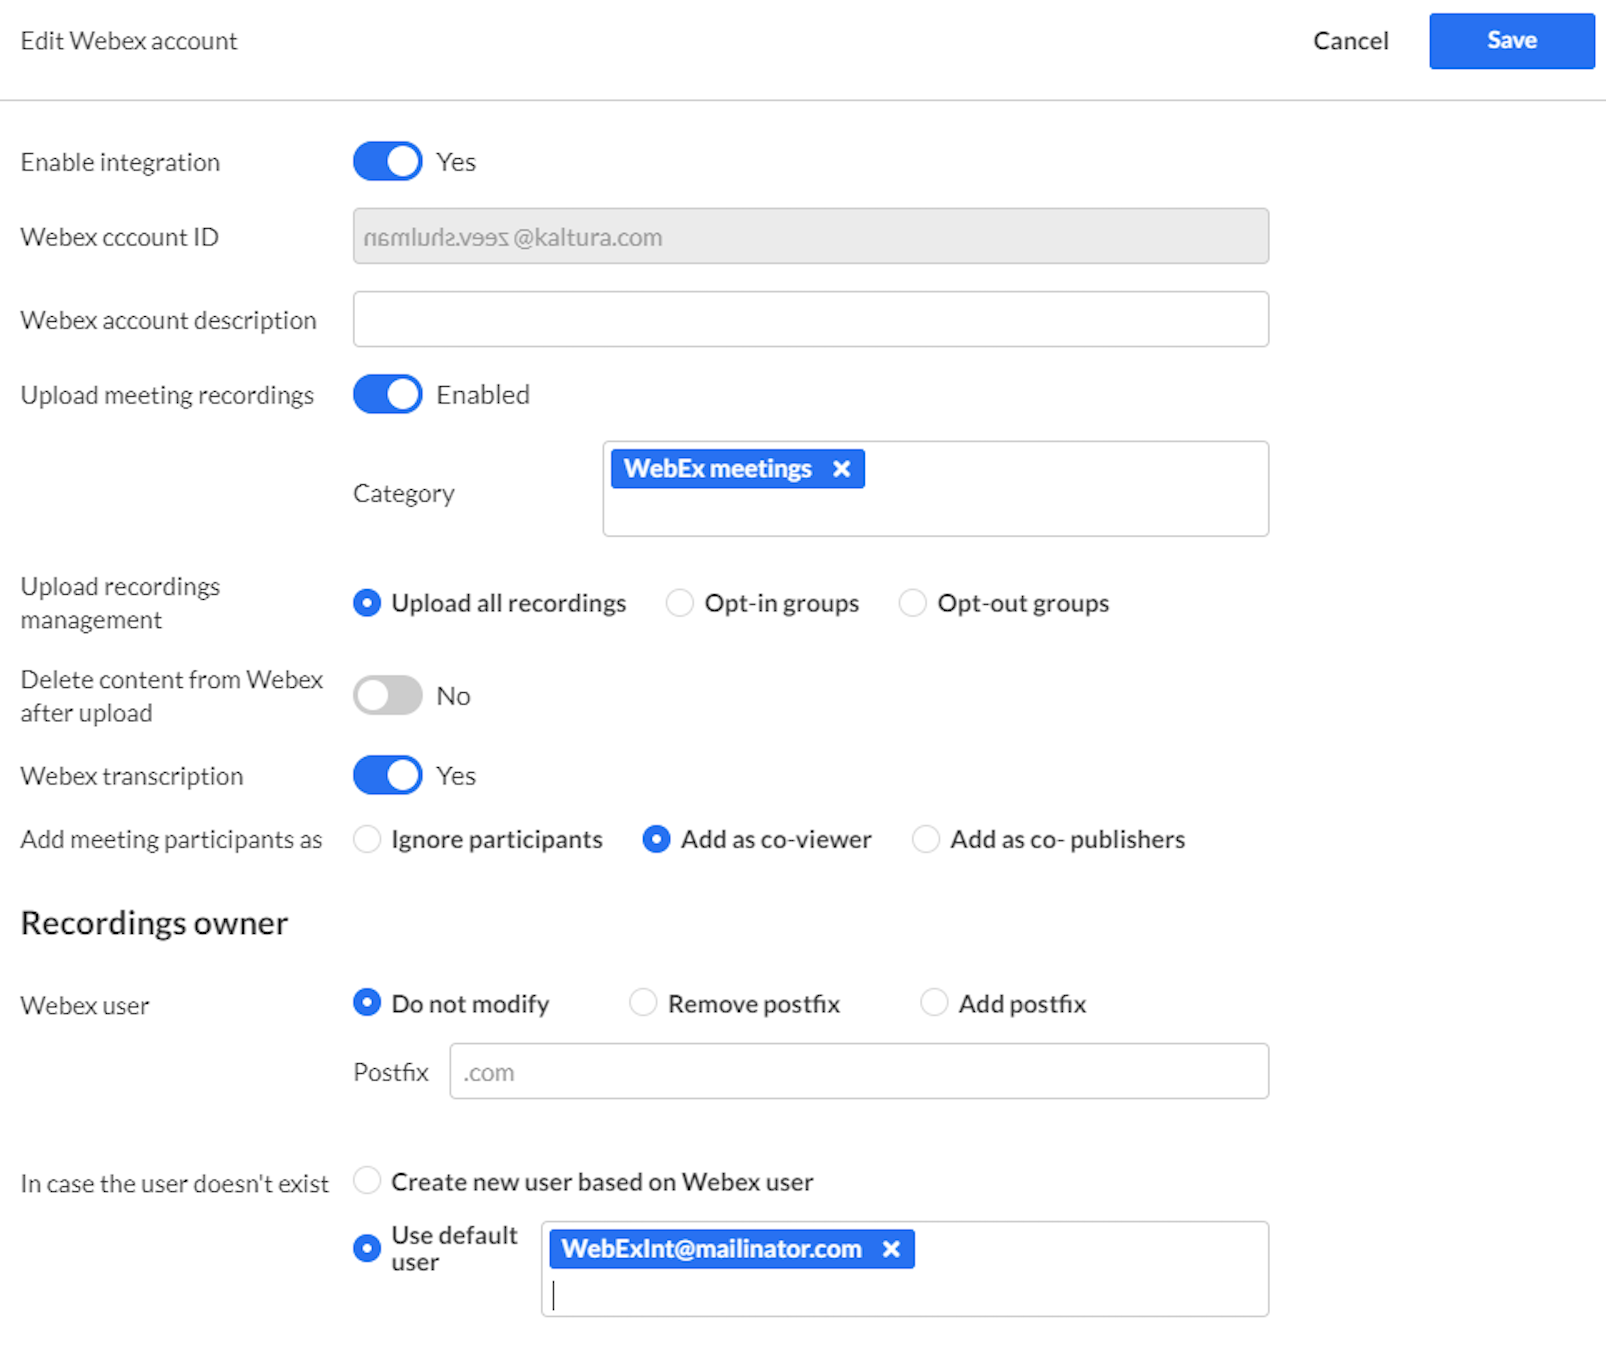
- Enter the Settings information:


Opt In or Out of Webex Auto-Ingest Based on Groups
- Select Settings > Integration > Webex Integration section.
- Choose whether to Upload All Recordings (default), Opt-in Groups, or Opt-out Groups.
- If you choose Opt-in Groups or Opt-out Groups, an additional field is displayed where you must enter at least one group. If the user is a member of the configured group(s), the recording will be ingested.
- If you choose Opt-out Groups, an additional field is displayed where you must enter at least one group. If the user is a member of the configured group(s), the recording will not be ingested.
A Webex integrated account may be either opt-in or opt-out. Both configurations in parallel are not supported.
For information on how to create groups and assign users to groups, see Managing Groups from the MediaSpace or KAF Admin Console. After the creation of a group, admins can find the groups in the KMC (by auto-completion).
When setting a user: If the user does not exist and you choose to use the default user, @defaultUserID@ must be changed in order to assign the user to a group.
Creating Webex Recordings
Users in the configured account are able to record their Webex recordings that will automatically be uploaded to Kaltura. When the meeting ends the recording is processed and is automatically synced to Kaltura. The Webex recording ID becomes the entry name for the recording.
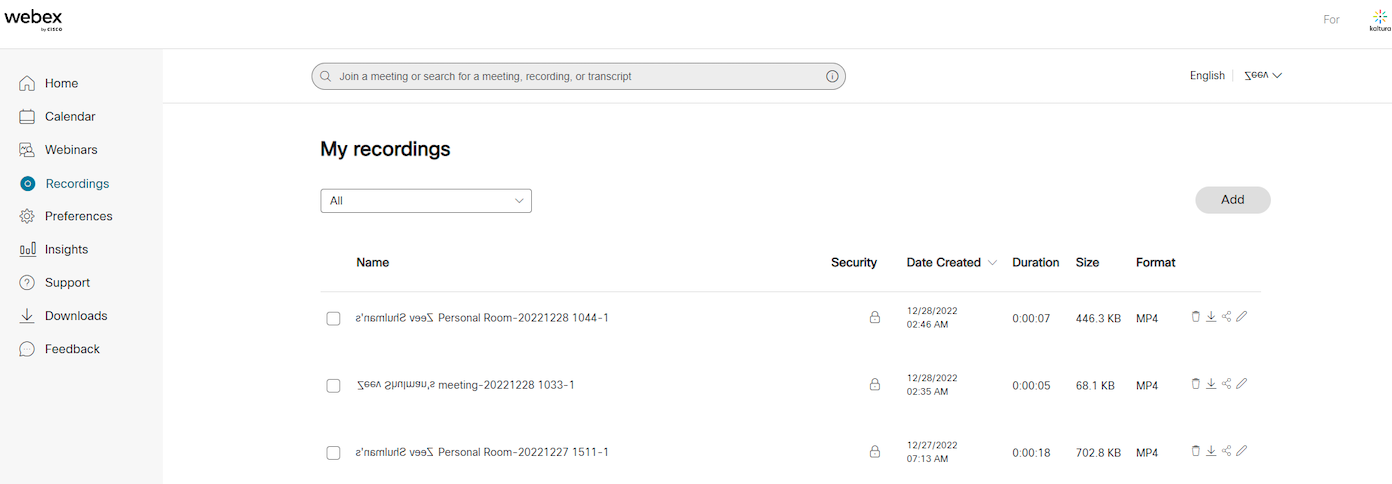
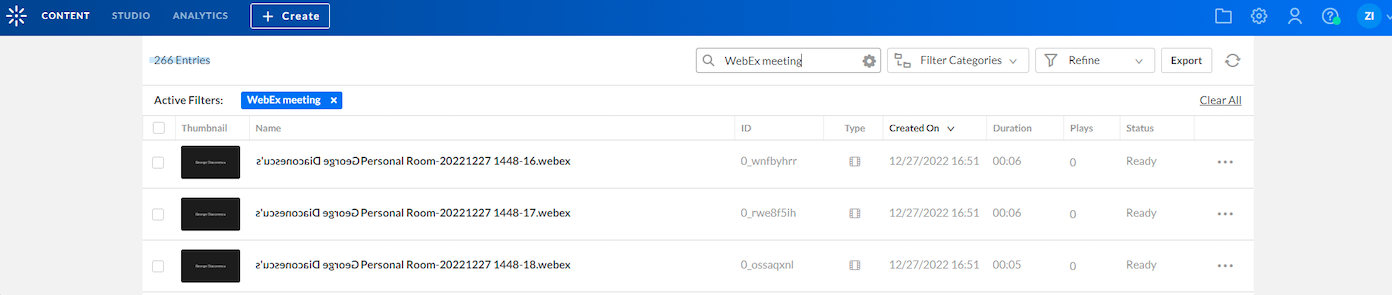
To view Webex Recordings in Kaltura
- Select Content > Entries.
- Filter the entries by Category. Enter the Webex Category name that was assigned to your account.

To View the Webex entry’s Metadata
- Select Content > Entries.
- Filter the Webex entries and select the entry.
- Select the Users Tab.
The following Metadata is displayed in the KMC Users tab:
- Recorded entry title - Webex Recording - [ID:{Webex-Meeting-ID}]
- Owner - Webex host or default Kaltura user ID
- Co-publishers (optional) - any alternate Webex hosts.
- Select the Metadata Tab to view the Category information.
- Category (optional) - top-level category as defined in the Webex application.
The Description field includes additional information about the meeting such as the Webex recording ID and meeting time. The meeting time is shown in Webex event time (e.g. Z near time description means UTC/GMT time zone).
To delete a Webex Recording in Kaltura
- Select Content > Entries.
- Filter the entries by Category. Enter the Webex Category name that was assigned to your account.
- Check the entry you want to delete and select Delete from the Actions (3 dots ) menu.
To delete multiple Webex Recordings in Kaltura
- Select Content > Entries.
- Filter the entries by Category.
- Select the Webex Category that was assigned to your account.
- Check the entries you want to delete and click the Trash icon.

