This article is intended for room hosts and moderators.
About
Elevate your presentations and captivate your audience with our new Interludes feature! Effortlessly create dynamic slides to welcome guests or display during breaks with our user-friendly templates and real-time countdown timer. We offer a collection of aesthetic backgrounds to choose from, or you can get creative by uploading your own visuals and creating your own text.
Explore two types of Interludes:
Reception: Set the tone of your event perfectly by creating reception slides with inspiring images or motivational videos to welcome guests as they gather in the room.
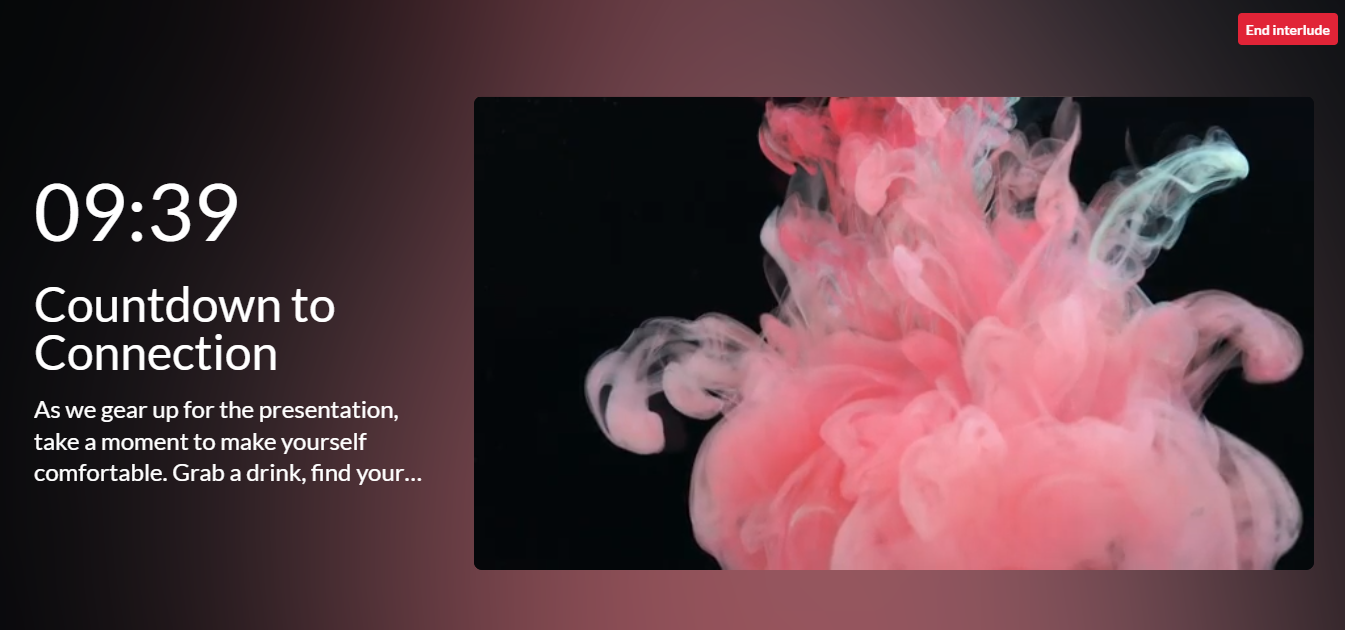
Break: Enhance your meeting breaks with fun visuals and a dynamic countdown timer. Whether it's halfway through the event or a planned break time, these slides keep everyone informed about when the break ends and encourage a timely return to the meeting room.
Features
Create
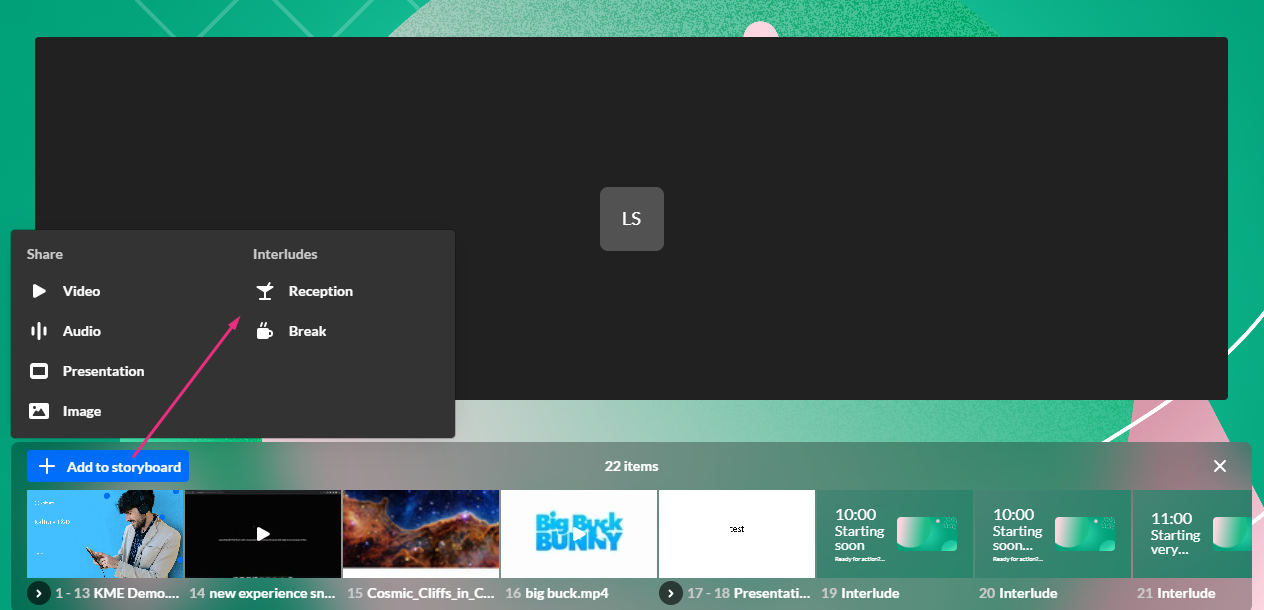
- Click + Add to storyboard.
The Interlude menu displays. - Click Reception or Break.
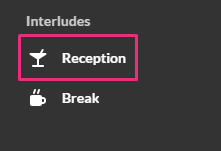
Reception
Click Reception.
The Content tab displays.
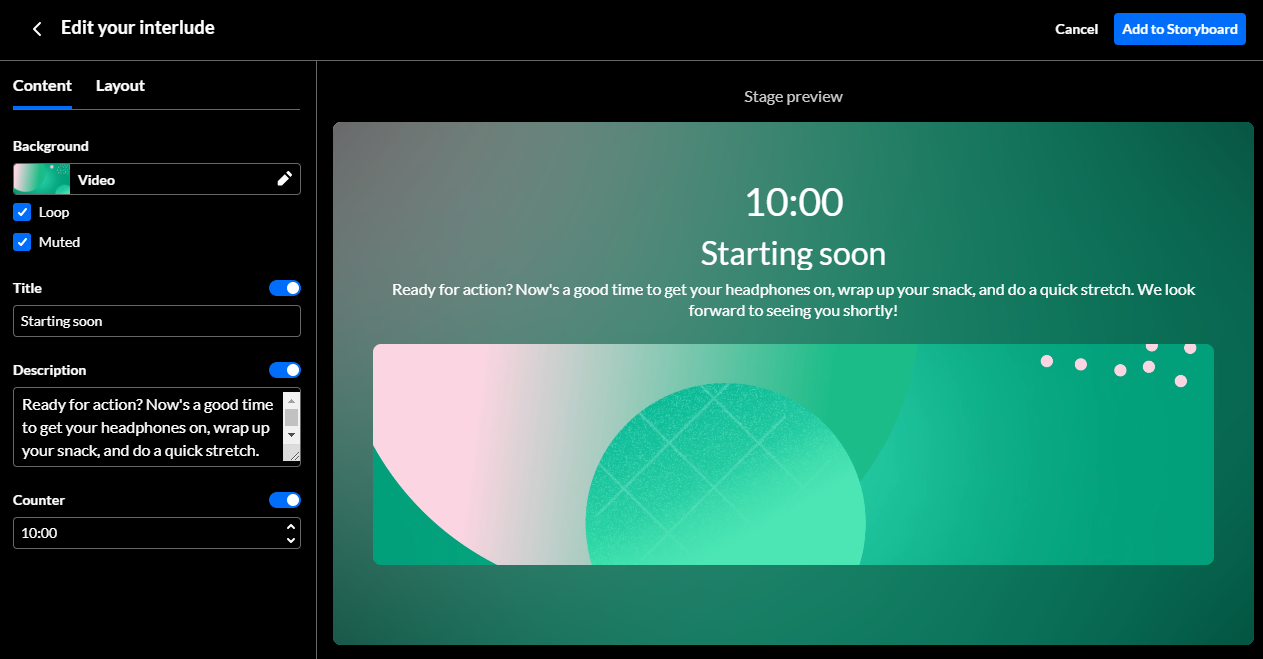
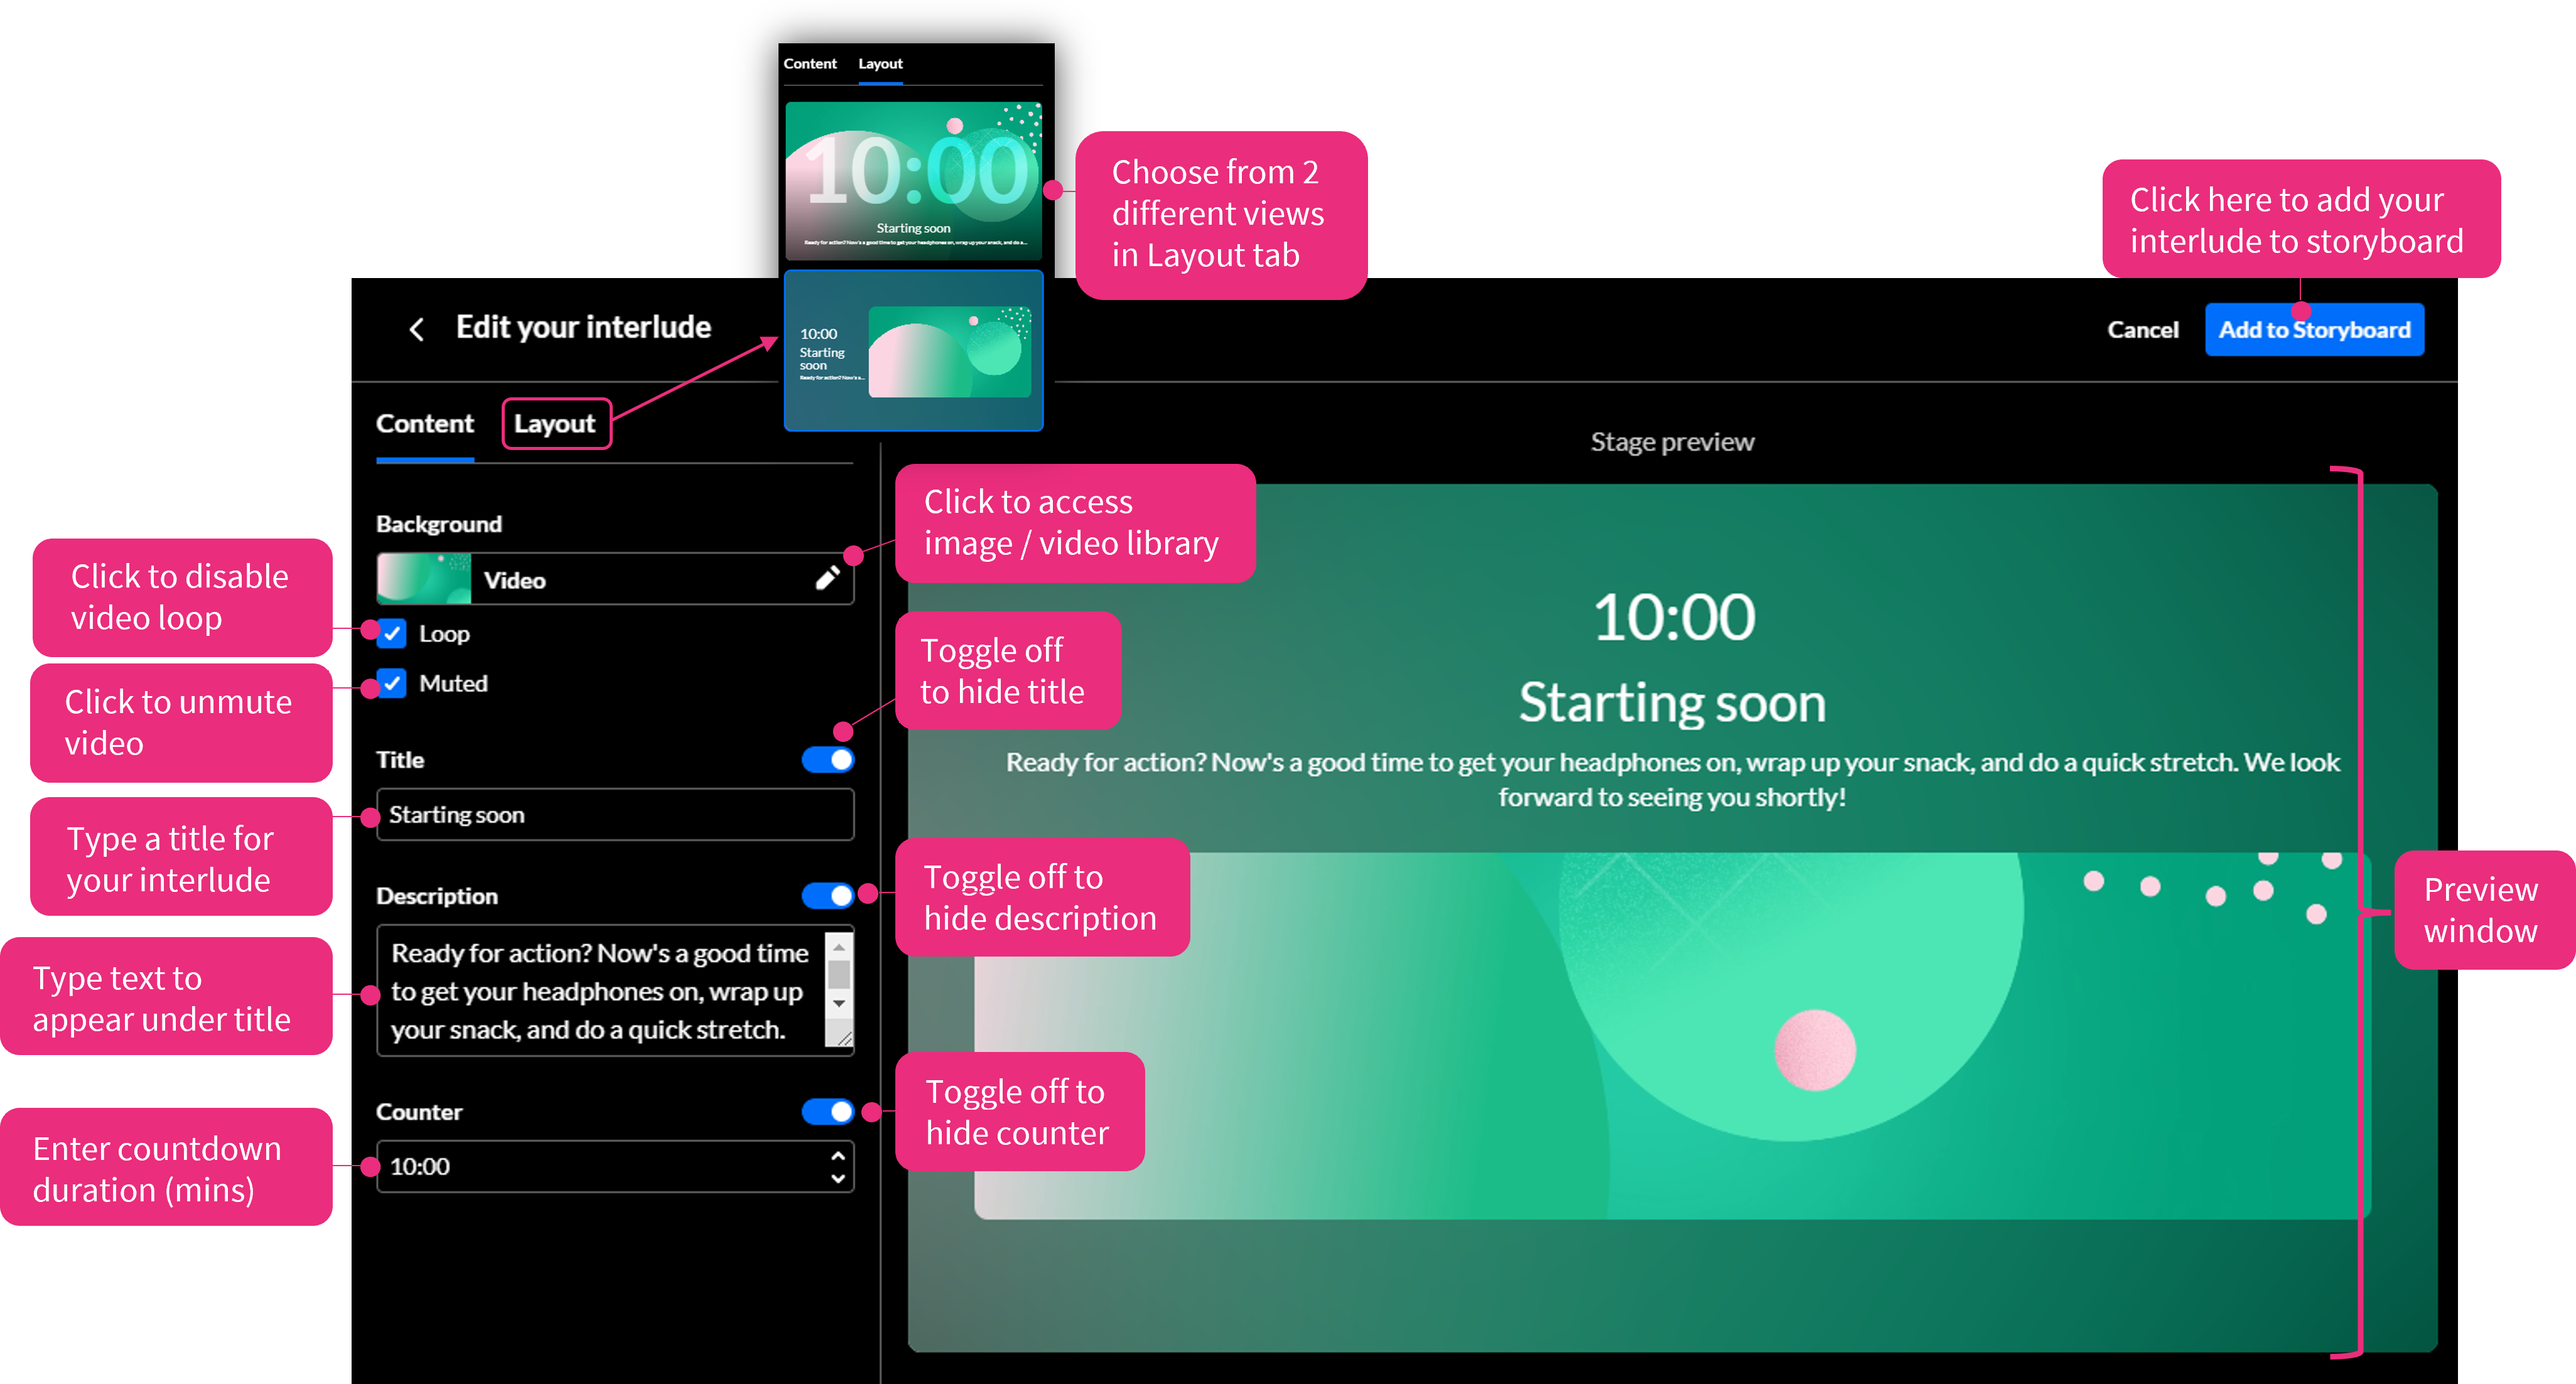
Set the background
- Click the pencil icon.
The video and image library displays.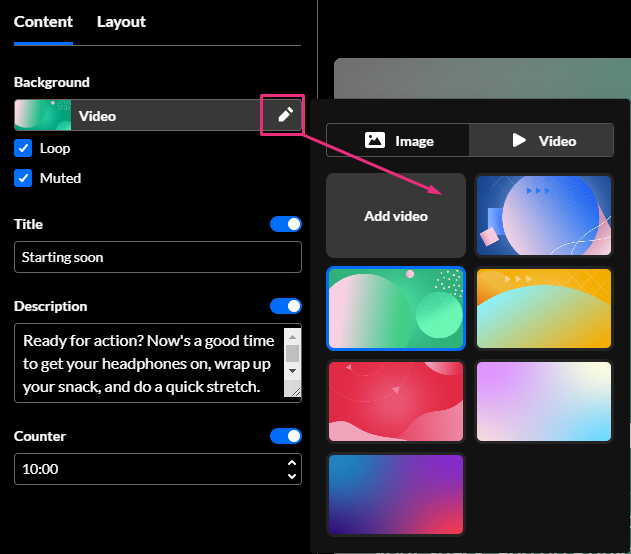
- Select a video or image for your background. The update happens immediately and you can see it in the preview window.
You can also add your own video or image. See Customize below.


Title & Description
Title - A default title displays. To change it, simply delete it and type your own title. If you don't want a title to appear on the interlude screen, click the toggle to disable.
As you type, the preview window updates.
Description - Default text displays. To change it, simply delete it and type your own text. If you don't want any text to appear on the interlude screen, click the toggle to disable.
Set duration
A default of 10 minutes displays in the Counter field. You can change the duration of the interlude (in minutes) by typing or using the up / down arrows. If you don't want the counter to appear on the interlude screen, click the toggle to disable.
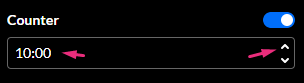
The minimal value is 1; maximum is 60 (1 hour).
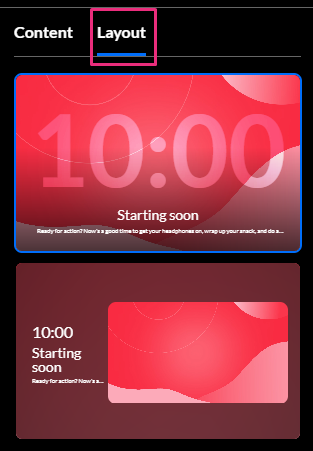
Set the layout
Click the Layout tab and choose the layout you want. You can choose from two different views.
When you're happy with your Interlude, click Add to Storyboard.

Break
To create a break interlude, select Break from the Interludes menu.
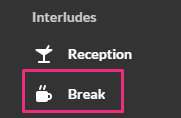
Follow the steps above.
Customize
You can customize your interlude by uploading your own images and videos.
Video
- Click Add video.
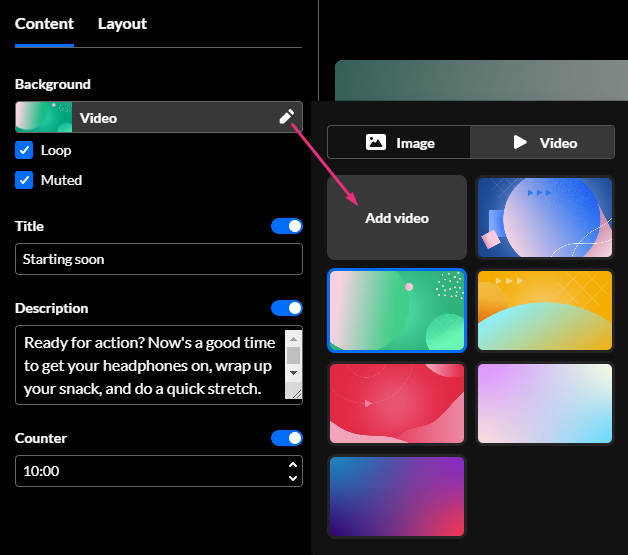
The media manager window opens. - If you don't have any videos already uploaded, click Upload.

- Choose a video file from your computer and click Open.
- When you're ready to add the video to your interlude, click Select.
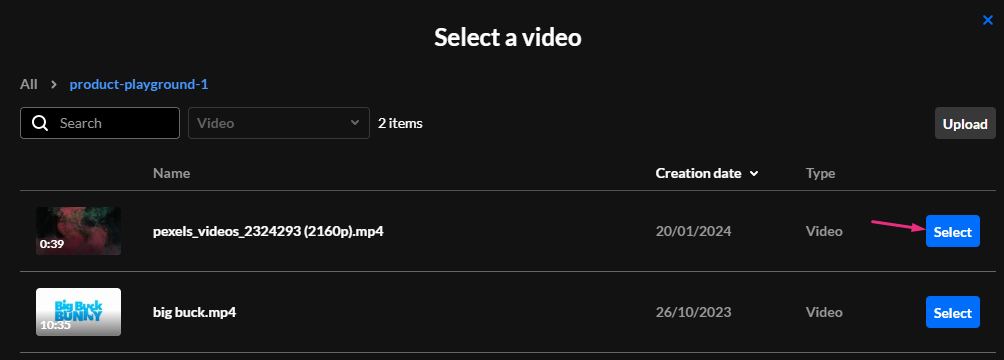
The preview screen displays the selected video immediately.
- You can choose whether to play the video in a loop (continuously) or muted.
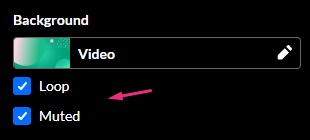
When Muted is selected, the video plays without sound. When it's not selected, participants can hear the audio and mute it as needed.


Image
- Click Add Image.
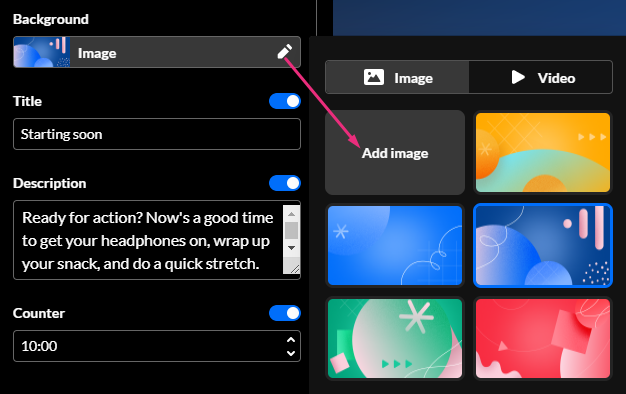
The media manager displays. - Locate the desired image and click Select.
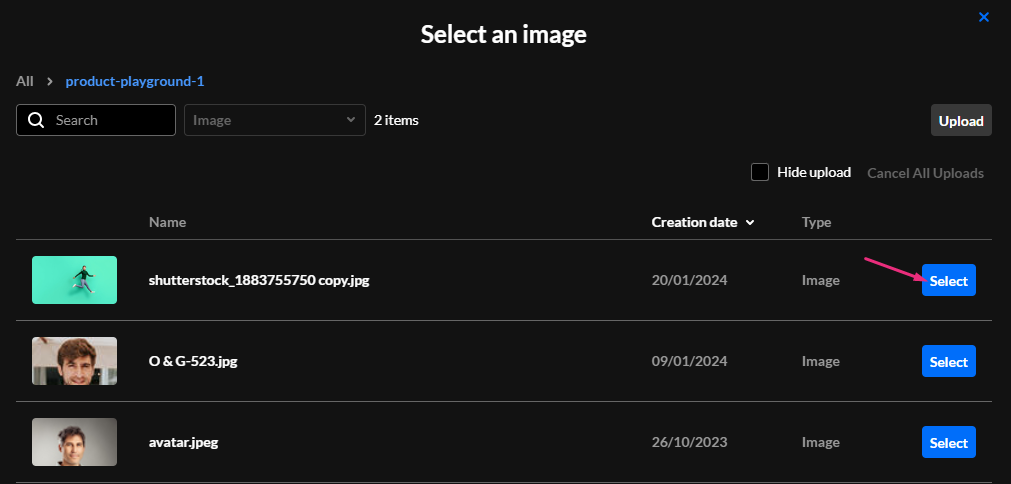
The image displays in the preview window.


Launch / End
- To launch the interlude, simply navigate to it on the storyboard and click on it.
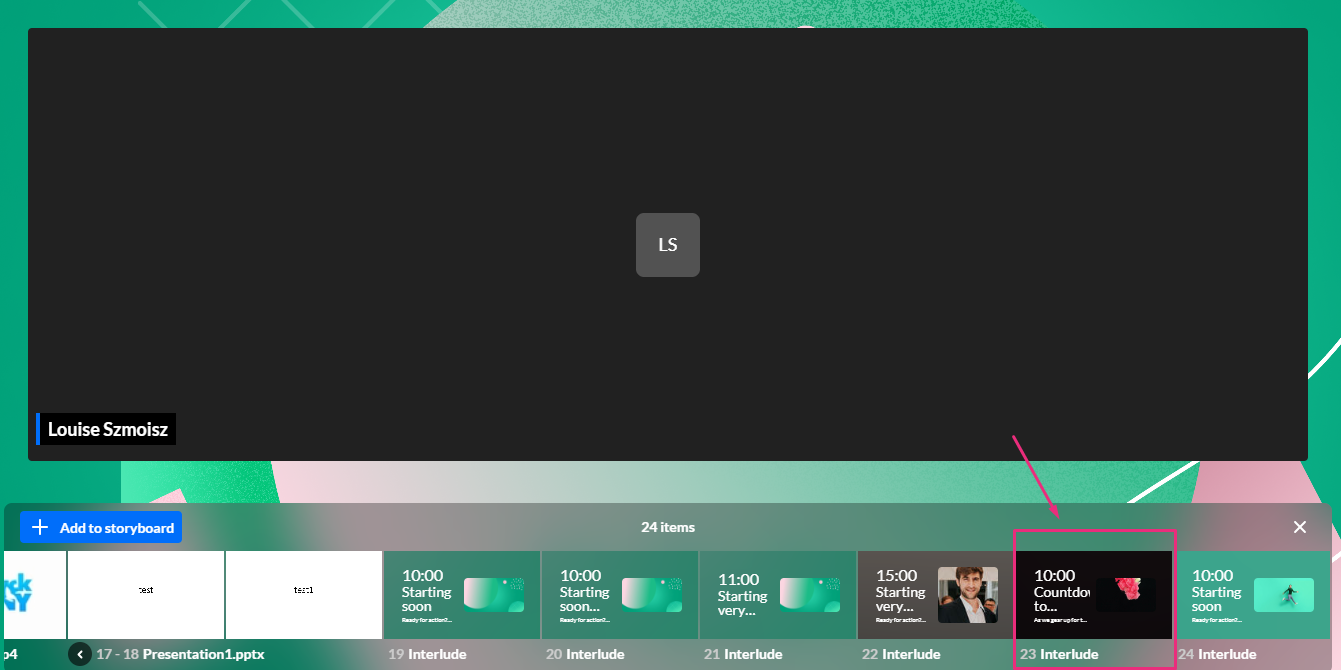
The interlude displays live on the screen.
In interlude mode, users' device activation buttons on the bottom bar are disabled to prevent them from enabling devices or going live.
- To end the interlude, click End interlude at the top right corner.
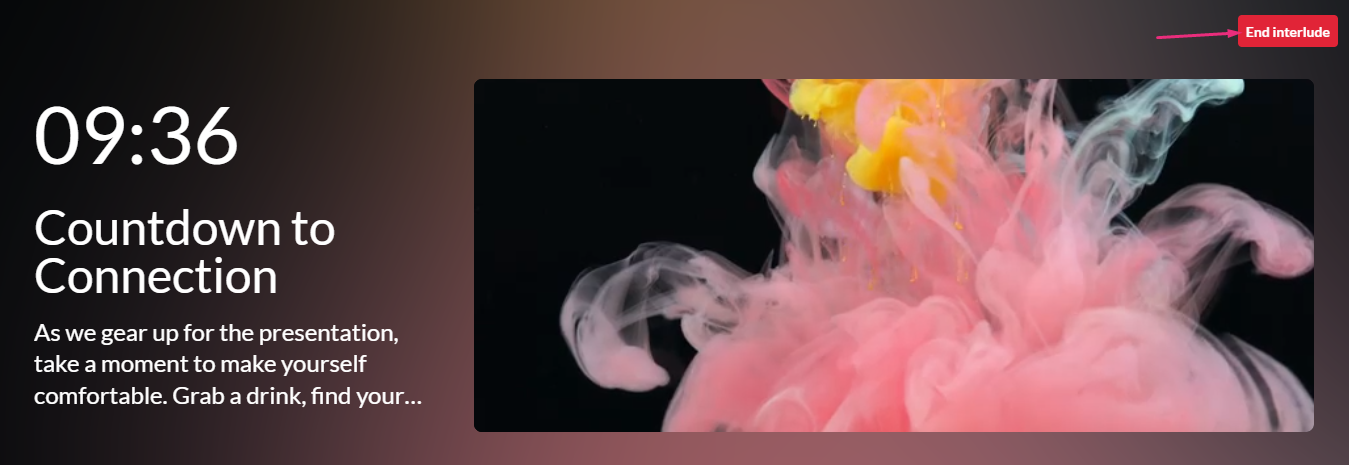
OR click the interlude on the storyboard.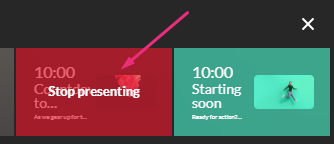


Edit
- Navigate to the interlude on the storyboard and click the pencil icon.
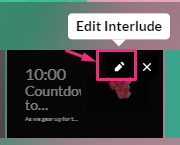
The edit window displays.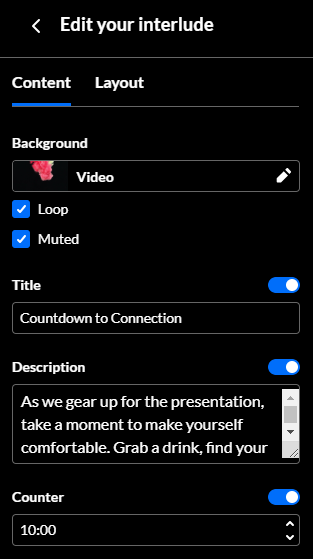
- Make your changes.
- Click Update interlude in the top right corner.
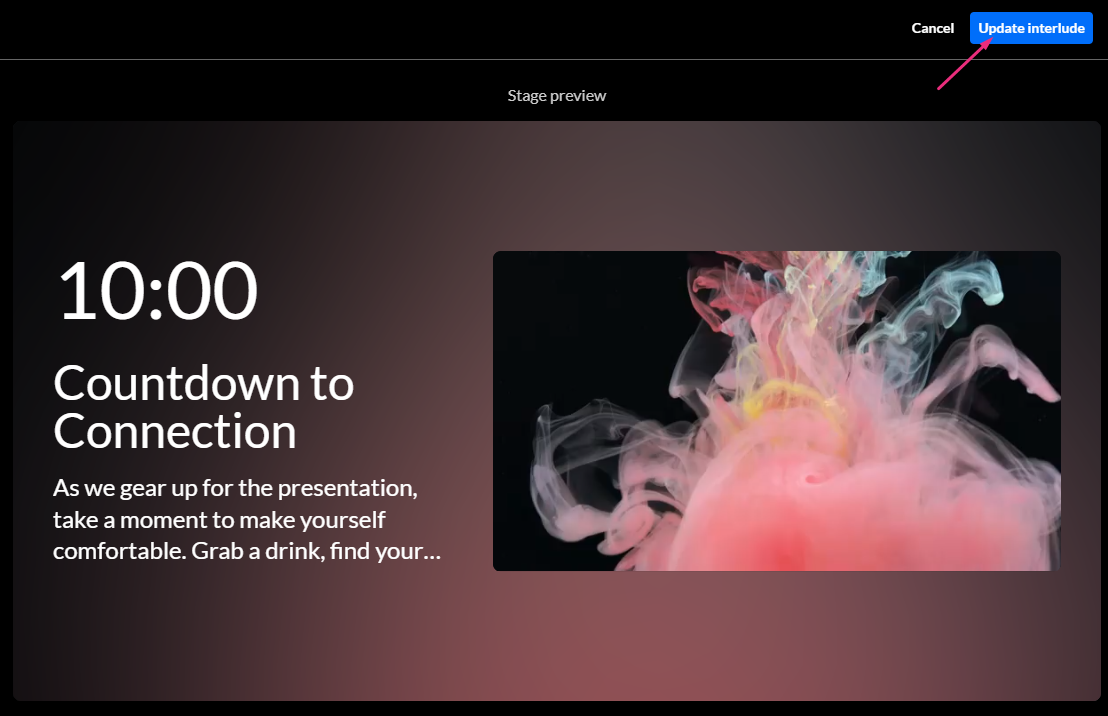
The interlude displays with your changes.


