After the Kaltura Classroom software is installed, see the Kaltura Lecture Capture Administrator’s Guide, you can start recording your media.
If authentication has been configured for Kaltura Classroom, see the article on Using Kaltura Classroom with Authentication Settings.
If you want to record your screen only or camera only, click on the video icon to turn off either one of the devices.
If you want to record multiple inputs, click on the Plus sign to configure the additional inputs. See Input Settings.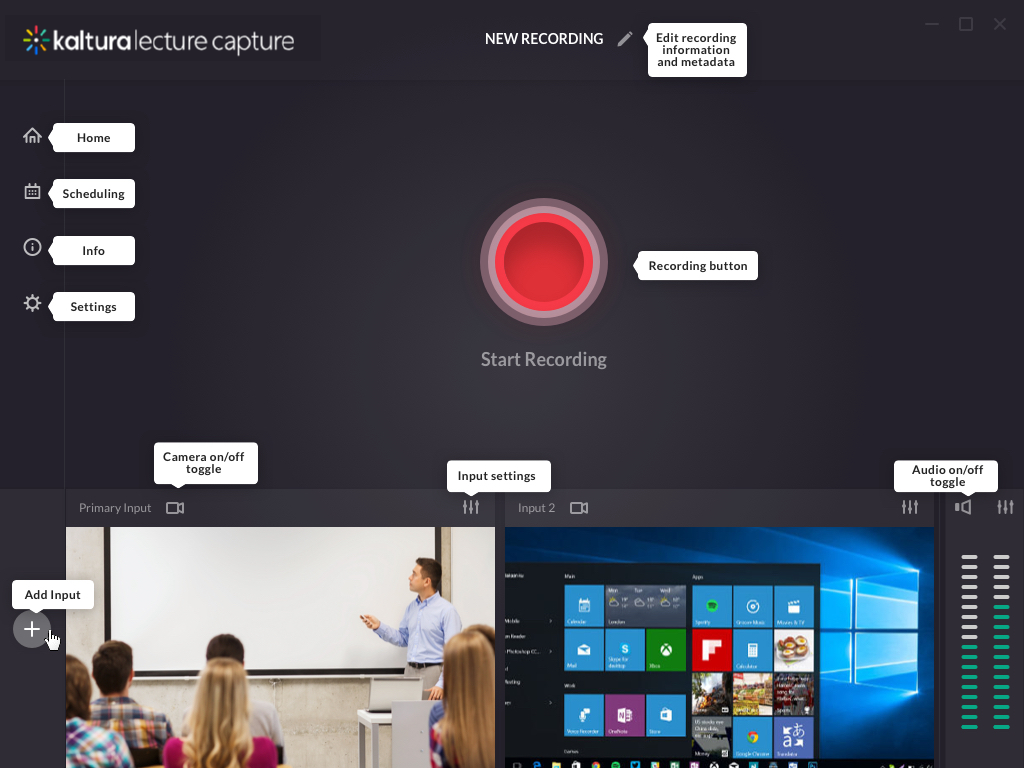
If you selected one input (either Camera or Screen), Kaltura Classroom creates a single video. If you are using the default settings or selected more than one device, a video file is created for each device. You will need an updated Kaltura dual screen player to display multiple streams simultaneously. See Viewing Rich Media in the Kaltura Player for more information about viewing options.
In the Kaltura Classroom Application homepage, you can:
- Configure the Camera Settings
- Configure the Screen Settings
- Configure the Audio Settings
- Start Recording – to start your recording, click the red button.
After your inputs are configured, either by using the default settings, or you have selected your input(s) and defined all the settings, you are ready to record.
Start Recording
To start recording
- Press the “Start Recording” button in the middle of the recording screen to start recording.
A 5 second countdown timer appears before the recording starts.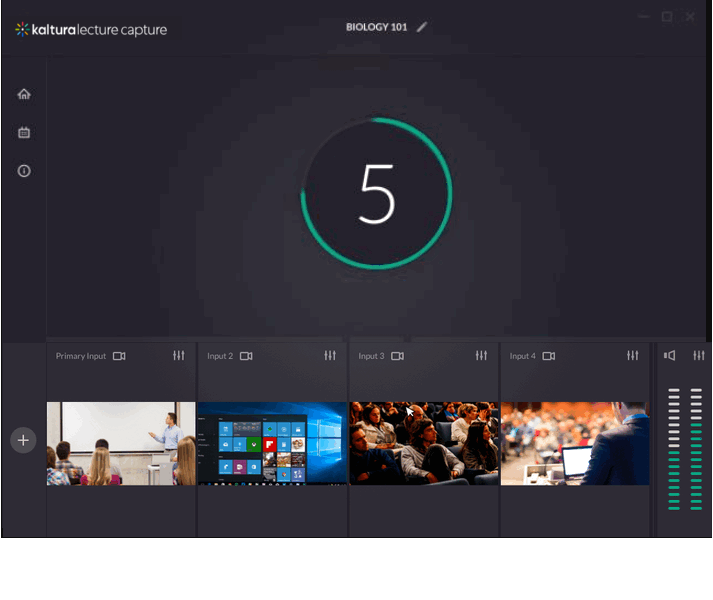 When the recording begins, the duration of your recording is displayed under the Recording button as well as the Stop Recording button and Cancel indicator.
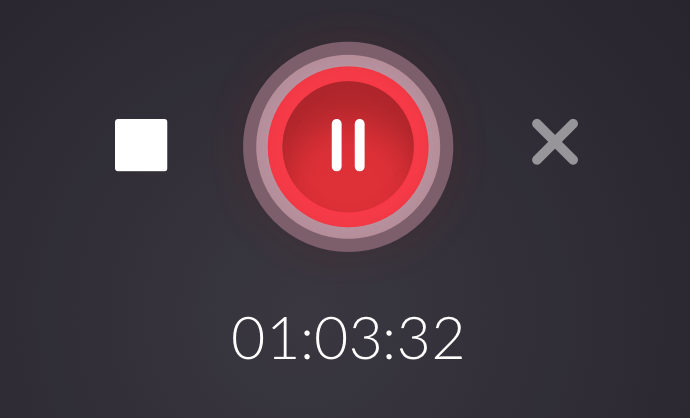
- Click on the “Stop” square to stop recording.
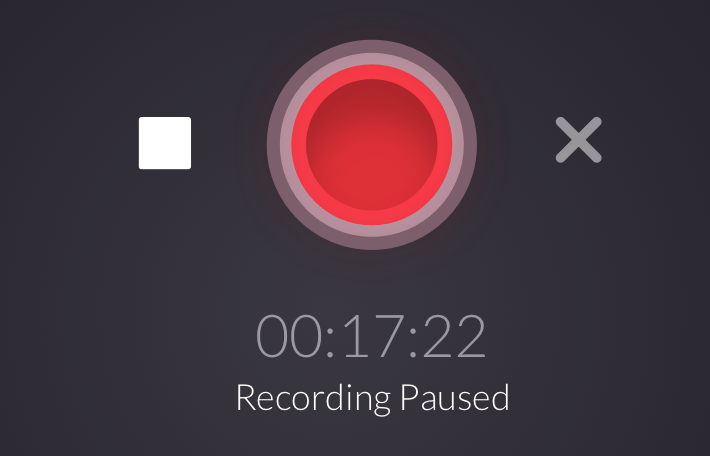
- You can pause and resume your recording at any time. Click the pause button to pause your recording and record button to resume.
 When the recording begins, the duration of your recording is displayed under the Recording button as well as the Stop Recording button and Cancel indicator.


