The OneDrive module provides the ability for users to ingest content from their personal OneDrive folder by adding an 'Add from OneDrive' button in the Add New menu. This article is intended for KMS site administrators and describes how to enable and configure the 'OneDrive" module and set the required Microsoft settings.
The accounts shown herein have the theming module enabled.
Setting up the OneDrive Module
Before enabling the OneDrive module, you must register an application in Microsoft Azure.
Register an application in Microsoft Azure
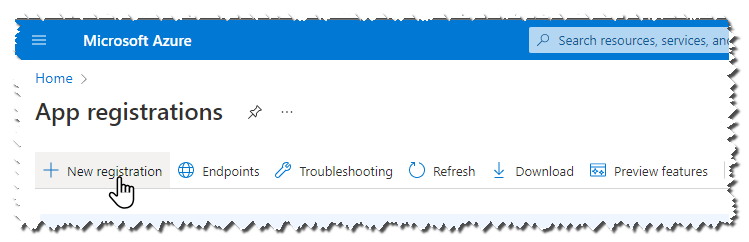
- Go to https://portal.azure.com/#blade/Microsoft_AAD_RegisteredApps/ApplicationsListBlade.
- Click the 'New registration' button.
- In the Register an Application page enter the following:
- Name - Enter a meaningful name for the app. (e.g. Kaltura OneDrive integration)
- Check the option: Accounts in any organizational directory (Any Azure AD directory - Multitenant).
- In the Redirect URI, fill in the following:
- Select a Platform: Choose Web.
- Redirect URI: https://{kaltura_site_base_URL}/onedrive/index/blank-page
- Replace "{kaltura_site_base_URL}" with your application base URL.
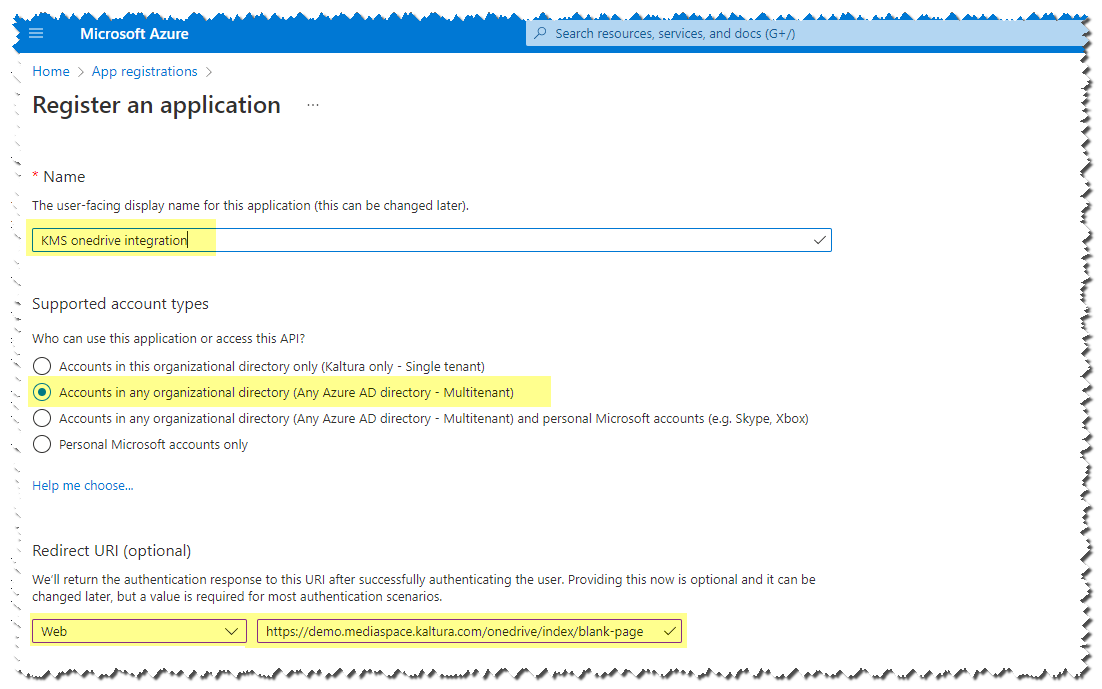
- Click Register.
A new application is created, and the Overview Tab is displayed. Grab the application ID, and save it for later.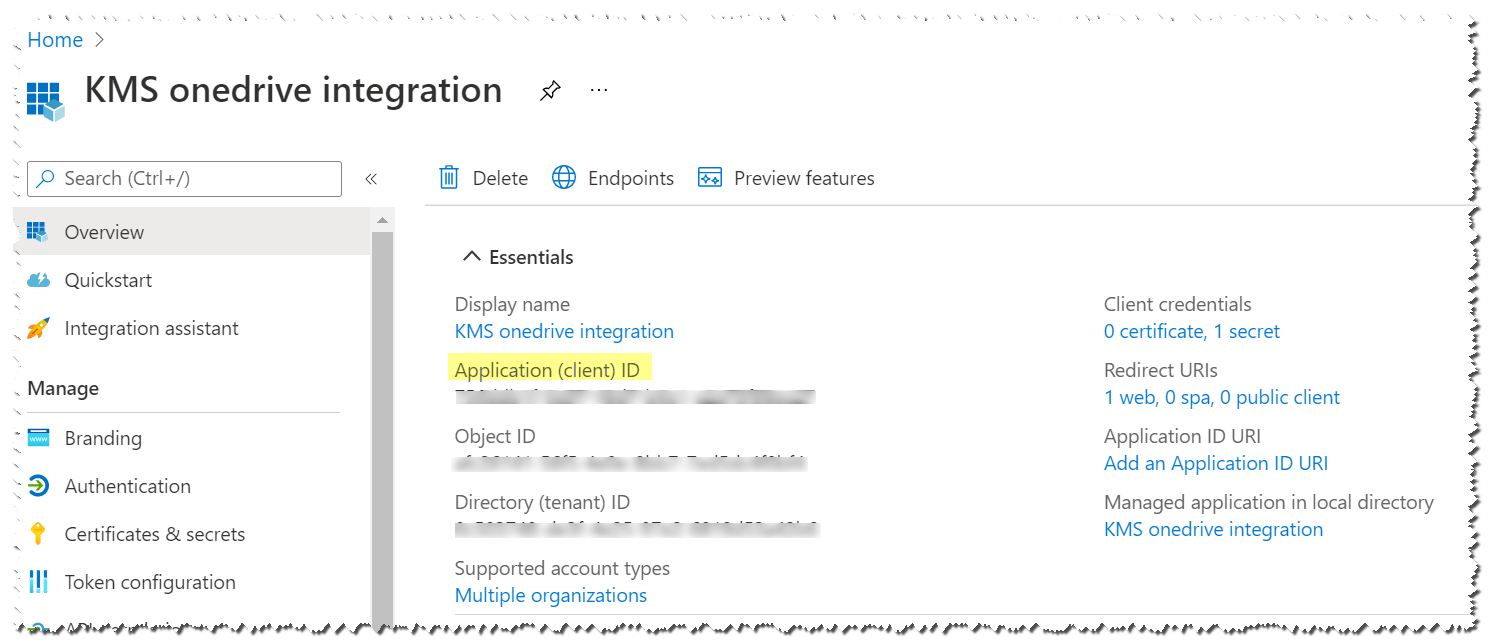
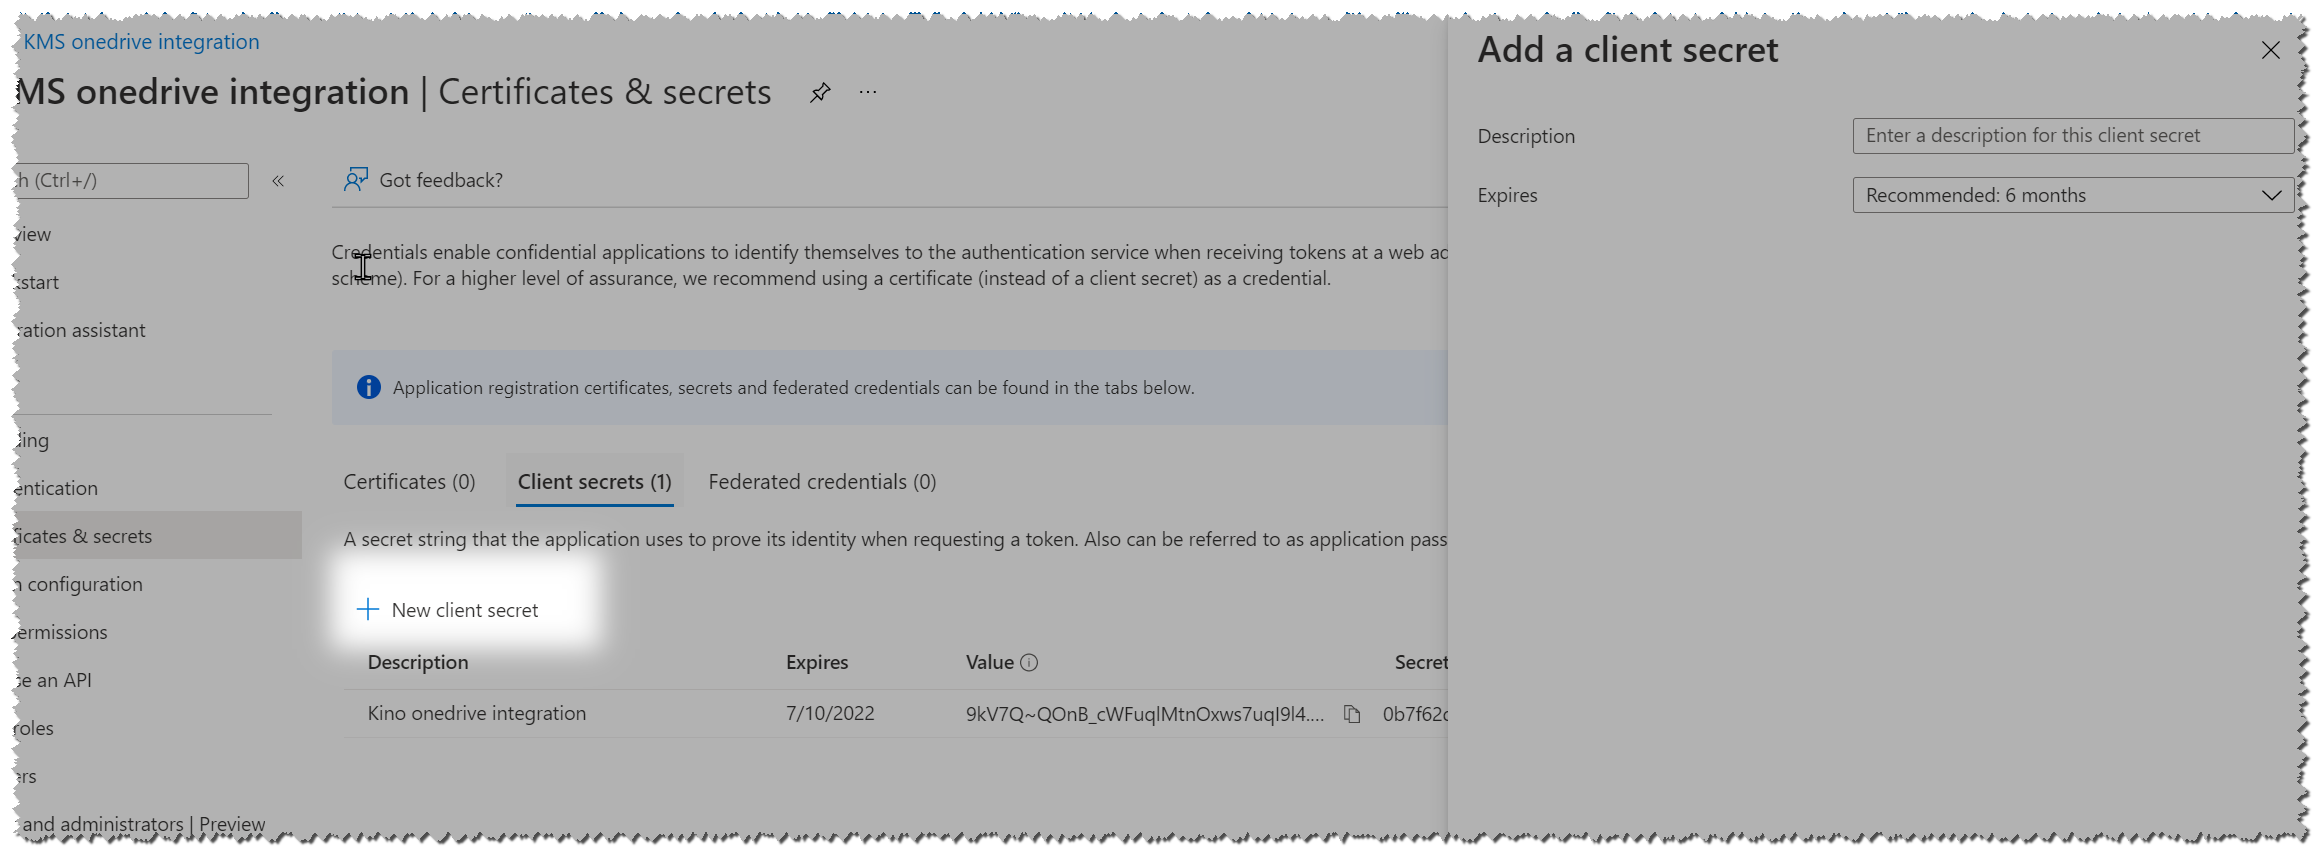
- Go to Certificates & secrets tab and click the 'New client secret' button.
- Create a client secret and click 'Add'.
- Go to Authentication tab and check the options:
- Access tokens (used for implicit flows)
- ID tokens (used for implicit and hybrid flows)
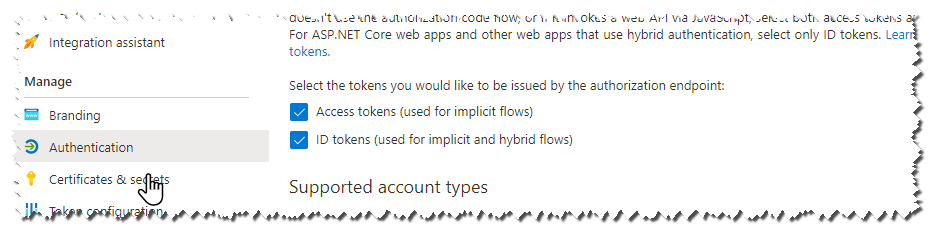
- Save your settings.


Notes:
- API permissions needed for the connector are "User.read".
- Make sure that your KMS site name does not have underscores. If it does, delete the underscores when you type it in.
Enabling the OneDrive Module
In your application admin, perform the following actions:
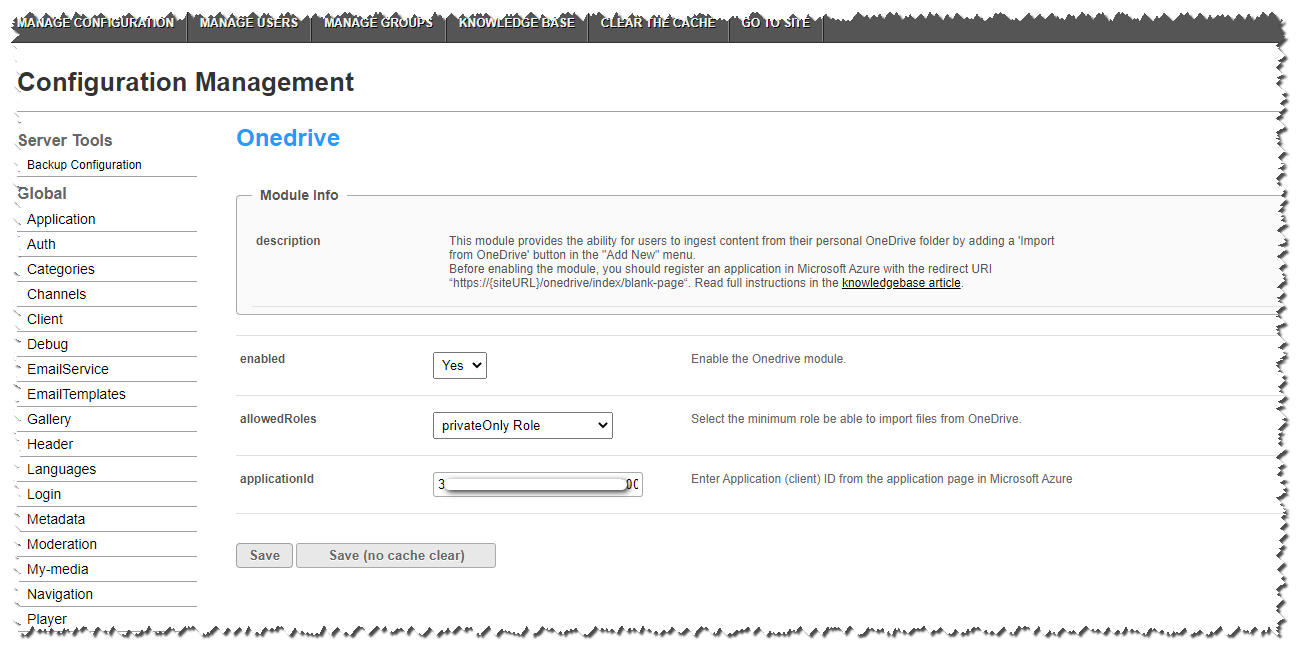
- Enable the OneDrive module in the application.
- Enter the Application (client) ID you created in the application page in Microsoft Azure in in the 'applicationId' field.
- Optional - Set which users/groups/roles are allowed to use this tool.
- Save your settings.

Importing Content from OneDrive
After registering the new application, users may import data from OneDrive from the "Add New" menu.
Import Content from OneDrive
The application administrator should enable the OneDrive module and set up a registered app in Microsoft Azure.
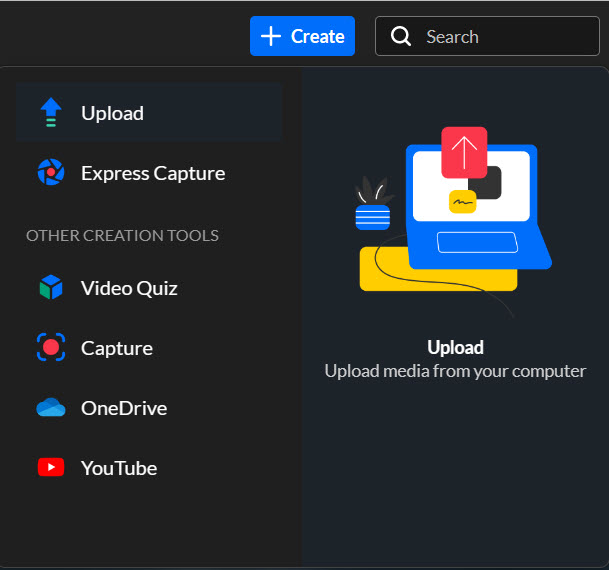
- Select OneDrive from the + Create drop down menu.
 The OneDrive import page is displayed.
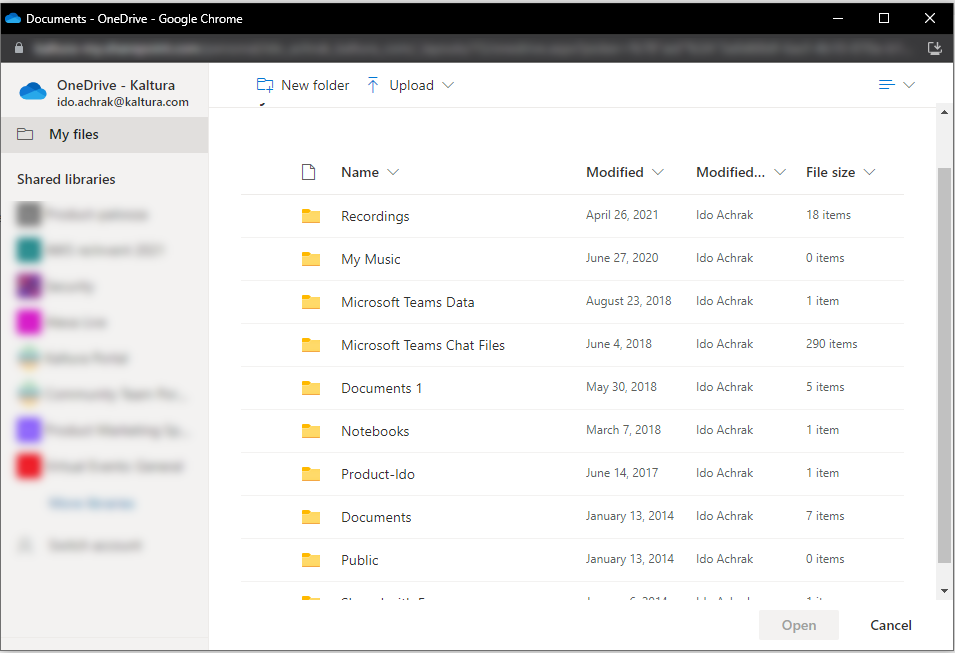
- Click "Select a file from your OneDrive". A file picker modal box is displayed.
- Select the media file to upload.

- After media is selected, the import preparation begins.

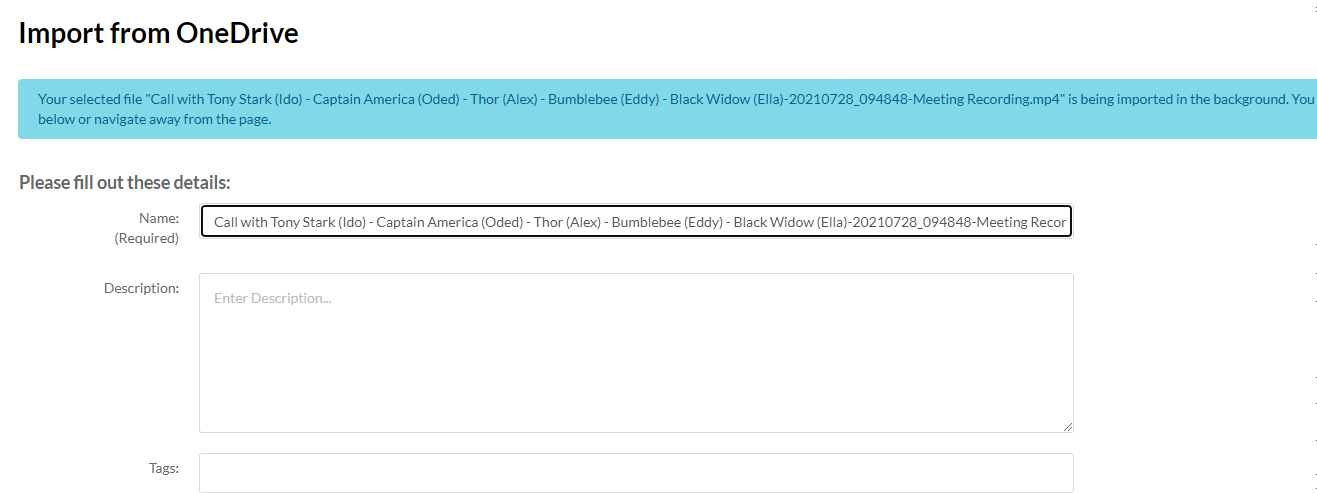
- When the media preparation is completed, the import begins. During the import process, you may edit the metadata of the media entry, or navigate away from the page, and the import process will continue in the background.
- After the ingestion is completed, you can view the media in its dedicated page or in your My-Media.
 The OneDrive import page is displayed.


Importing a Teams Meeting Recording
For Microsoft Teams non-Channel meetings , the recording is stored in a folder named Recordings that's at the top level of the OneDrive for Business that belongs to the person who started the meeting recording.
- Navigate to Recording folder on OneDrive.
- Choose a file and import your Teams recording.